
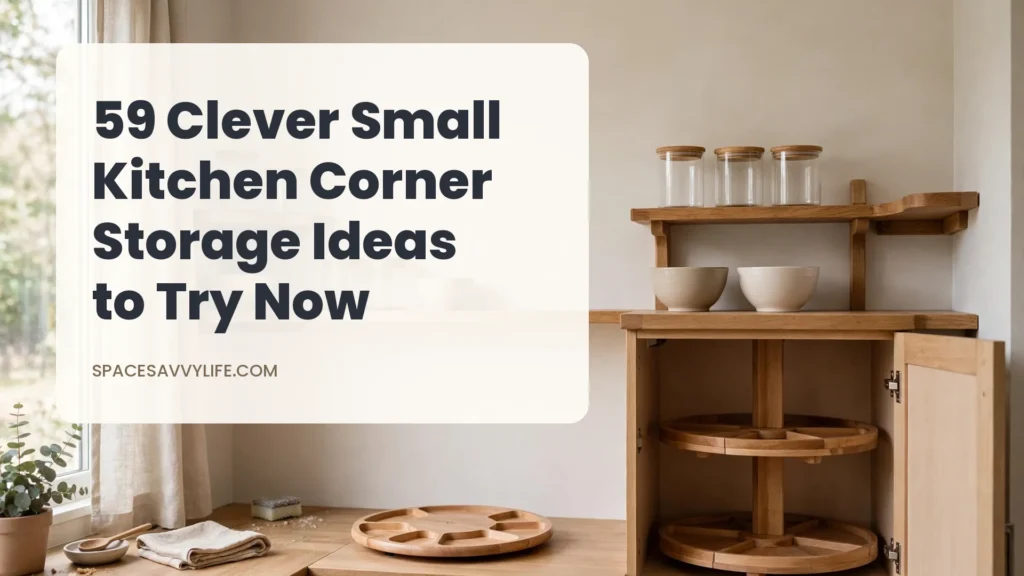
Every small kitchen has one corner that swallows pots and hides the good pan. These small kitchen corner storage ideas turn that dead angle into real storage. Most fixes here cost under $60 and need few tools.
Start with the cheap wins on the counter and shelves. Then move to cabinet hardware when you are ready. Measure your corner first, since sizes vary more than you expect.
1. Drop a Turntable on the Corner Counter

A 10 or 12 inch turntable makes the counter corner spin to you. Oils, vinegar and daily spices stop hiding behind each other. It lifts in seconds for wiping the counter clean.
How to do it:
- Measure the corner depth before you buy.
- Pick a turntable 10 to 12 inches wide.
- Group tall bottles in the center.
- Keep daily spices around the rim.
Best for: Renters and anyone with a deep counter corner.
Budget: $10 to $25
Quick tip: Choose a rimmed edge so bottles stay put on every spin.
2. Stand a Tiered Rack in the Corner

A two-tier corner rack doubles the counter corner without drilling. The lower tier holds jars while mugs or fruit sit up top. Your counter run stays clear for prep work.
How to do it:
- Pick a rack about 12 inches deep.
- Set heavy jars on the lower tier.
- Keep daily mugs on the top tier.
- Wipe under the feet once a week.
Best for: Coffee corners and tight galley kitchens.
Budget: $20 to $45
Quick tip: Metal racks handle steam better than bamboo near hot kettles. Keep pans off the rack until they cool down fully.
3. Corral Cooking Oils in a Corner Tray

Some of the cheapest small kitchen corner storage ideas start with a simple tray. A tray corrals oils and sauces into one wipeable zone. Drips land on the tray, not the counter.
How to do it:
- Pick a tray about 12 by 8 inches.
- Line it with a washable mat.
- Stand tall bottles at the back.
- Keep salt and pepper at the front.
Best for: Cooks who keep oils beside the stove.
Budget: Under $15
Quick tip: A tray with low sides slides out easily for quick cleaning. Wipe the tray weekly so drips never stain the counter.
4. Angle a Dish Rack into the Corner
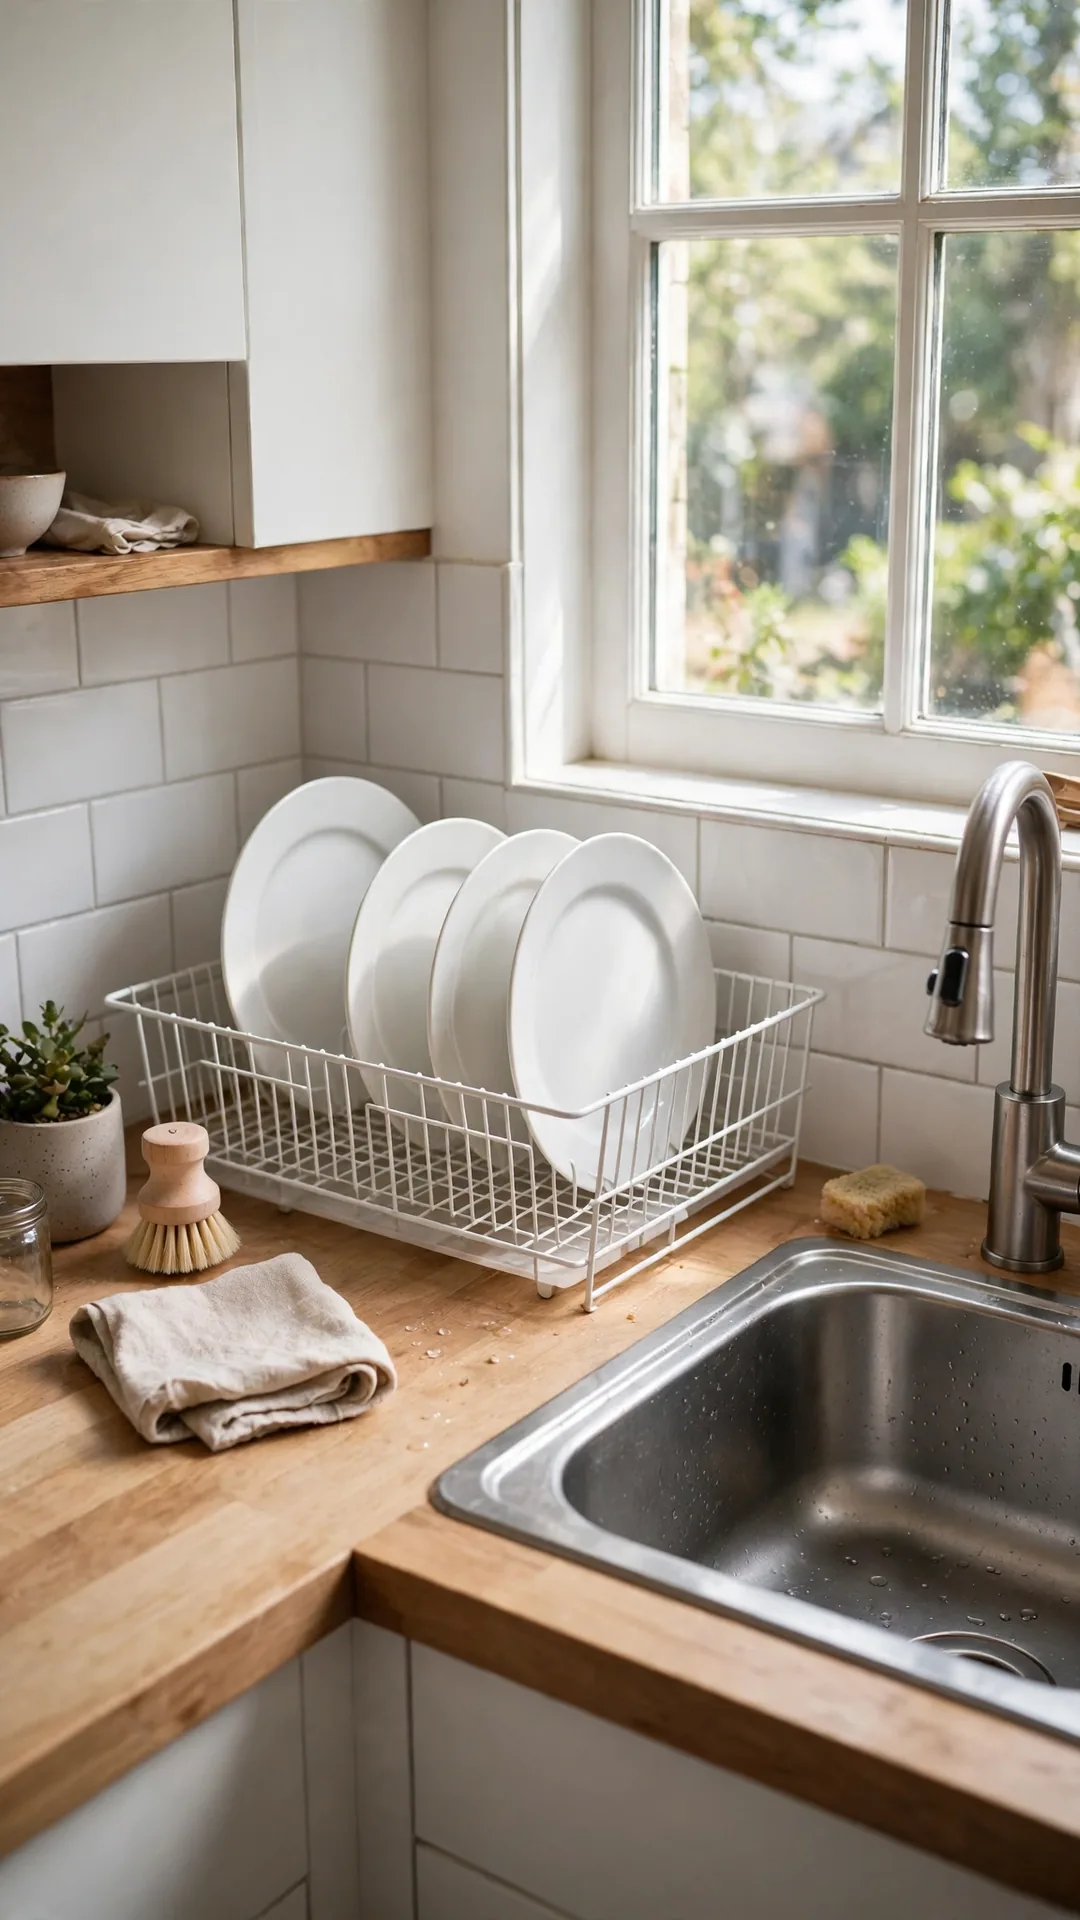
An angled dish rack tucks into the corner beside the sink. Plates drain over the sink edge instead of the counter. The corner stays useful without a big rack footprint.
How to do it:
- Choose a rack about 16 inches wide.
- Angle the drain spout toward the sink.
- Stand plates upright in the slots.
- Hang cups on the side hooks.
Best for: Kitchens with no dishwasher and little counter.
Budget: $15 to $35
Quick tip: A roll-up mat rack stores flat between washes and saves drawer space. Let mats dry fully before rolling them away each time.
5. Park the Knife Block in the Corner
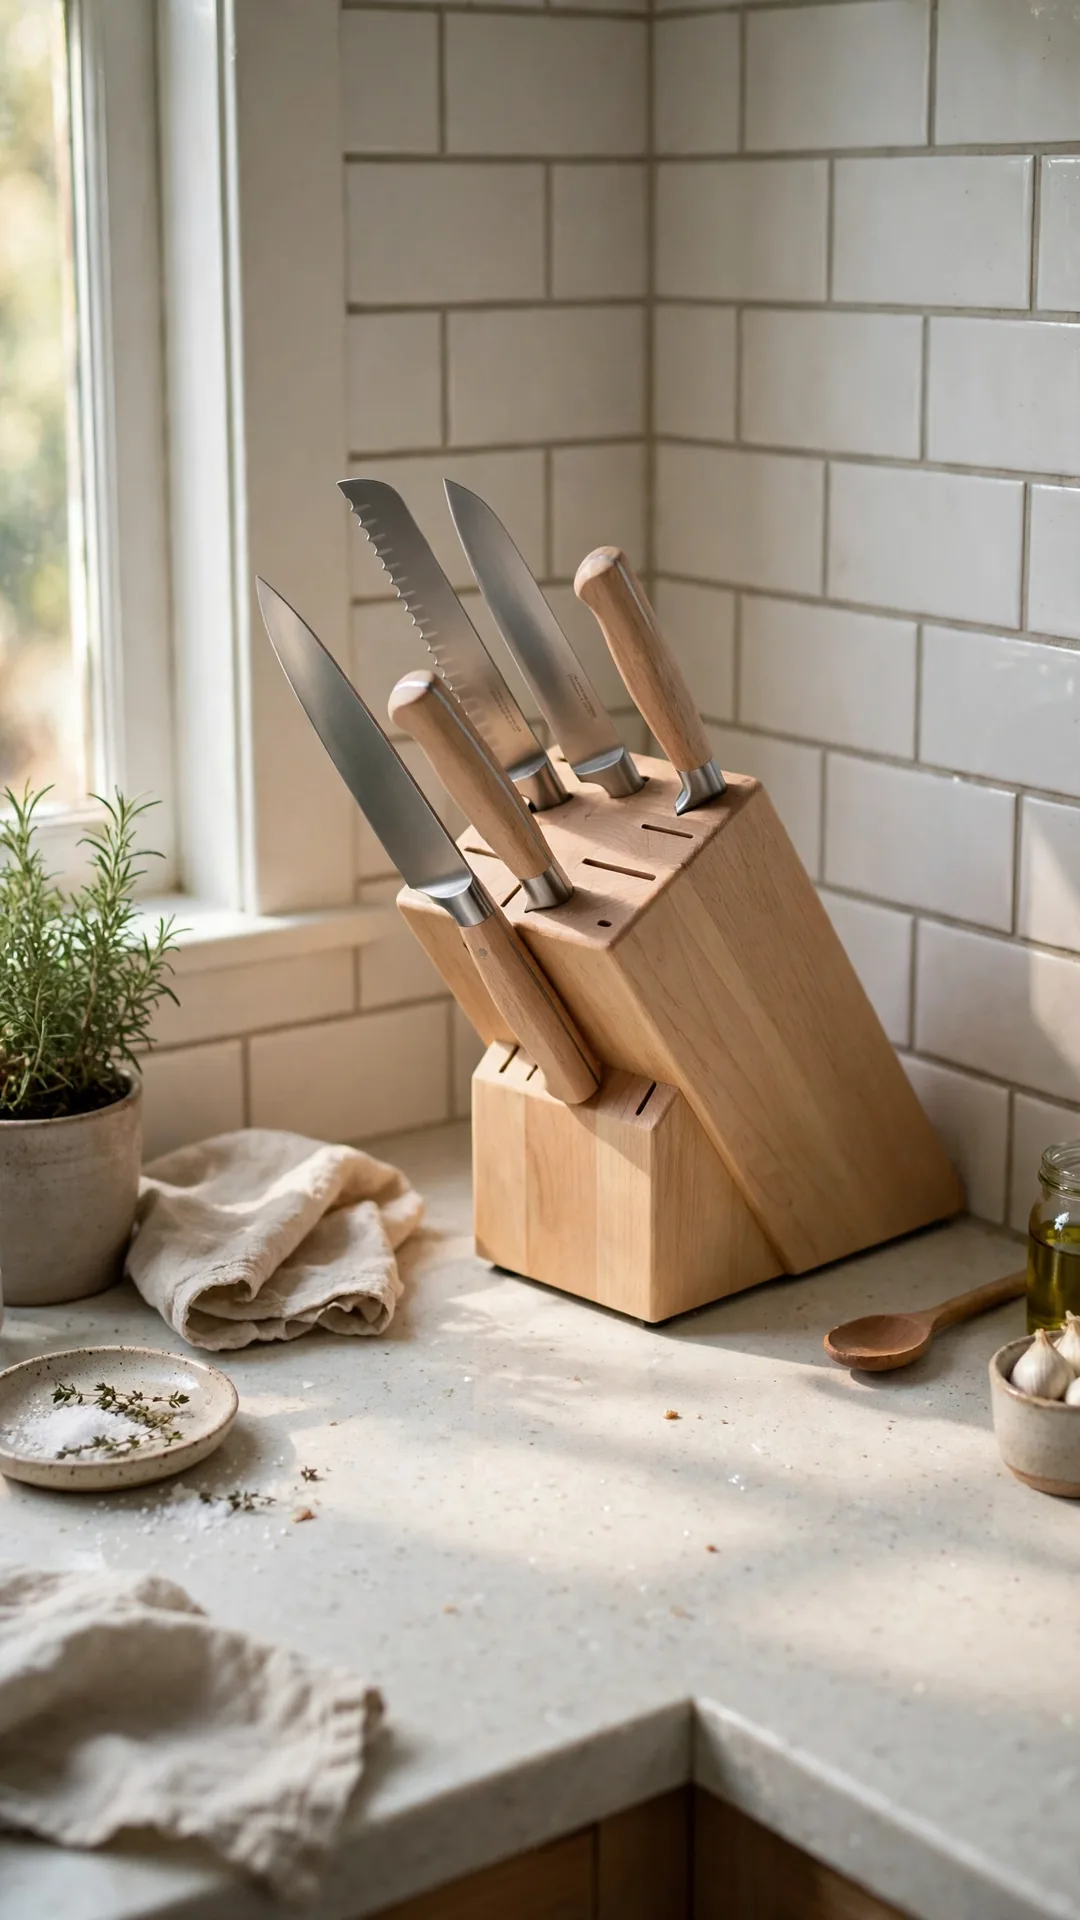
The counter corner suits a knife block better than any drawer. It is one of those small kitchen corner storage ideas that frees a full drawer. Blades stay visible, dry and easy to grab.
How to do it:
- Pick a block about 9 inches deep.
- Angle it 45 degrees into the corner.
- Keep daily knives in the front slots.
- Leave 2 inches behind for air flow.
Best for: Small kitchens short on drawer space.
Budget: $20 to $50
Quick tip: A magnetic strip works if the block feels bulky.
6. Stand Paper Towels Upright in the Corner
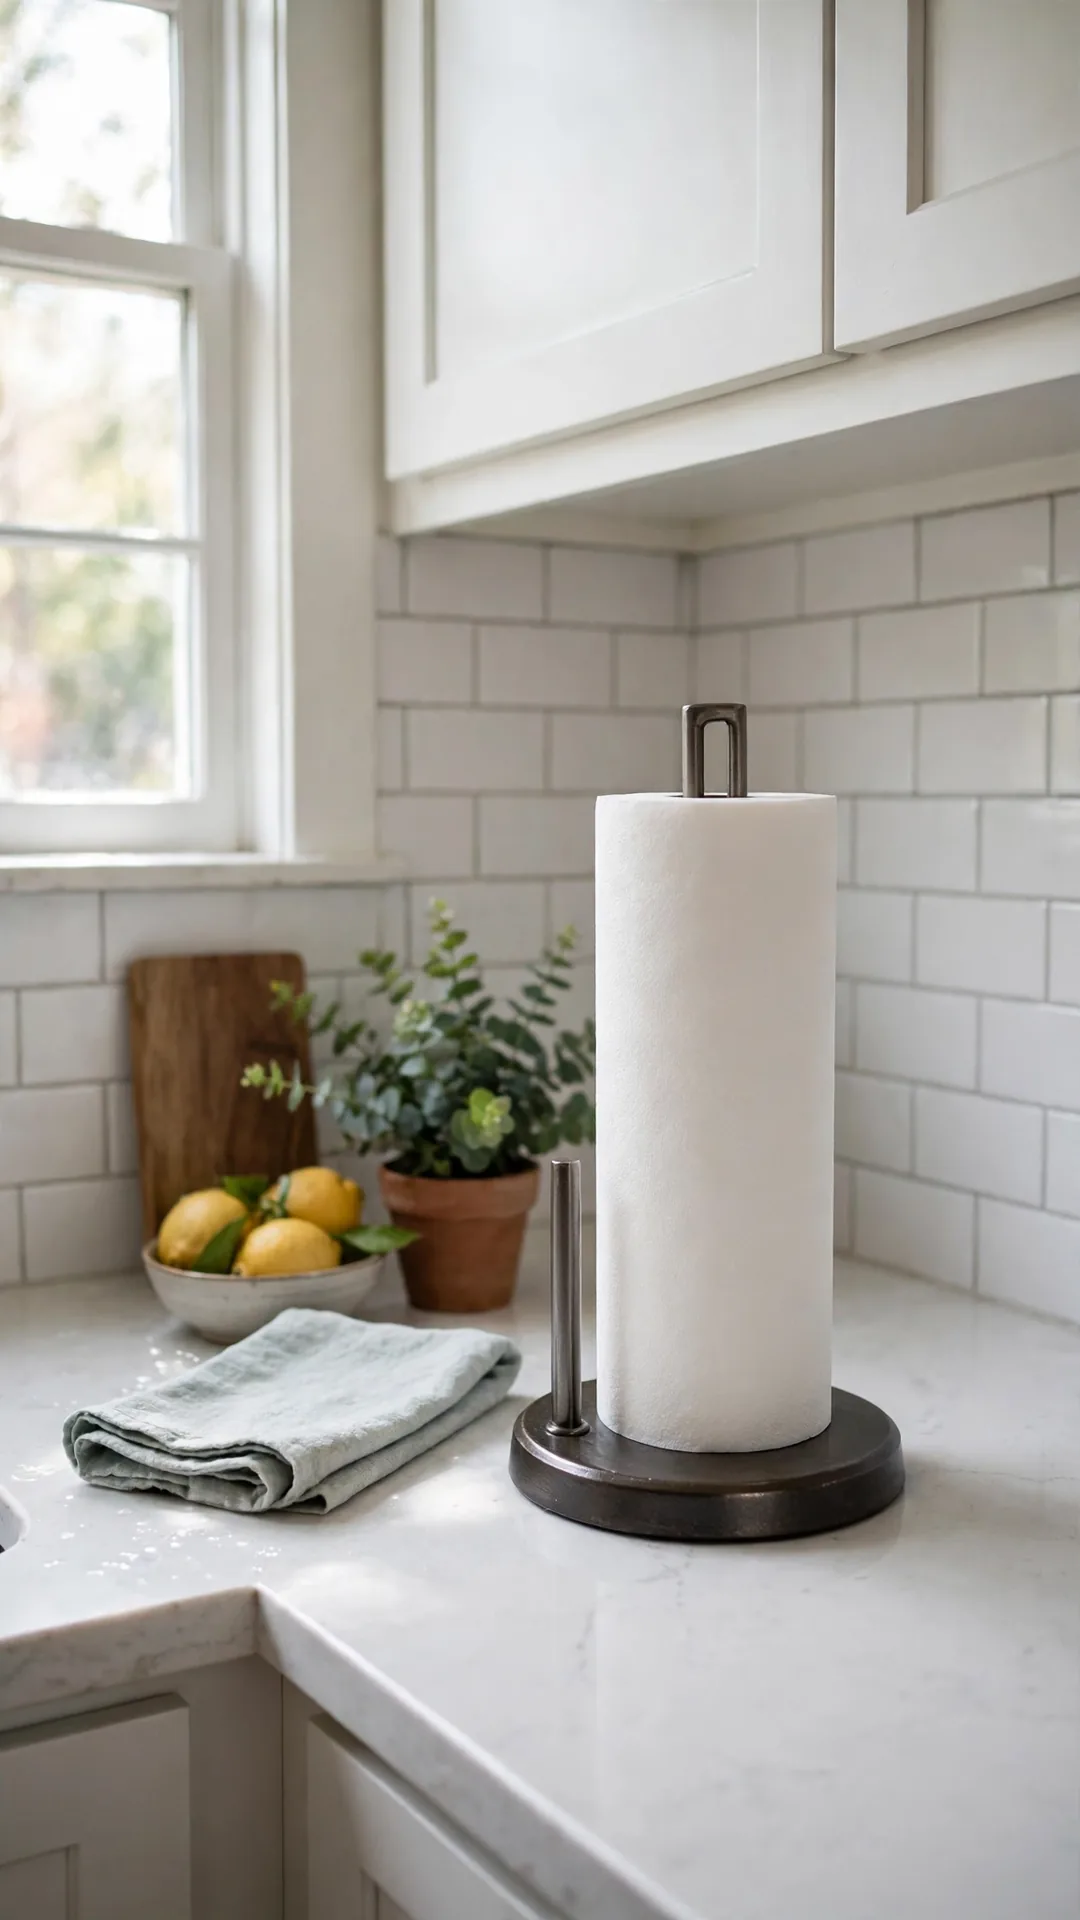
An upright holder turns the corner into a paper towel post. Rolls stay dry away from the sink splash zone. One hand tears a sheet while you cook.
How to do it:
- Choose a weighted base about 6 inches wide.
- Set it in the corner beside the stove.
- Keep one spare roll below the counter.
- Pick a holder with a tearing edge.
Best for: Busy cooks who like towels within reach.
Budget: $10 to $25
Quick tip: A heavy weighted base stops the holder tipping mid tear. Set it back from the counter edge for safer tearing.
7. Set a Turntable Inside the Corner Cabinet
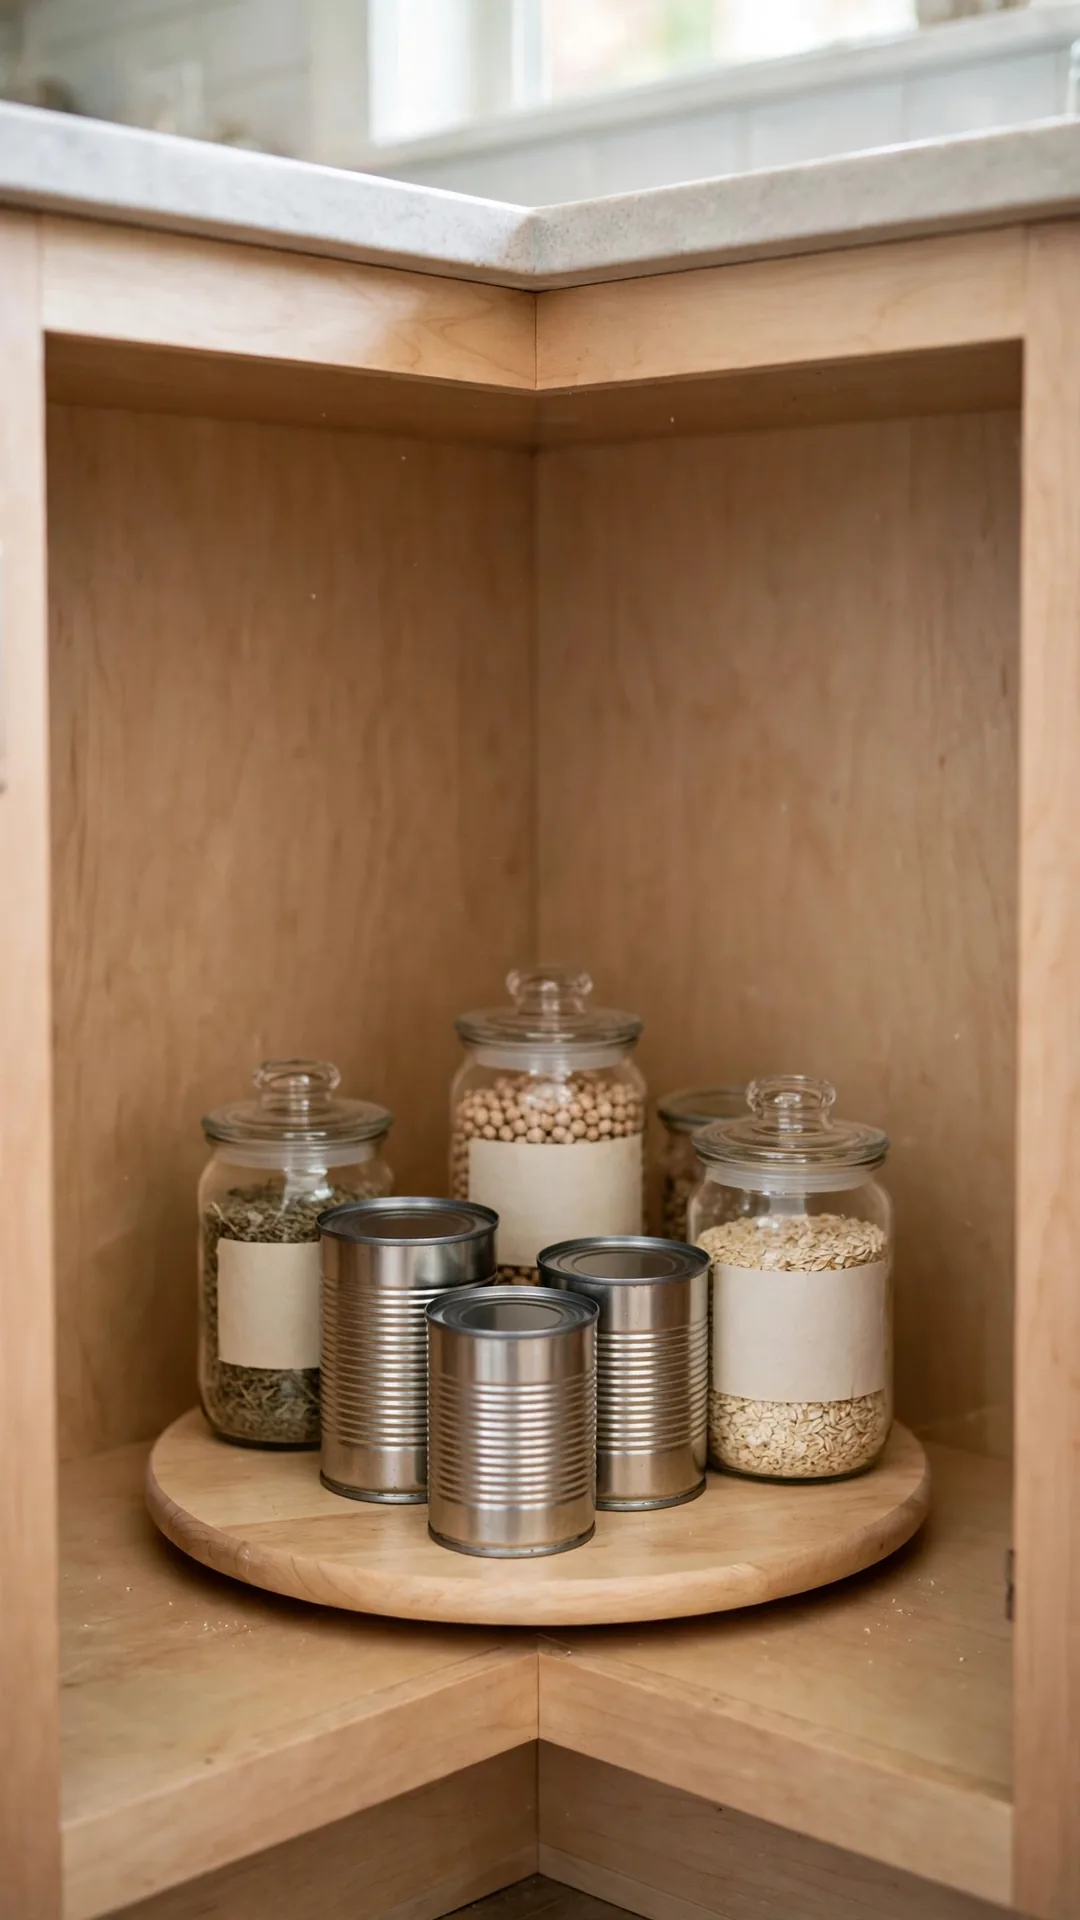
A single turntable inside the corner cabinet ends the reach and guess game. It ranks among the most copied small kitchen corner storage ideas for renters. Nothing fixes to the cabinet, so it moves with you.
How to do it:
- Measure the shelf width and depth first.
- Pick a turntable 15 to 18 inches wide.
- Load cans and jars around the rim.
- Keep one clear gap for tall bottles.
Best for: Renters with a fixed shelf corner cabinet.
Budget: $12 to $30
Quick tip: Non slip liner under the base stops slow drift.
8. Line the Corner Shelf with Wedge Bins
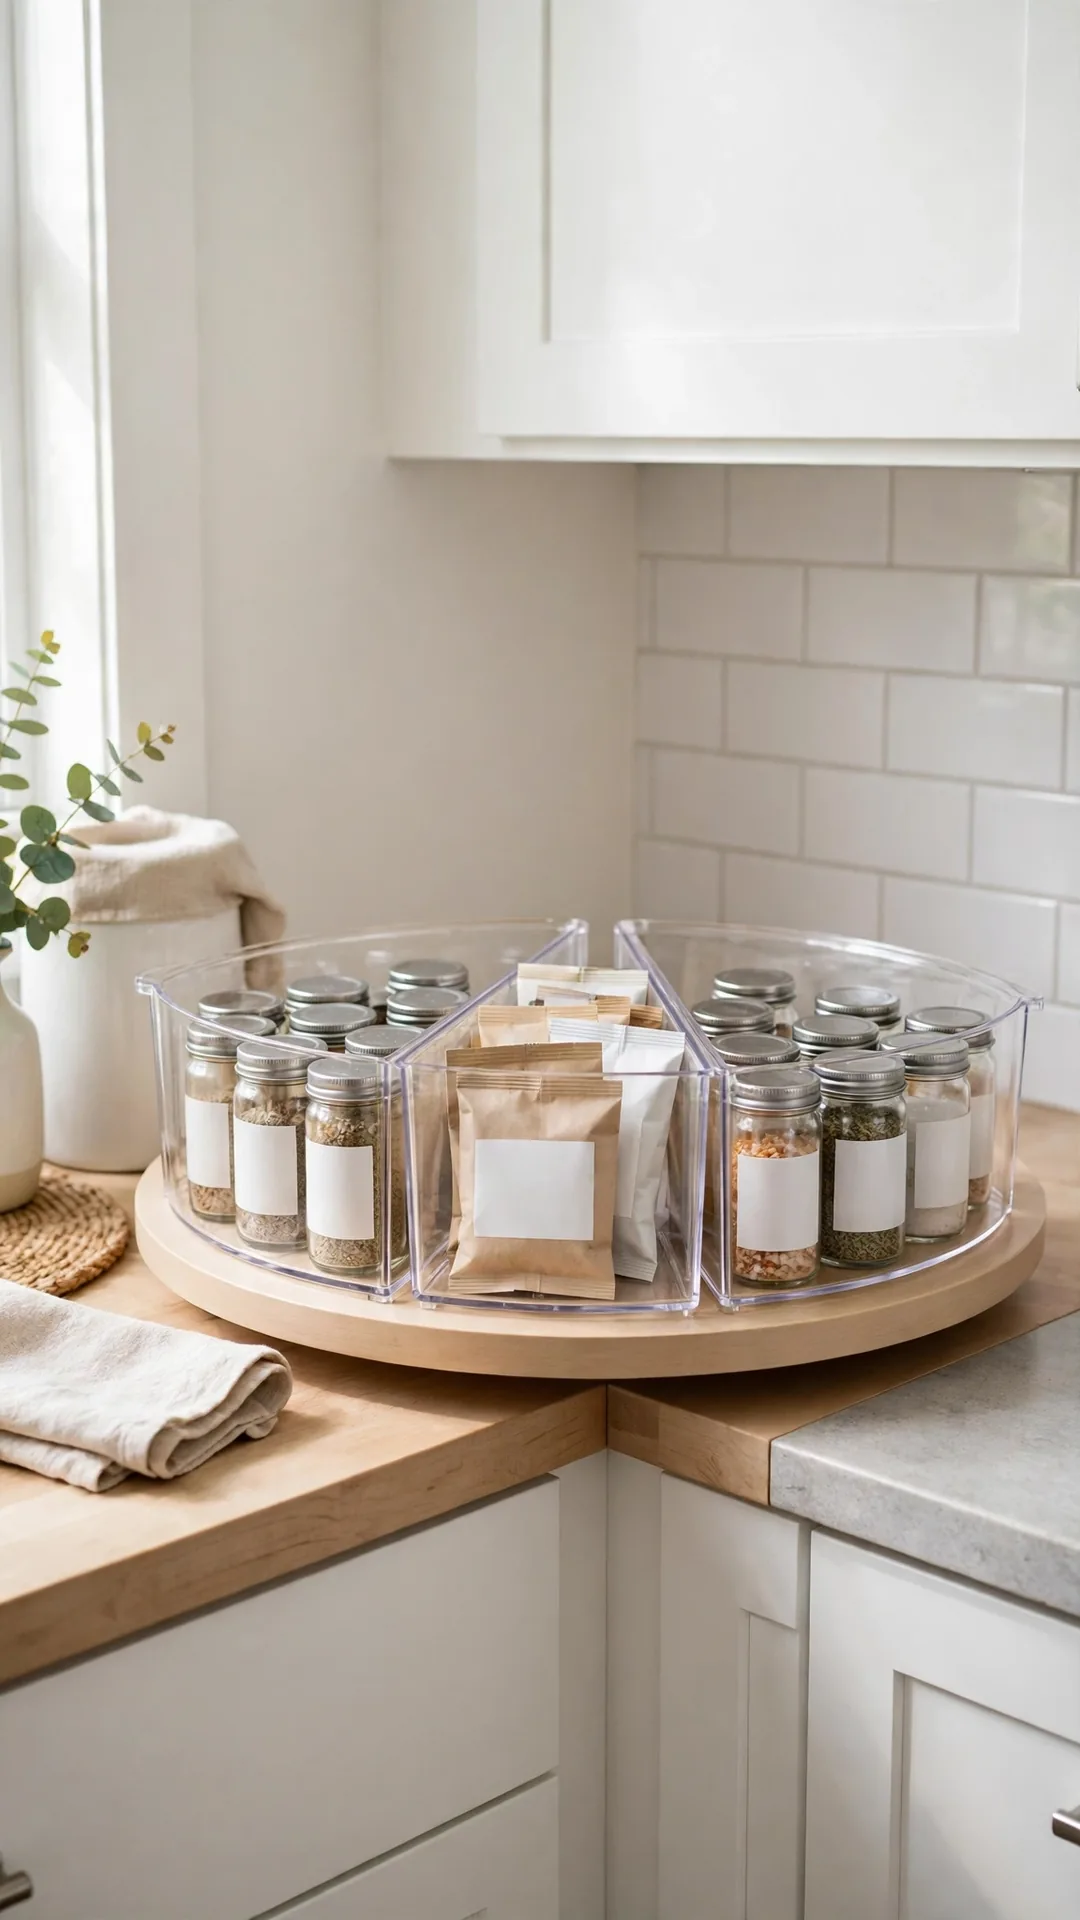
Pie-shaped bins match the curve of a corner shelf or susan. Three wedges fill one tier with no wasted gaps. Each wedge becomes a zone for one food group.
How to do it:
- Count the tiers you plan to fill.
- Buy wedges sized for your shelf depth.
- Sort cans, packets and jars by type.
- Face labels outward on every wedge.
Best for: Lazy susan tiers and curved corner shelves.
Budget: $15 to $30
Quick tip: Clear wedges show stock levels at a quick glance every time. Restock from the back so older items get used first.
9. Stack Clear Bins in the Deep Corner

Clear bins keep the deep corner honest because you see everything. Short bins slide forward like drawers on the shelf. Nothing hides long enough to expire at the back.
How to do it:
- Pick bins about 12 inches deep.
- Keep handles facing the door opening.
- Sort by meal or baking task.
- Limit each bin to one layer of jars.
Best for: Deep base corners without pull-out hardware.
Budget: $15 to $40
Quick tip: Square bins waste far less deep shelf space than round ones. Label each bin on the front face for fast grabs.
10. Hang Cups Under the Corner Cabinet

Screw hooks under the upper corner cabinet for mugs and cups. The row uses dead air space above the counter corner. Cups dry fast and free a whole shelf.
How to do it:
- Space hooks about 4 inches apart.
- Screw into the cabinet base frame only.
- Hang mugs by size, largest first.
- Keep the row clear of stove steam paths.
Best for: Mug collectors in cupboard-poor kitchens.
Budget: Under $15
Quick tip: Cup hooks with a swivel base save your knuckles daily. Leave a finger of space between mugs so they never clink together.
11. Float Two Shelves Across the Corner
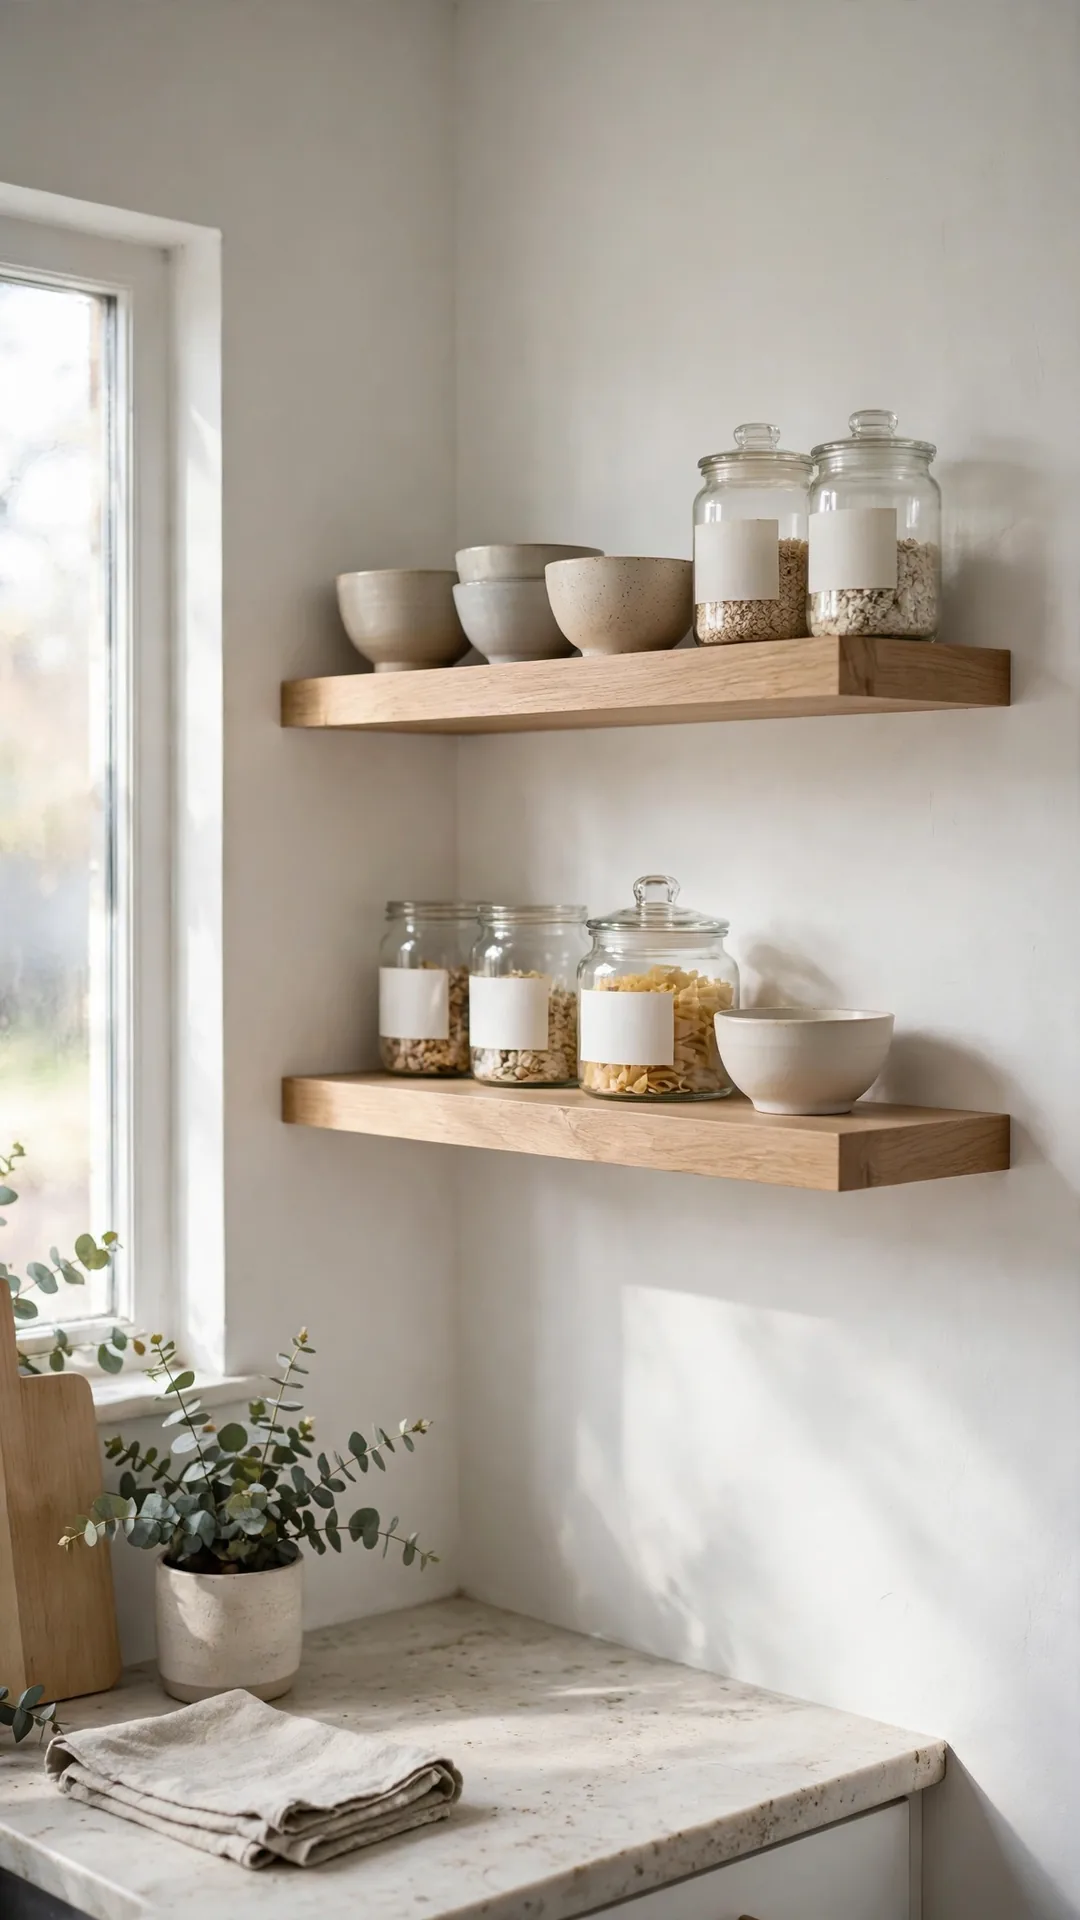
Two floating shelves turn a bare wall corner into storage. They are classic small kitchen corner storage ideas because no cabinet is needed. Keep daily bowls and glasses where you can see them.
How to do it:
- Cut shelves about 10 inches deep.
- Fix brackets into studs where possible.
- Leave 14 to 16 inches between shelves.
- Add a thin lip strip at the front edge.
Best for: Blank corners between window and cabinets.
Budget: $25 to $60
Quick tip: Paint shelves the wall color for a calm, built in look.
12. Wrap Open Shelves Around Both Walls
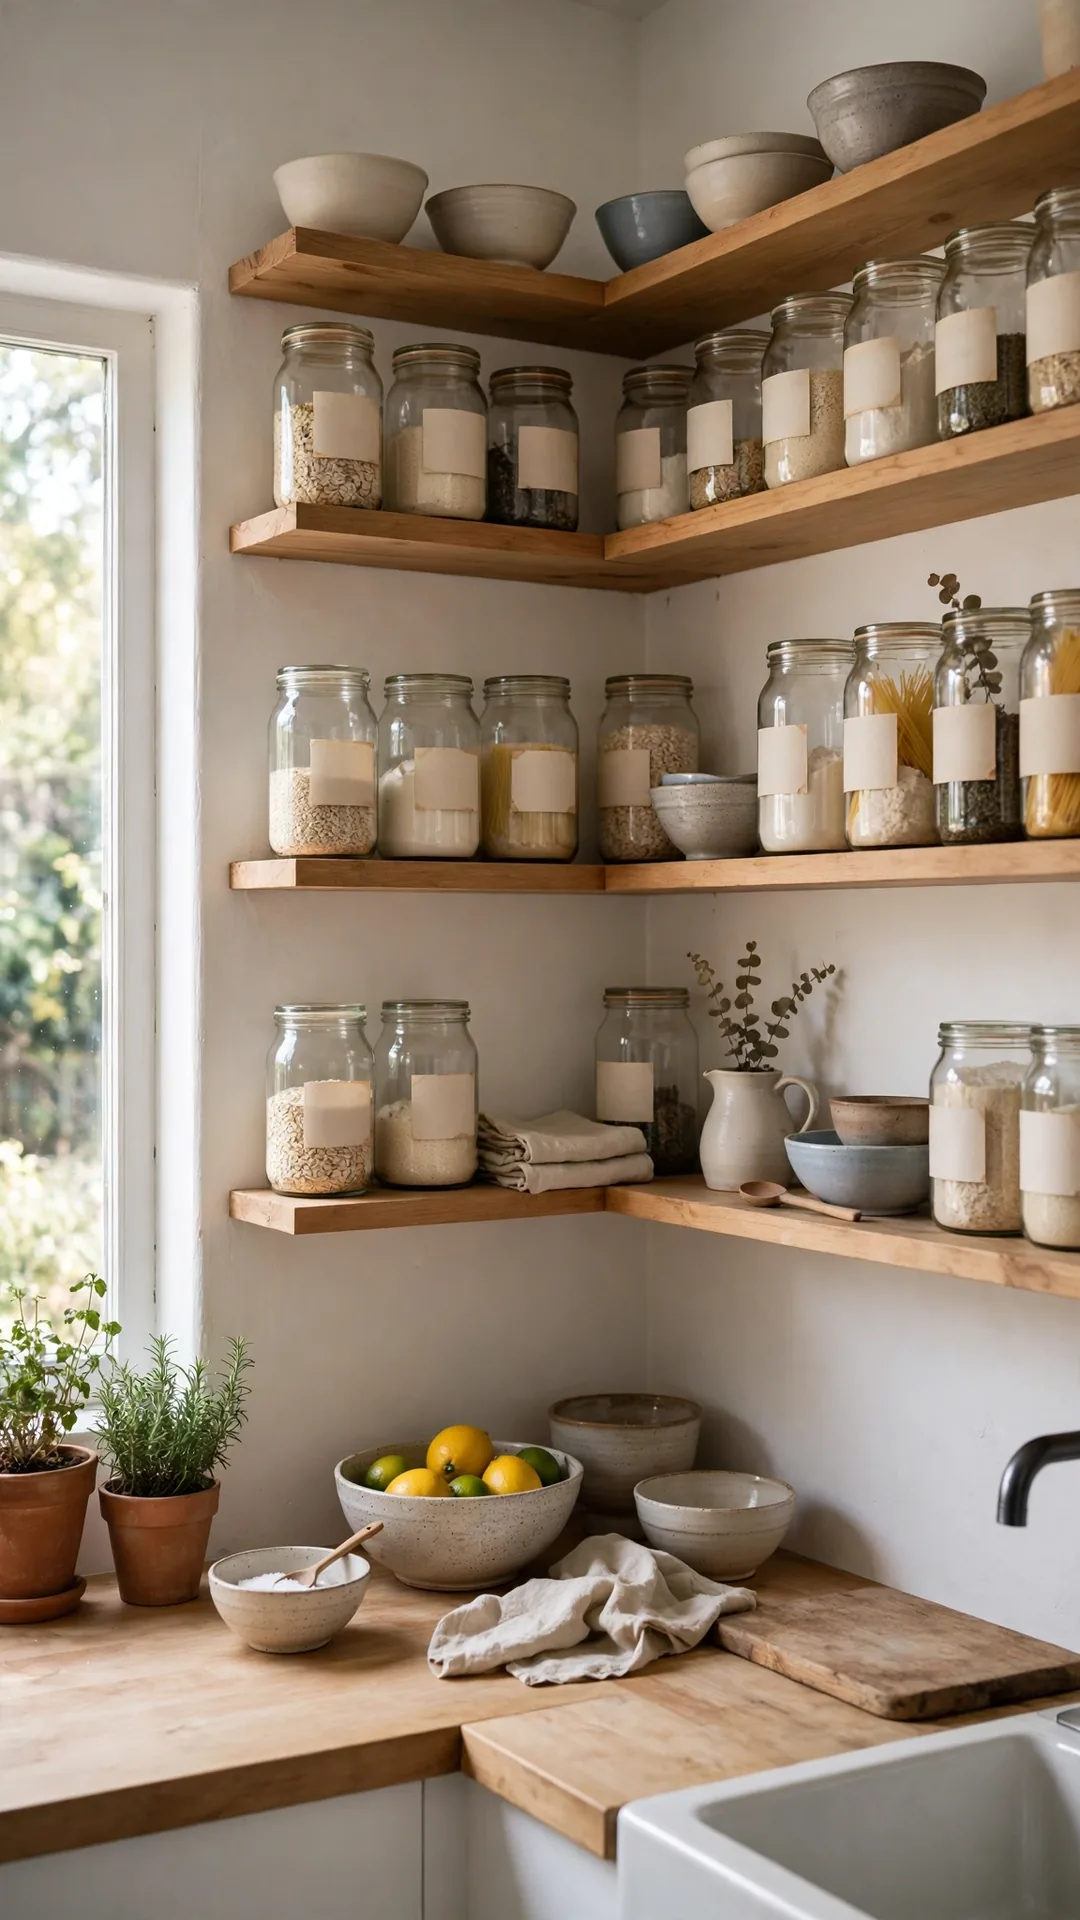
L-shaped shelves wrap the corner and join both walls. One long run holds more than two short shelves. The corner joint becomes the strongest display spot.
How to do it:
- Measure both walls from the corner out.
- Join two boards with a corner brace.
- Support the joint with one center bracket.
- Load the middle with your heaviest jars.
Best for: Open plan corners with no upper cabinets.
Budget: $40 to $90
Quick tip: Keep the prettiest jars at eye level in the center. Group jars by height so nothing hides behind taller pieces in back.
13. Stack Everyday Bowls on Corner Shelves
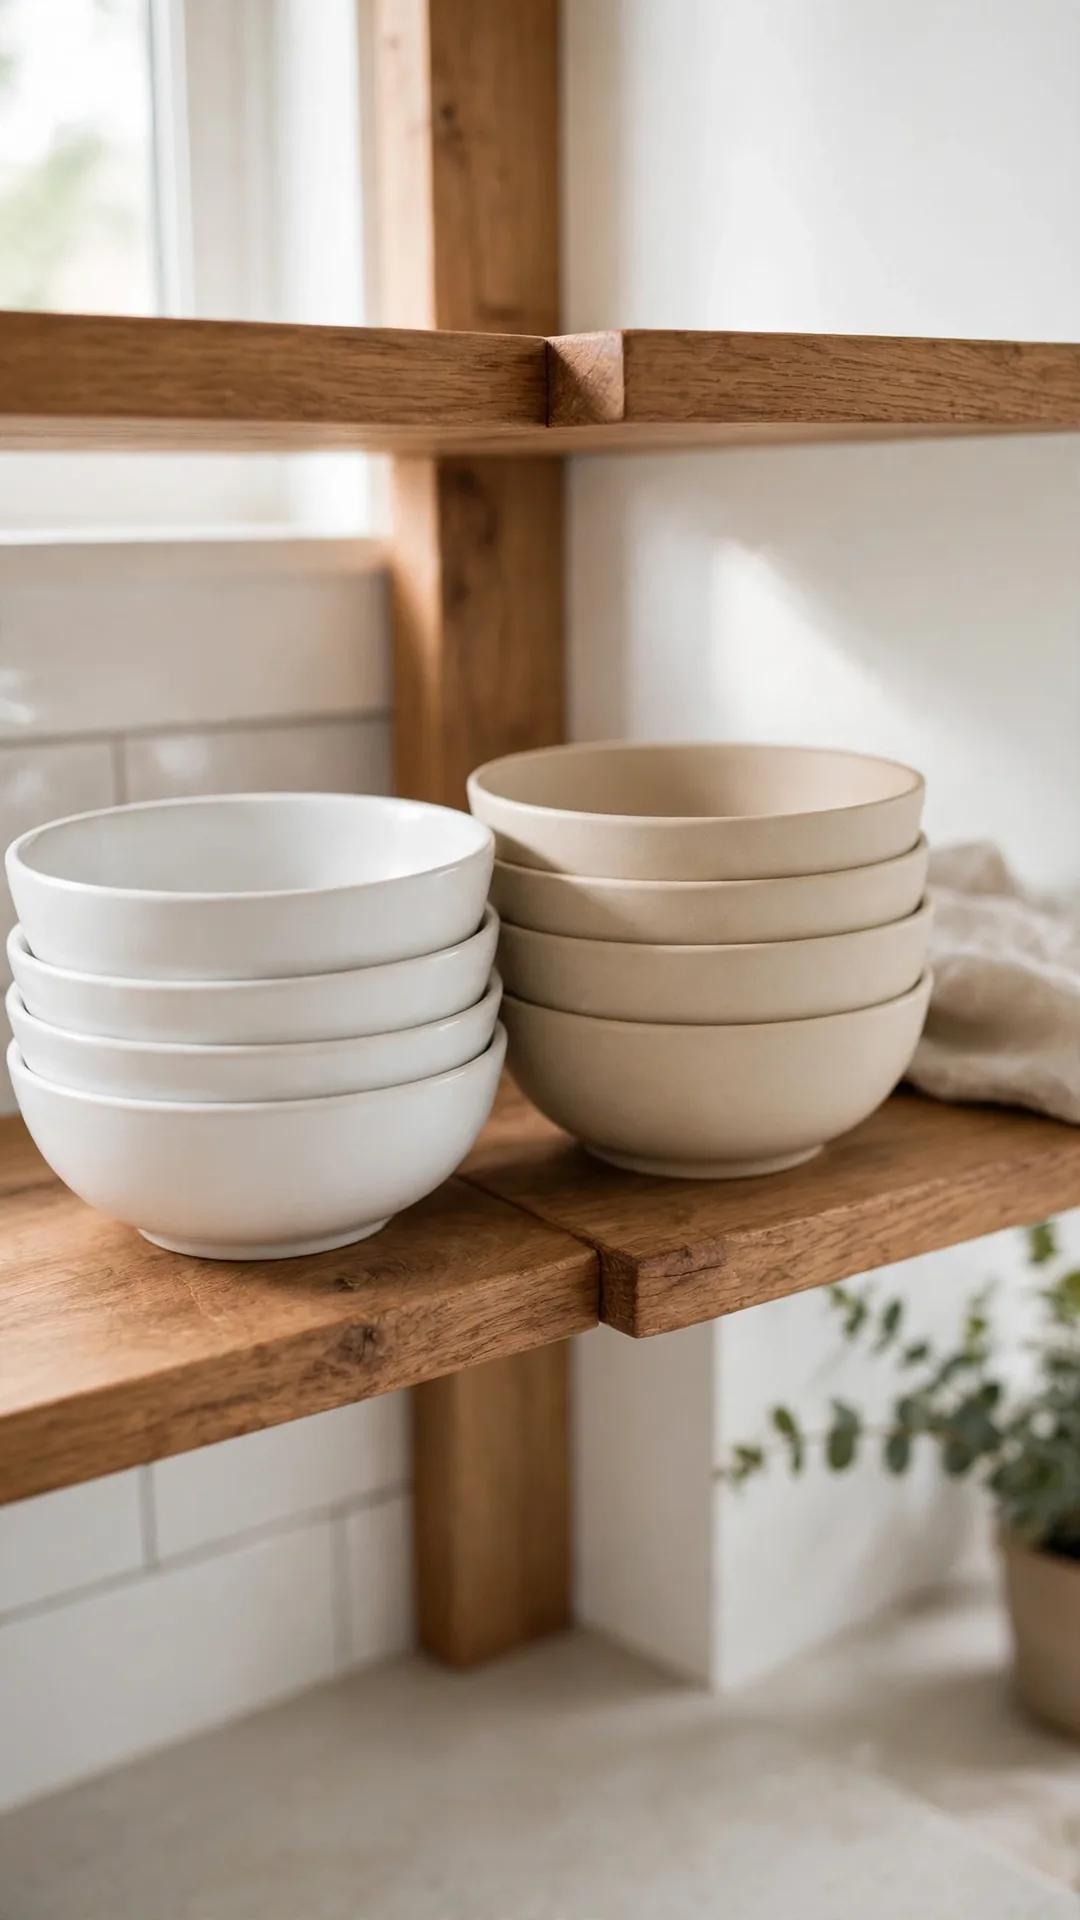
Everyday bowls stack safely on a sturdy corner shelf. Open storage speeds up breakfast and unloading the dishwasher. Keep the stack low so bowls stay easy to lift.
How to do it:
- Stack no more than six bowls high.
- Put daily bowls at waist to eye level.
- Add a non slip mat under the stack.
- Keep serving bowls on a higher shelf.
Best for: Households that eat from bowls daily.
Budget: $20 to $50
Quick tip: One bowl type per stack prevents wobbly towers of bowls. Add felt pads between bowls to stop chips and loud clinks.
14. Keep Cookbooks Standing on a Corner Shelf
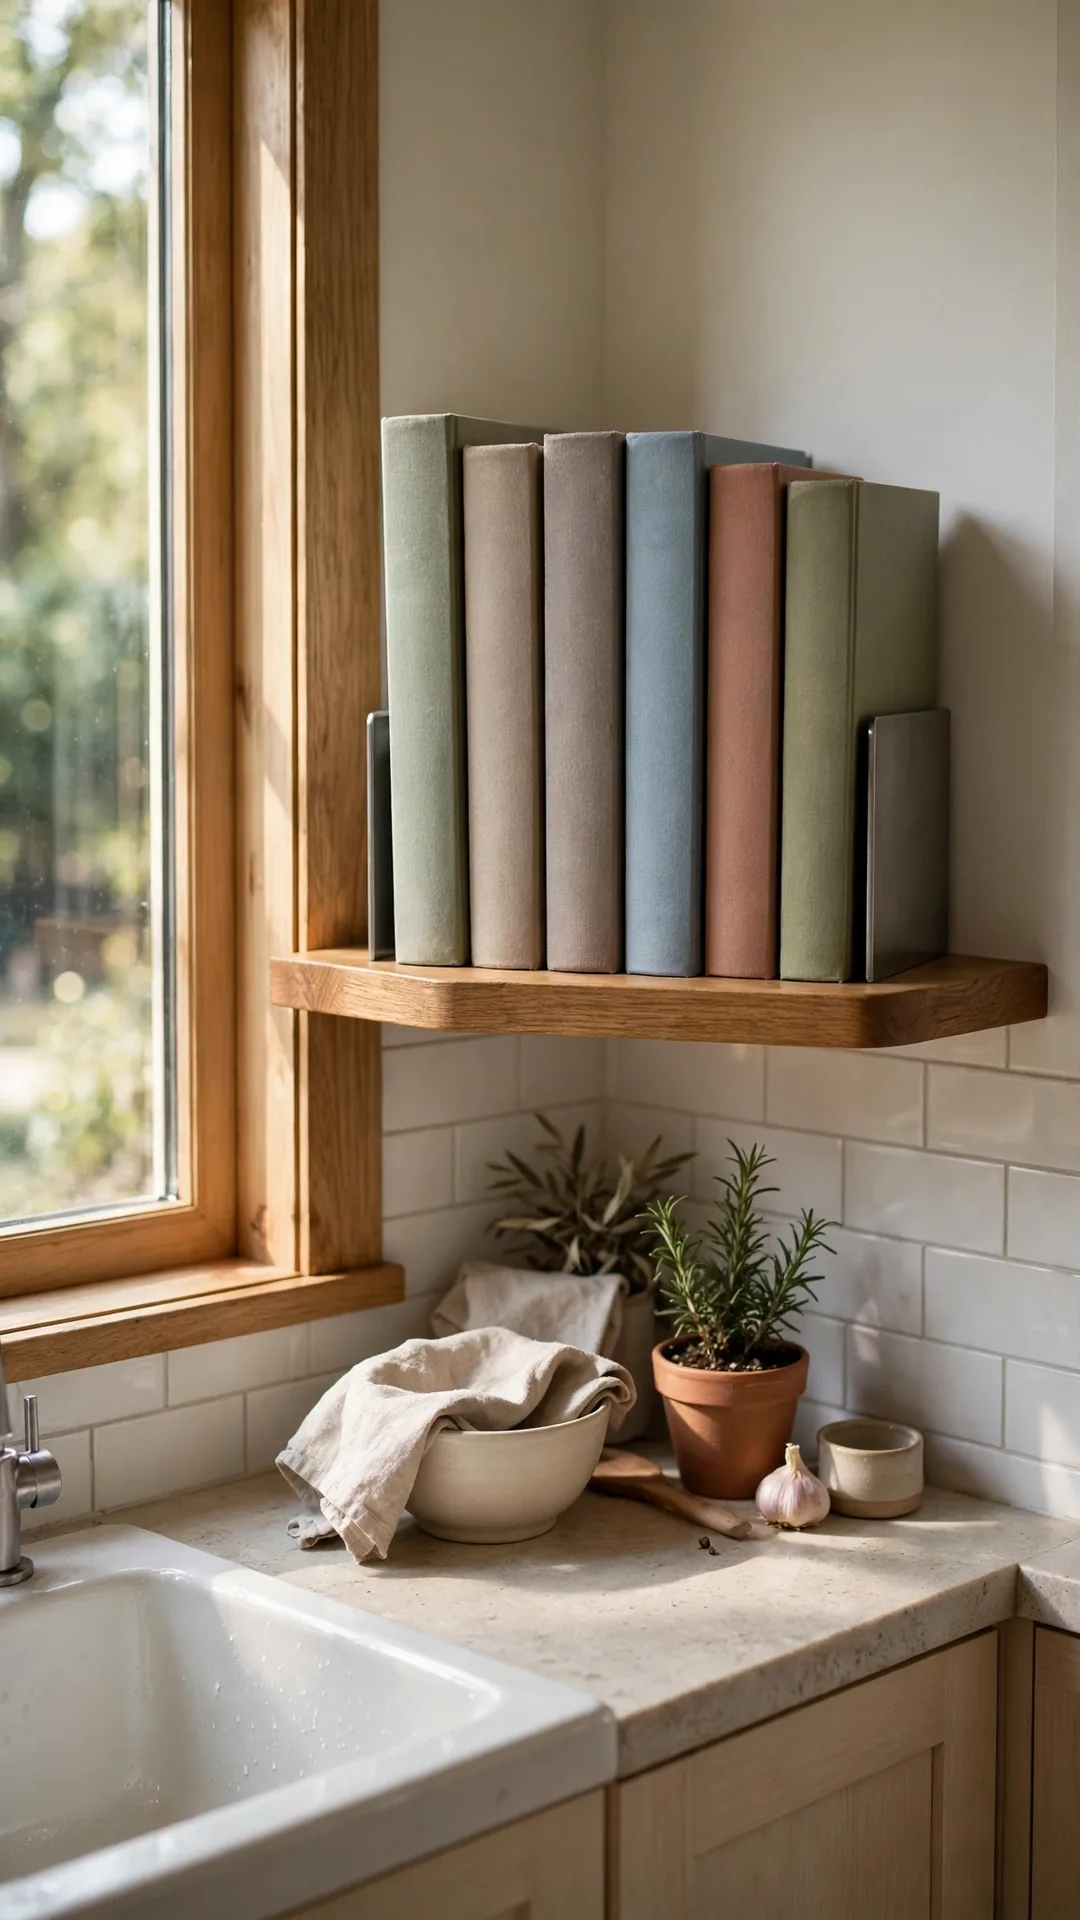
A short corner shelf keeps cookbooks upright and off the counter. Bookends stop the row leaning into the corner. Spines face out so your favorites stay easy to spot.
How to do it:
- Pick a shelf about 8 inches deep.
- Stand books between two heavy bookends.
- Keep the five books you use most.
- Wipe the shelf weekly against flour dust.
Best for: Cooks with a small favorite book set.
Budget: $15 to $40
Quick tip: A spare bookend doubles as a sturdy tablet stand too. Keep the charging cord tucked behind the stand and out of sight.
15. Grow Herbs on a Sunny Corner Shelf

A sunny wall corner grows herbs better than a crowded sill. Small pots on a corner shelf rate high among small kitchen corner storage ideas for cooks. Basil, mint and chives stay steps from the stove.
How to do it:
- Choose a shelf that gets six hours of light.
- Use pots 4 to 6 inches wide.
- Set a tray under pots for drips.
- Group thirsty herbs on one side.
Best for: South or west facing kitchen corners.
Budget: $15 to $35
Quick tip: Self watering pots forgive a missed day.
16. Mount a Plate Rack on the Corner Wall
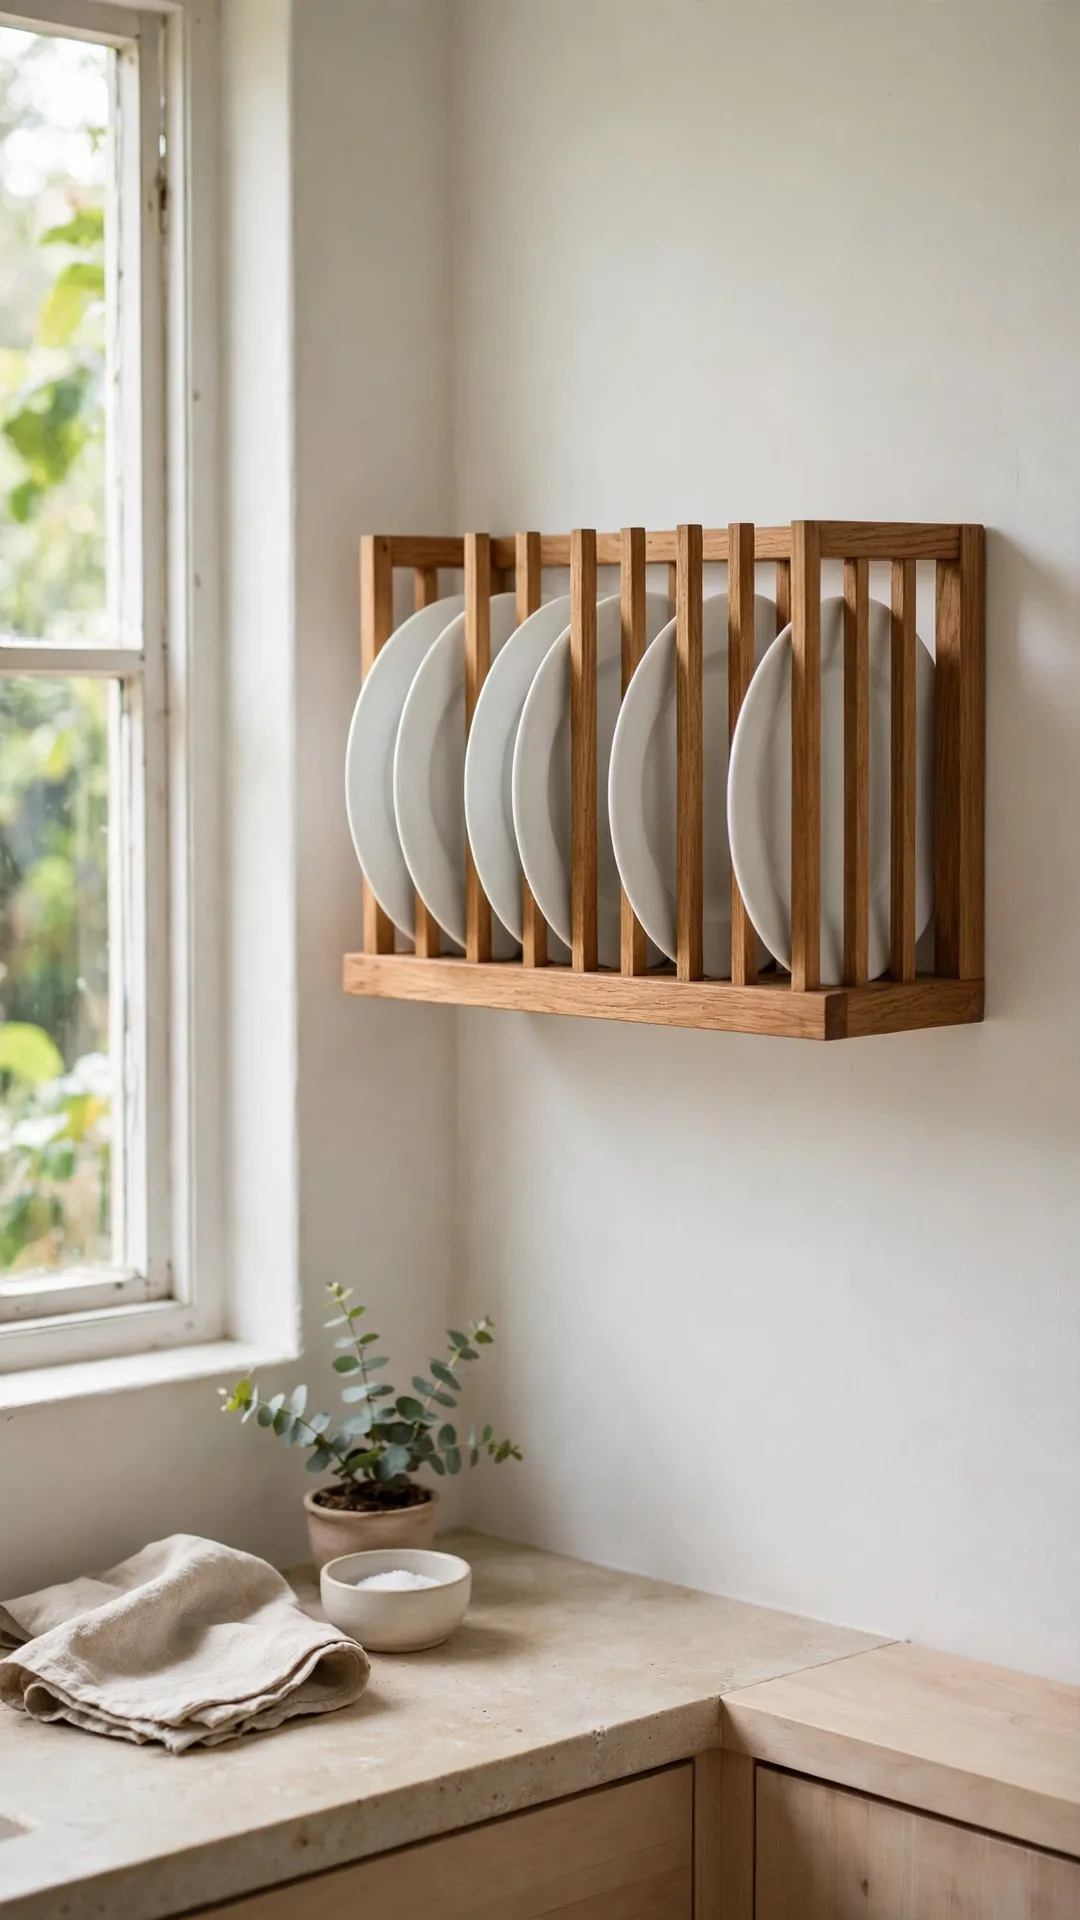
A wall plate rack turns the corner into vertical dish storage. Plates slide in upright and dry in open air. The rack frees a full cupboard for pots.
How to do it:
- Pick a rack about 24 inches tall.
- Fix it into studs or strong anchors.
- Slot plates from large to small.
- Keep daily plates at the front slots.
Best for: Kitchens with one shallow upper cabinet.
Budget: $25 to $60
Quick tip: Felt pads on rails quiet plate clinks during daily use. Replace worn pads yearly so plates stay quiet and chip free.
17. Put Glass Jars on the Highest Shelf
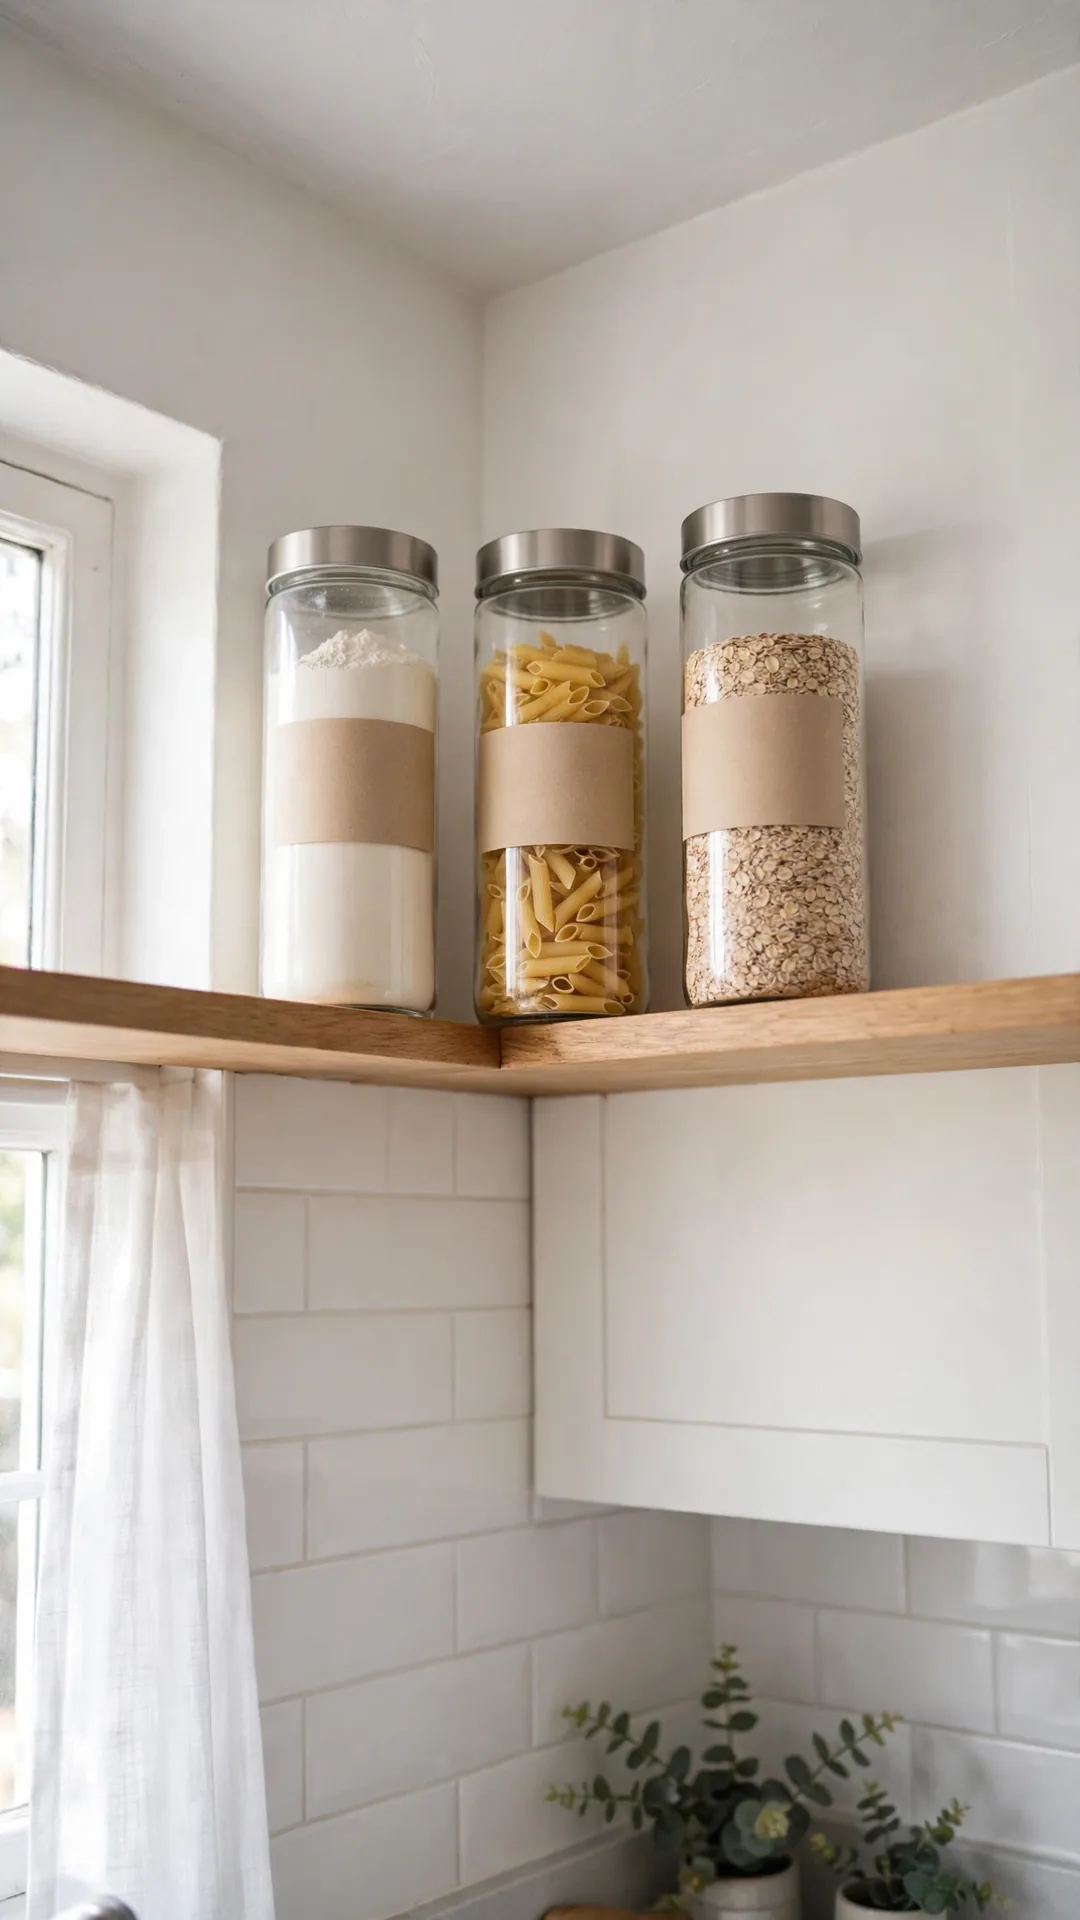
Glass jars of flour, rice and pasta shine on the top corner shelf. Clear glass shows stock before you run out. Matching jars calm the whole wall corner.
How to do it:
- Use jars with wide mouths for scoops.
- Fill jars only three quarters full.
- Put heavy jars on the lowest shelf.
- Keep scoops inside the two biggest jars.
Best for: Open shelf corners above the counter.
Budget: $20 to $45
Quick tip: Plain blank labels keep the whole look clean and simple. Use a fine marker so labels stay neat and easy to read.
18. Add a Rail Beneath the Corner Shelf
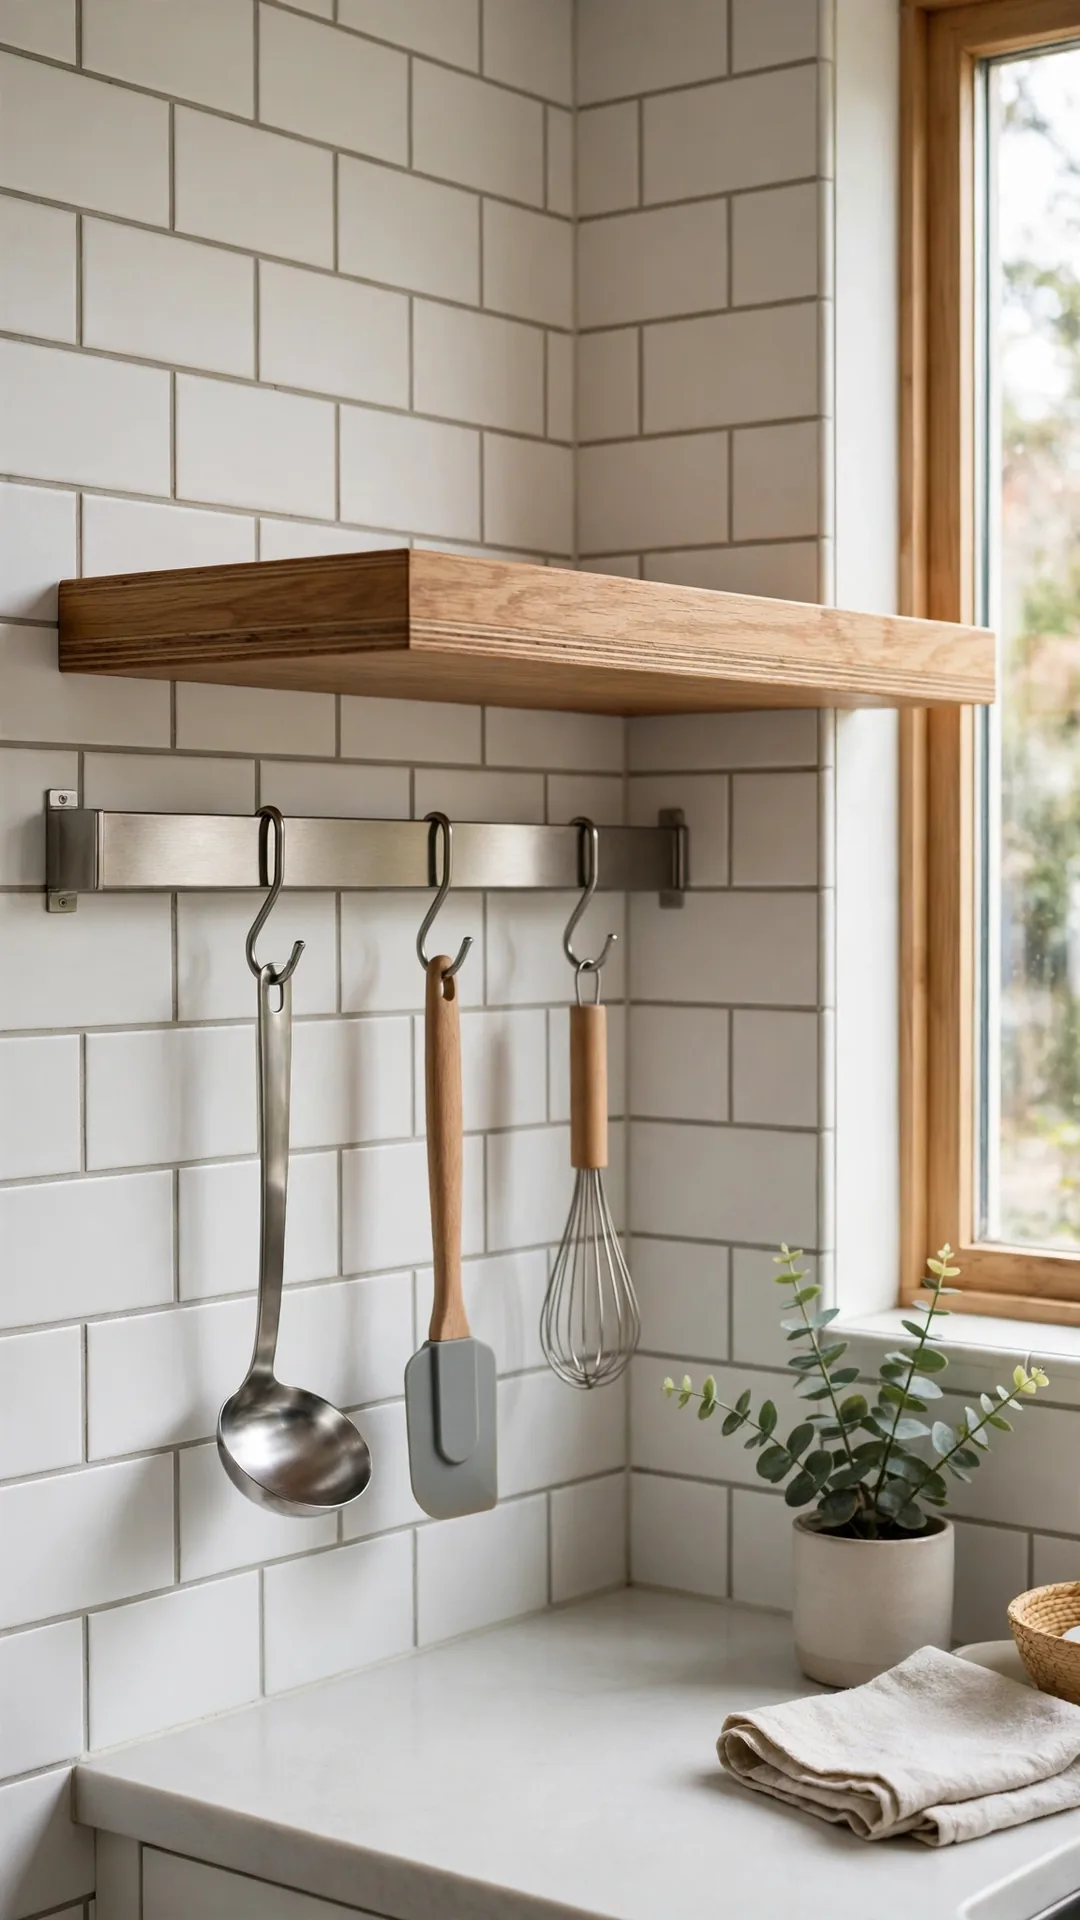
A rail under the corner shelf holds utensils on S hooks. Ladles and strainers hang clear of the drawer tangle. The setup suits corners beside the stove best.
How to do it:
- Fix a rail about 18 inches long.
- Use hooks rated for 5 pounds each.
- Hang tools you reach for daily.
- Keep sharp tools on the end hooks.
Best for: Corners right beside the stove top.
Budget: $12 to $30
Quick tip: Sort hooks by task, with daily prep tools on one side. Hang the tools you use most at the front of the row.
19. Spin a Two-Tier Lazy Susan Inside

A two-tier lazy susan spins the whole base corner to you. It stays one of the best loved small kitchen corner storage ideas for deep cabinets. Corners carry much of the load in most small space kitchen ideas, and this one earns its keep.
How to do it:
- Measure the cabinet opening and inside depth.
- Pick trays 28 to 32 inches wide.
- Set the pole height to clear both trays.
- Load heavy cans on the lower tray.
Best for: L-shaped kitchens with a bifold corner door.
Budget: $60 to $150
Quick tip: Leave a finger width gap at the tray edge.
20. Swing Out a Half-Moon Shelf Set
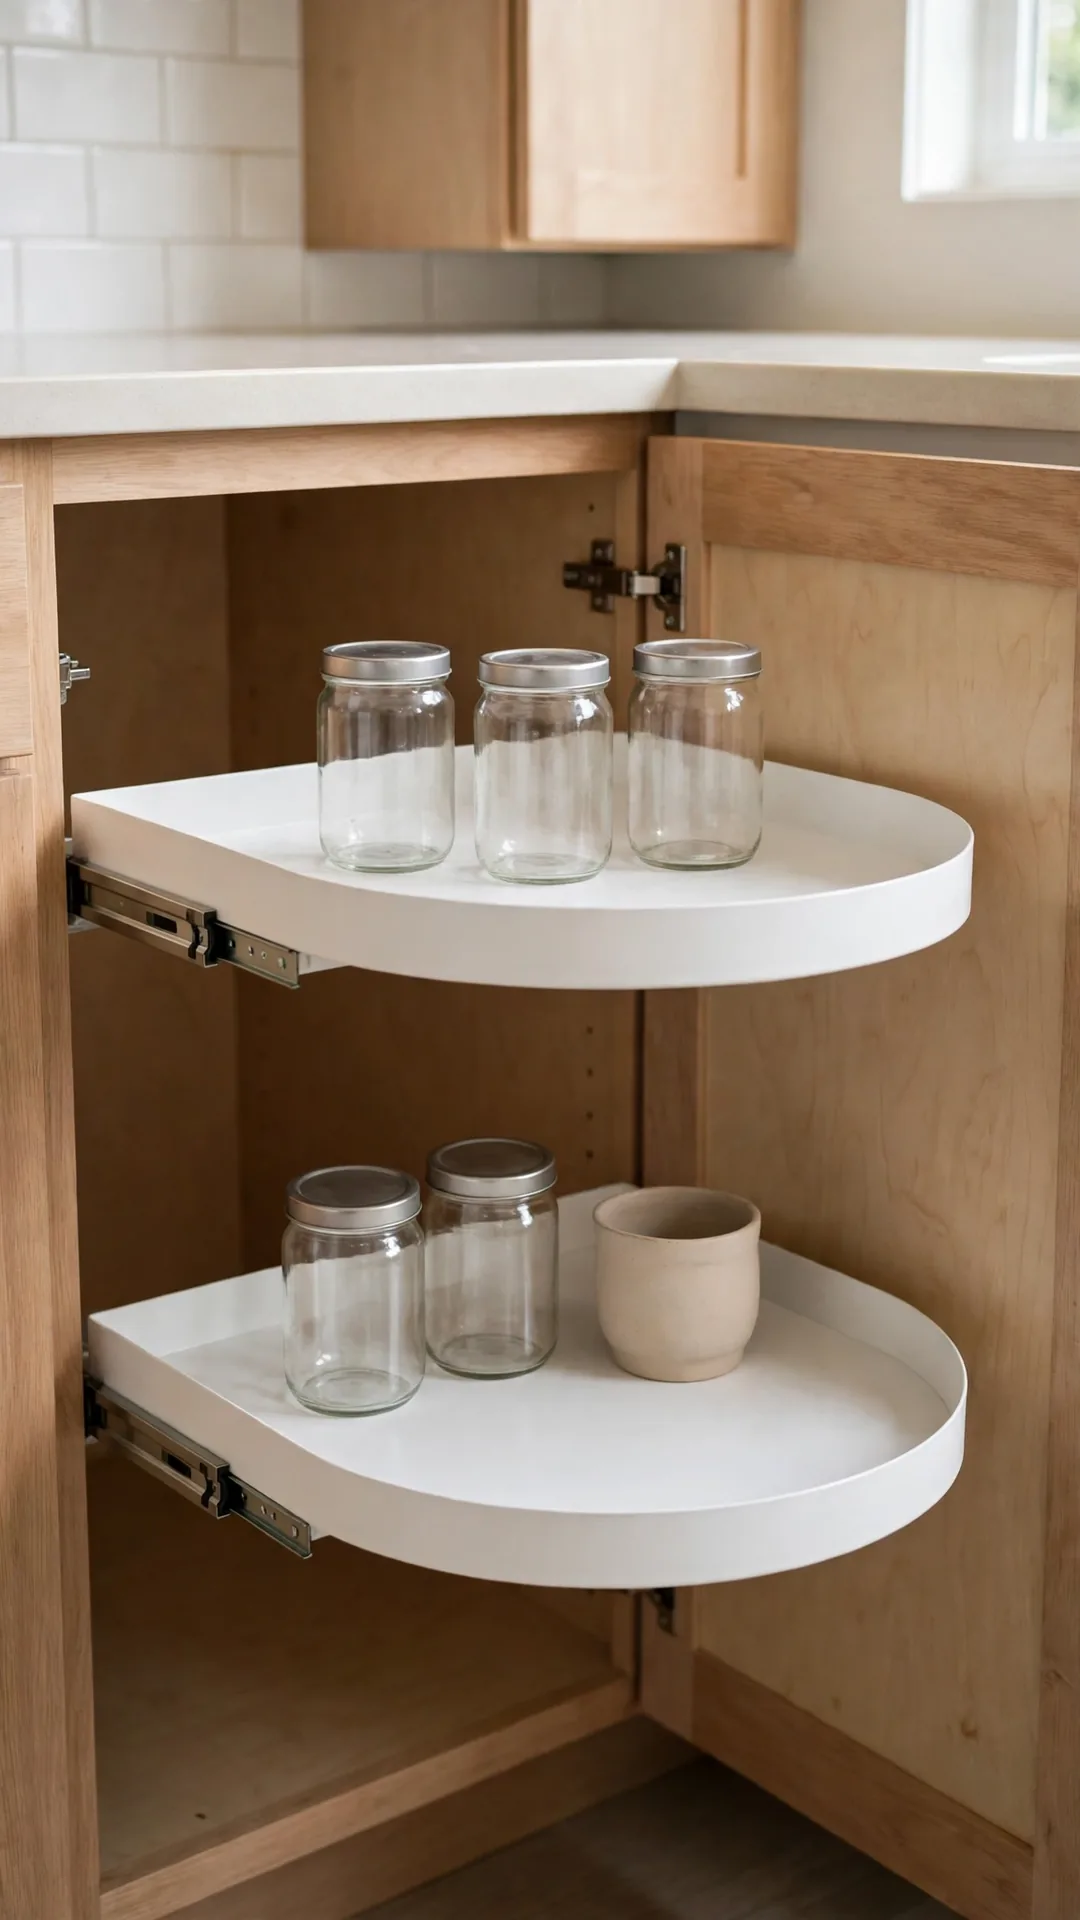
Half-moon shelves swing out of a blind corner in one pull. Each tray pivots toward the opening, then slides forward. Pro organizers share more detail on how to organize corner cabinets of every shape.
How to do it:
- Measure the door opening width first.
- Pick trays sized for blind left or right.
- Screw the frame to the cabinet floor.
- Test the swing before loading it.
Best for: Blind corners with a single narrow door.
Budget: $120 to $250
Quick tip: Keep tall bottles on the front tray only for easy reach.
21. Pull the Blind Corner Out in Baskets
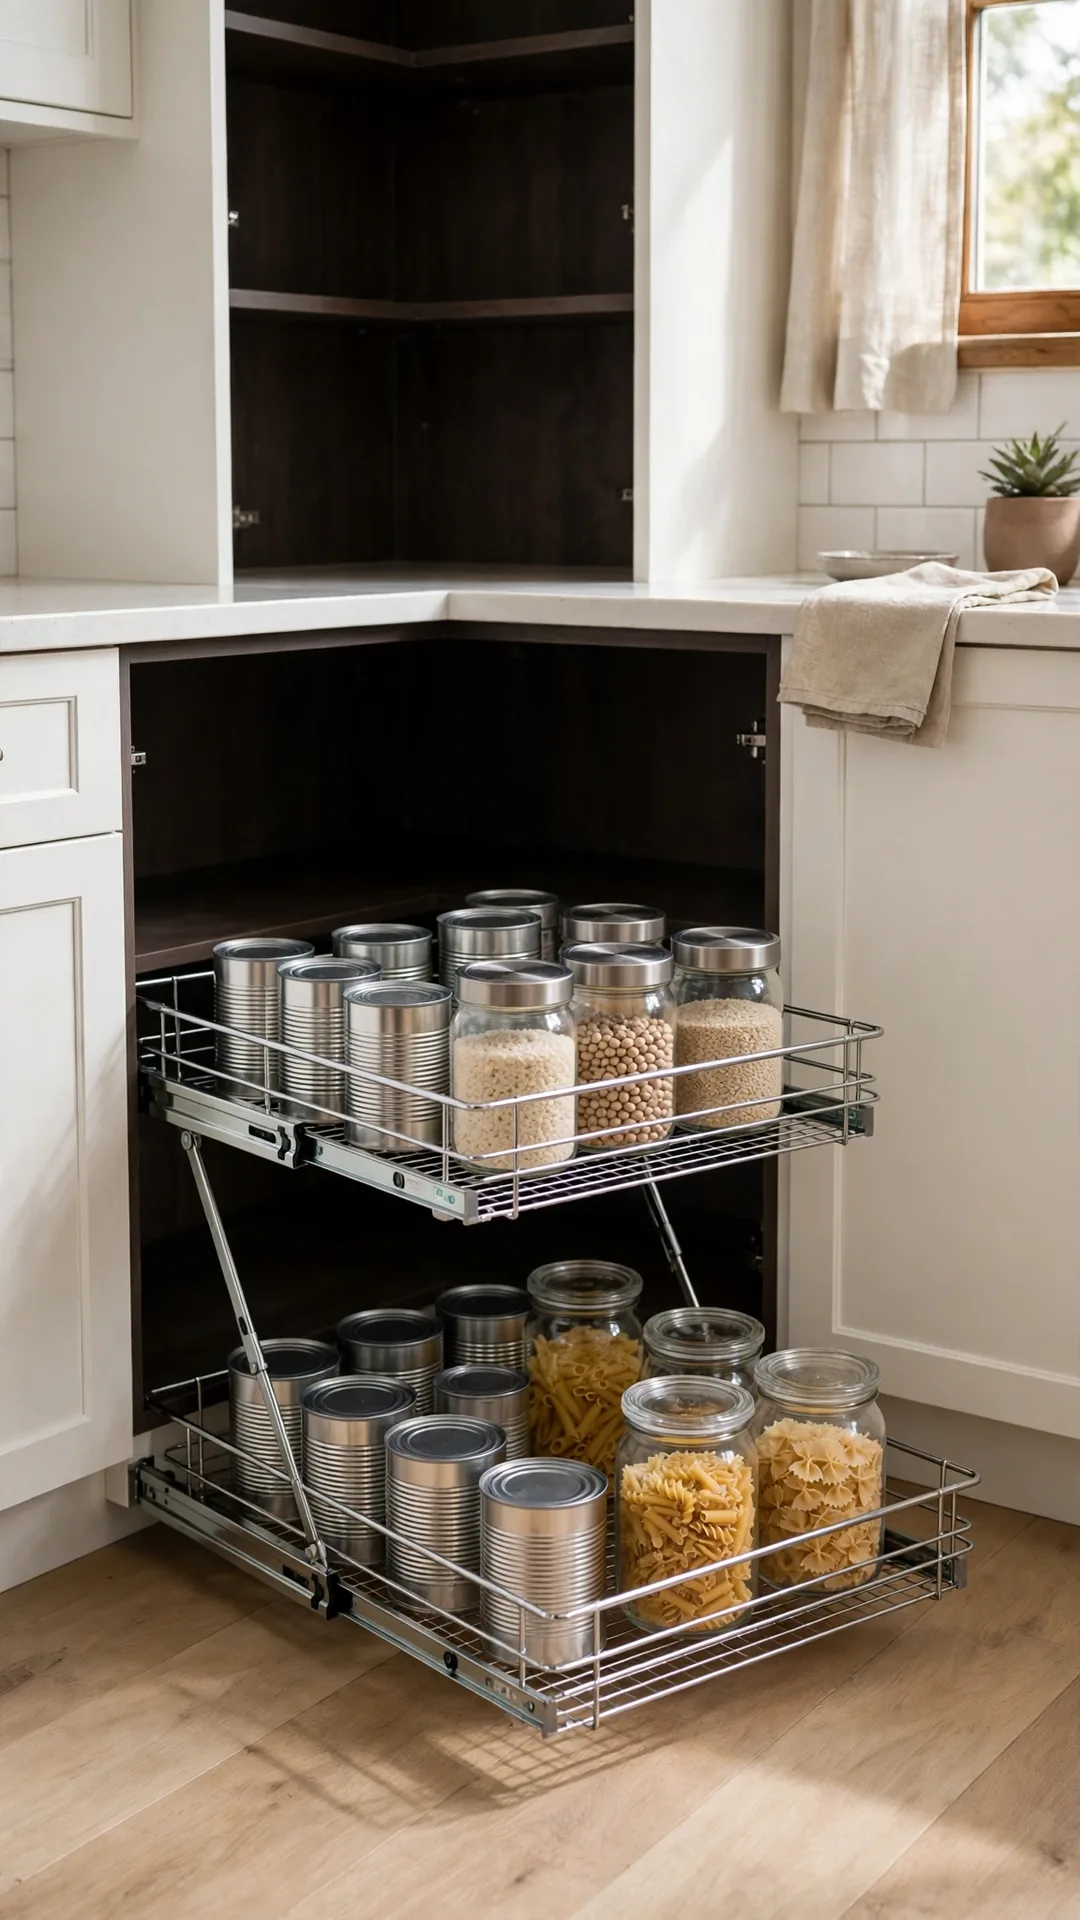
Wire basket pull-outs drag the blind corner into daylight. Two baskets slide out, then shift sideways for full reach. This Old House walks through how to add kitchen cabinet storage with similar hardware steps.
How to do it:
- Confirm your cabinet depth and door swing.
- Choose soft close slides for heavy loads.
- Fix the frame level on the floor.
- Load pots low and lids up top.
Best for: Owners ready for a half day install.
Budget: $150 to $300
Quick tip: Keep the box and receipt until it slides clean.
22. Slide a Rolling Platform into the Corner
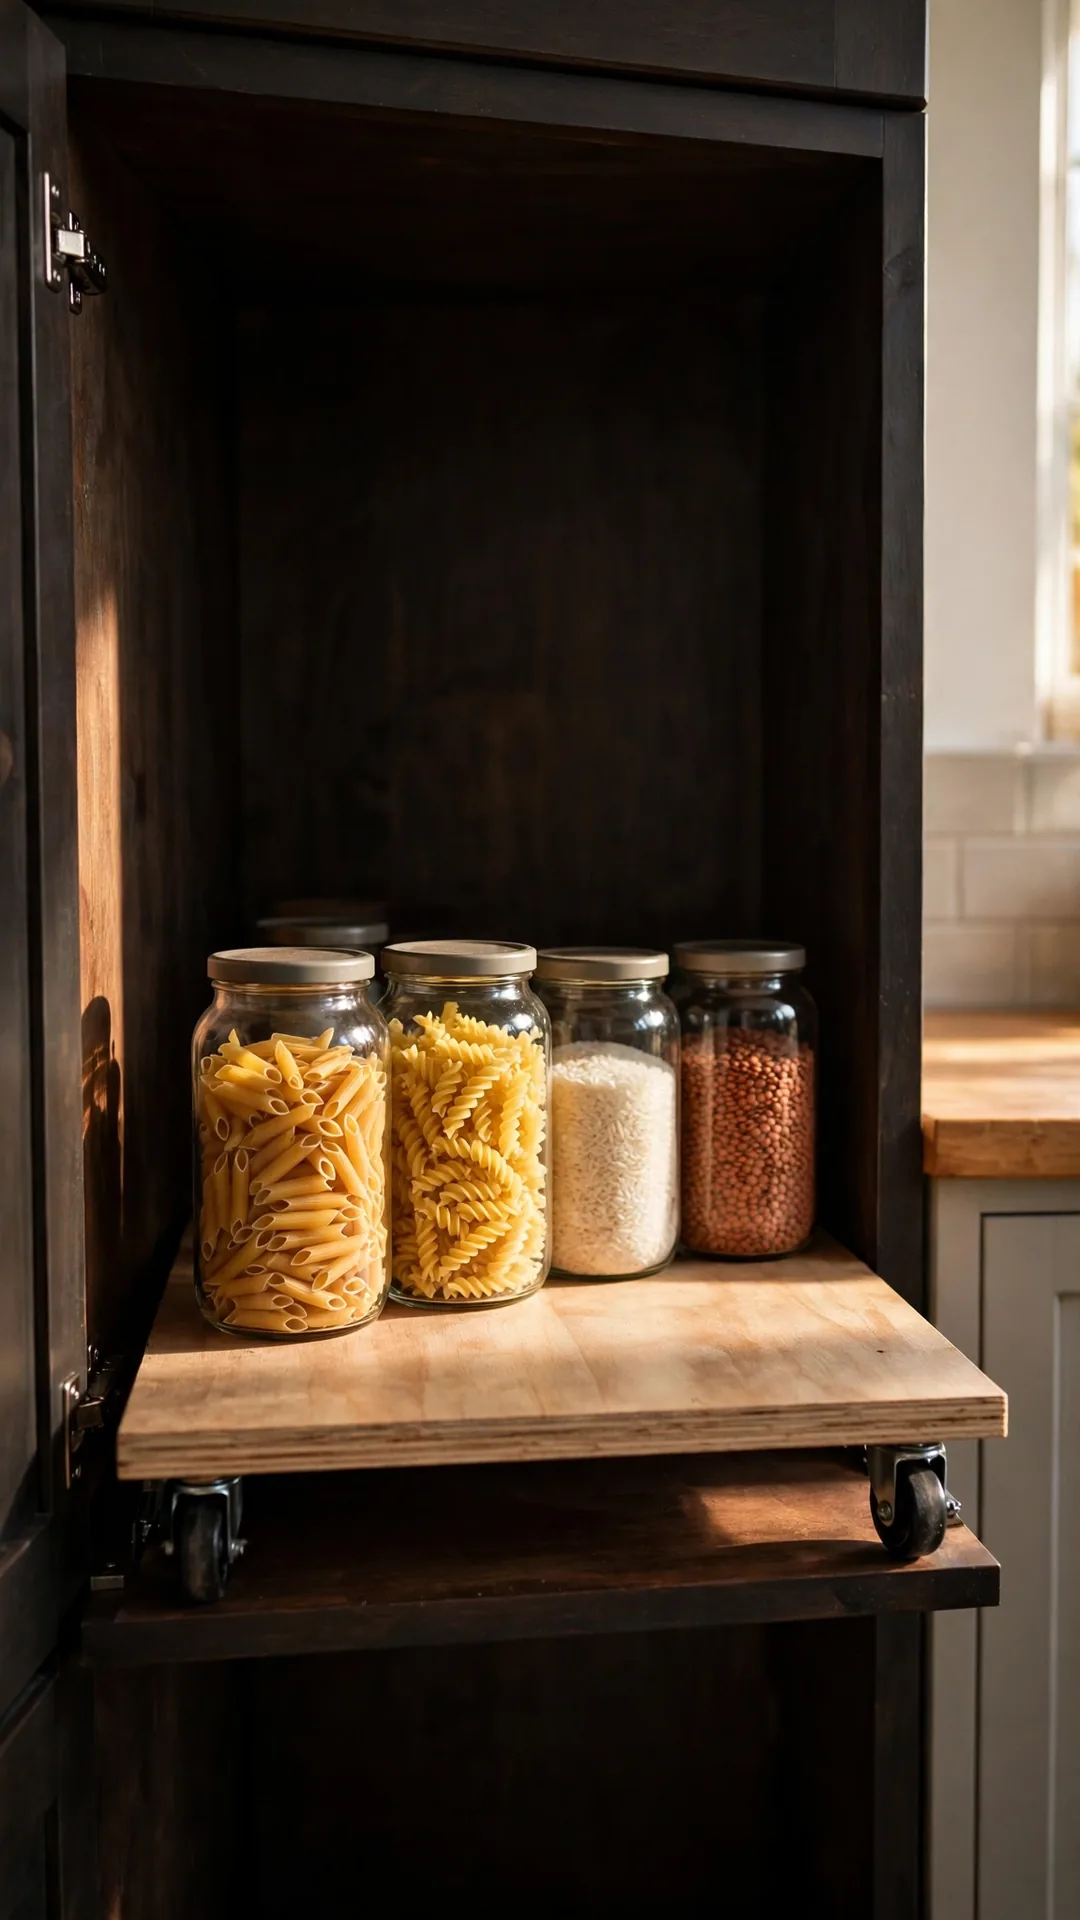
A low platform on casters rolls stock out of the deep corner. It costs little and suits small kitchen corner storage ideas on a tight budget. A rope handle pulls the platform toward you.
How to do it:
- Cut plywood to fit the cabinet floor.
- Screw four small casters underneath.
- Sand edges so hands stay splinter free.
- Add a rope or strap pull handle.
Best for: DIY fans with a fixed shelf corner.
Budget: $20 to $45
Quick tip: Low profile casters leave headroom for tall bottles inside. Wipe the wheels monthly so the unit keeps rolling smooth and straight.
23. Stand Pots in a Corner Rack Insert
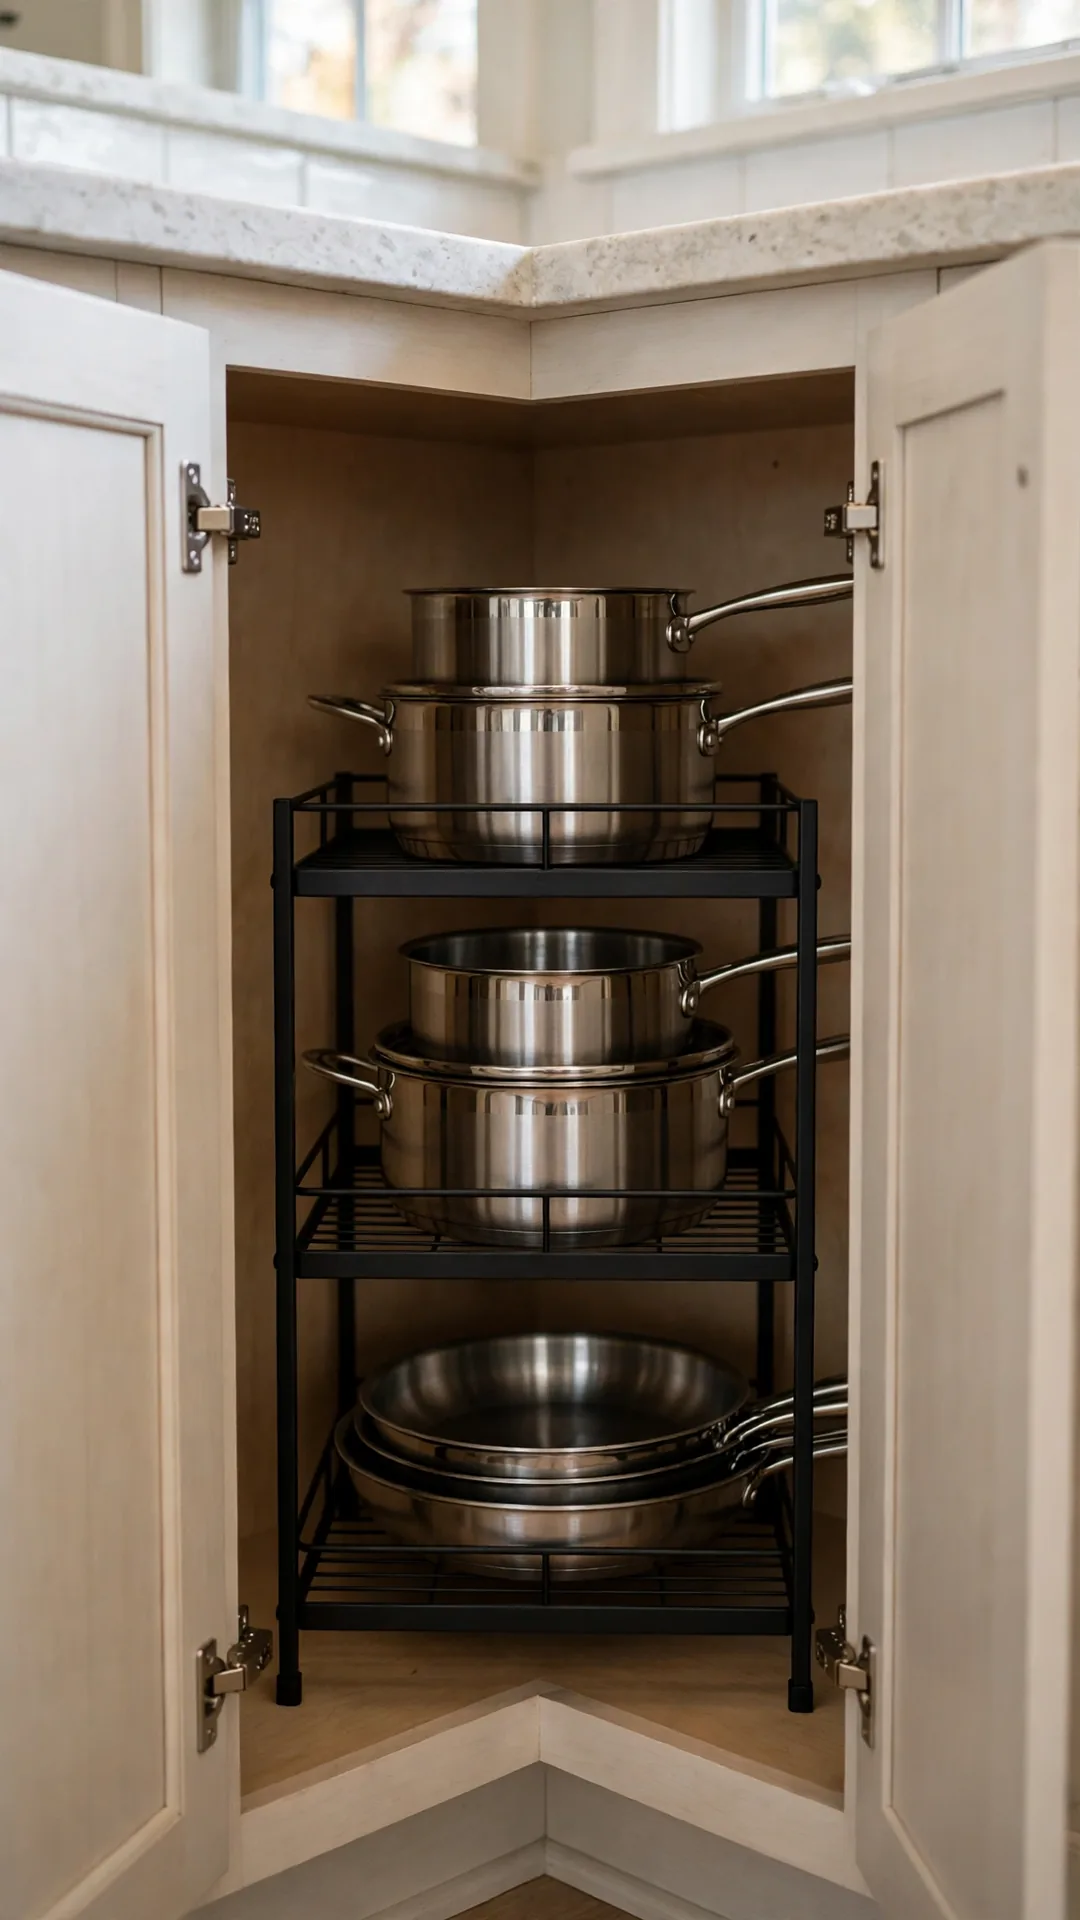
Pots nest badly in corners, so give them a rack insert. Tiered racks rank high among small kitchen corner storage ideas for heavy cookware. Each pot keeps its own level and lid spot.
How to do it:
- Measure the cabinet height between shelves.
- Pick a rack with three or four tiers.
- Set the heaviest pot on the bottom.
- Slide the rack in before loading it.
Best for: Deep base corners full of loose pots.
Budget: $25 to $55
Quick tip: Felt pads quiet metal on metal contact inside the cabinet.
24. File Lids Upright in a Slim Rack
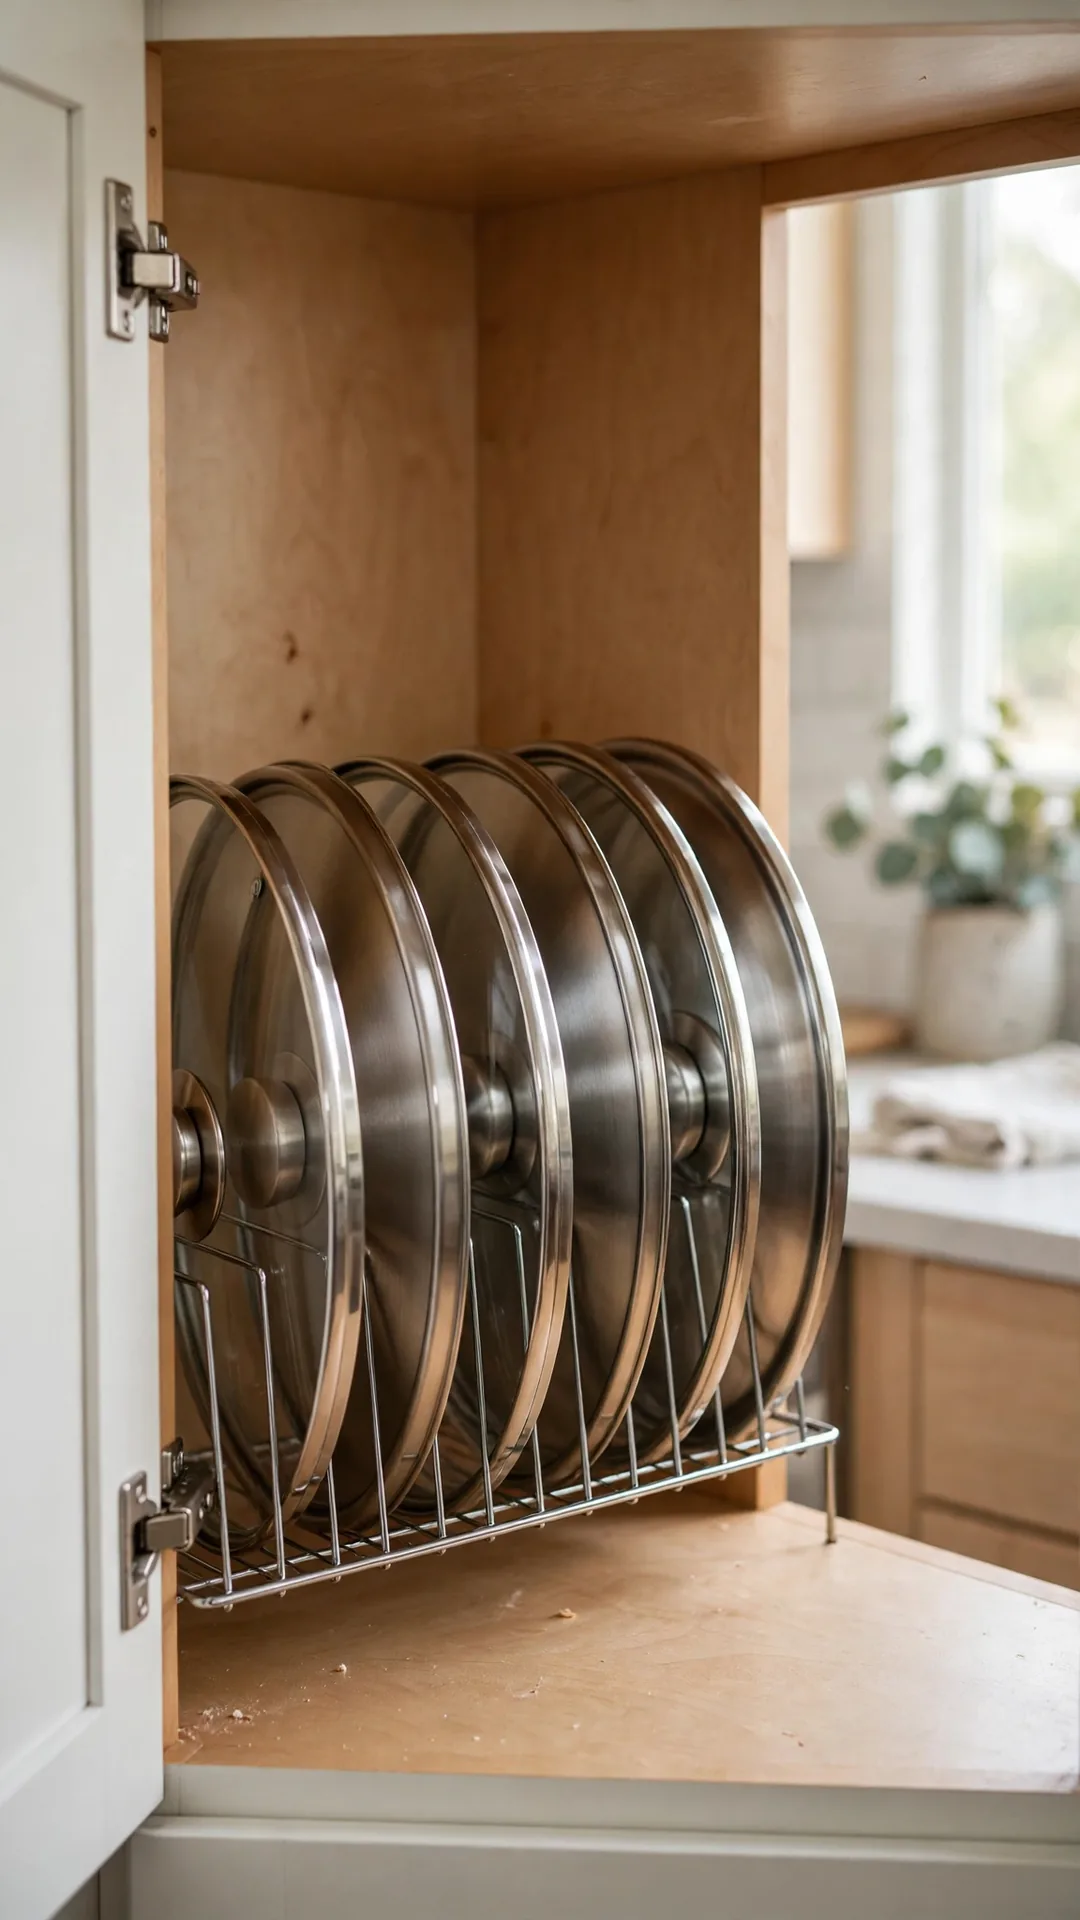
A slim file rack stands lids upright in the corner cabinet. Lids stop sliding under pots and pans. You grab the right size without a dig.
How to do it:
- Pick a rack about 10 inches long.
- Stand it near the cabinet door side.
- File lids from large to small.
- Keep one slot free for the daily lid.
Best for: Anyone tired of lid avalanches.
Budget: $10 to $25
Quick tip: A cheap dish rack works well as a lid file too. Dry lids fully before filing them away to stop rust spots.
25. File Baking Sheets Upright with Dividers
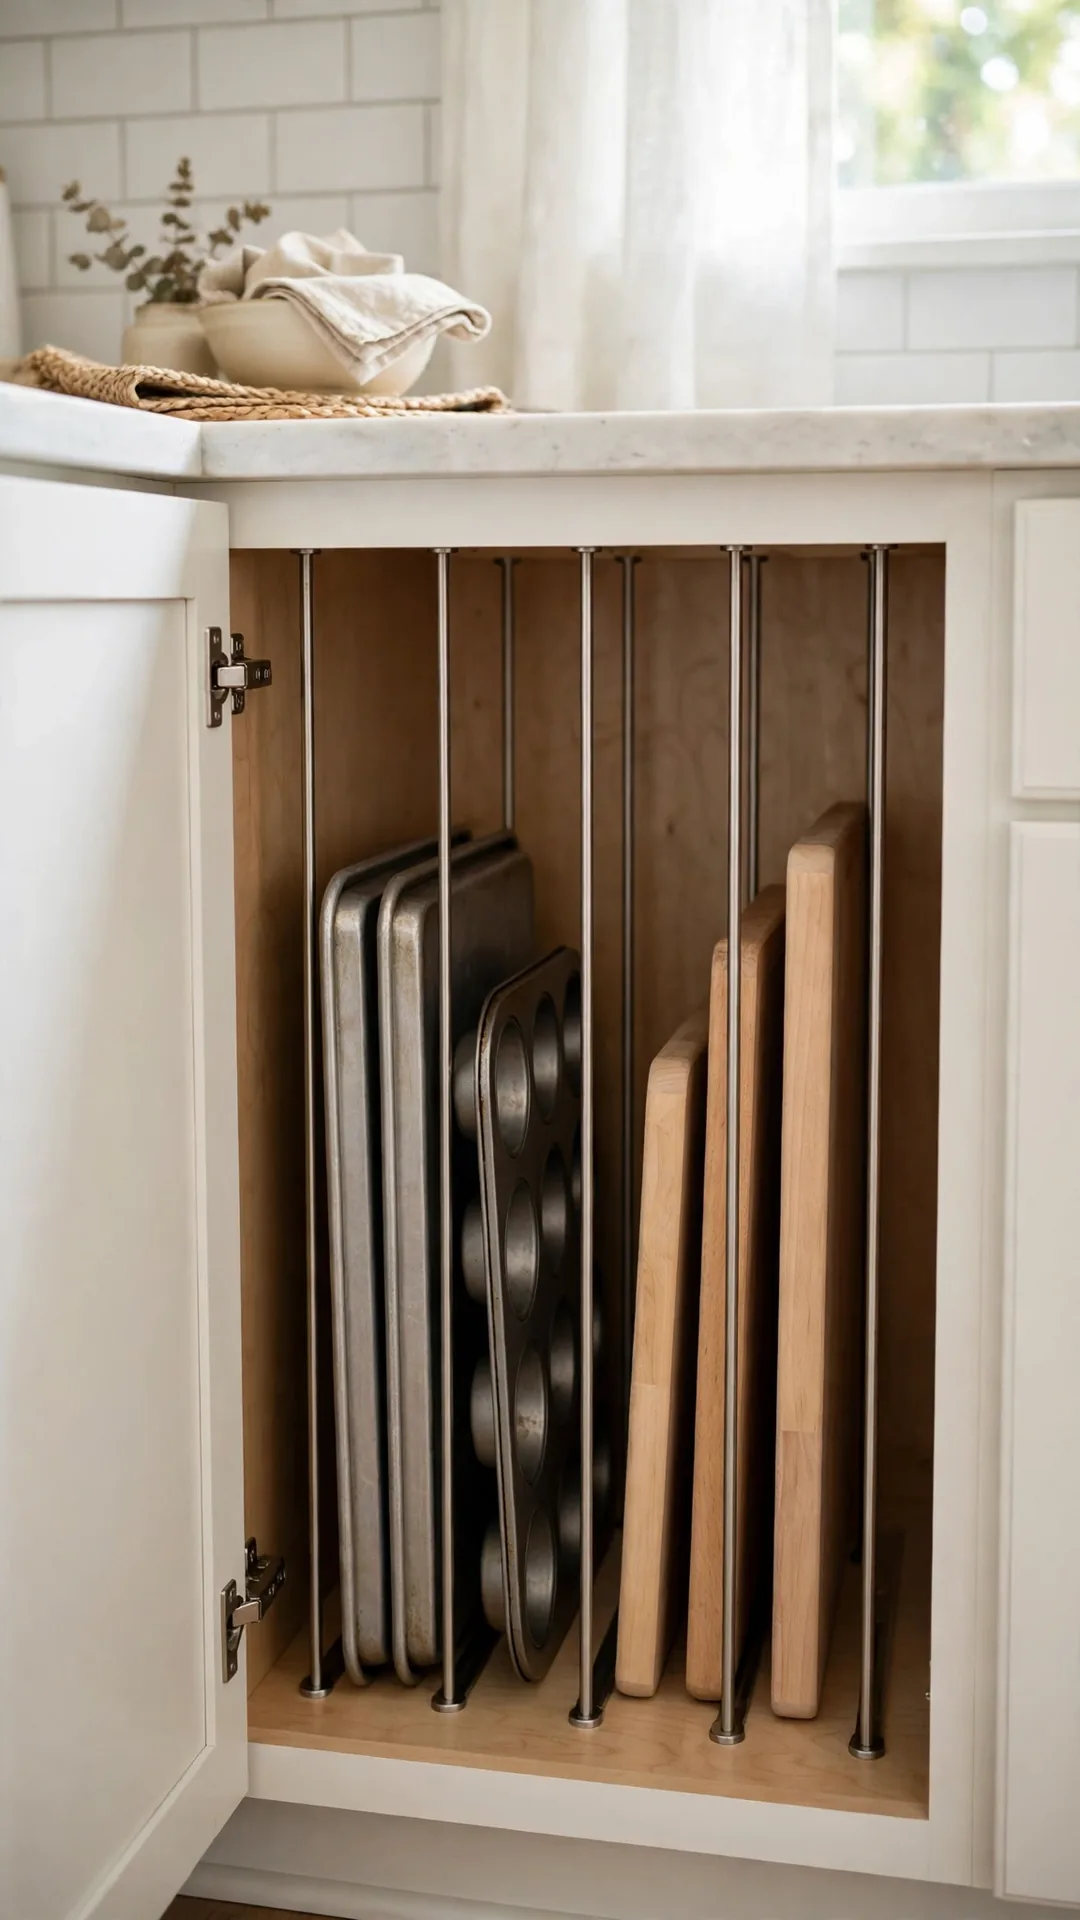
Vertical dividers turn the corner into a baking sheet file. Trays, boards and cooling racks stand on edge. Thin items stop burying each other in a pile.
How to do it:
- Fit dividers about 12 inches tall.
- Space slots 2 to 3 inches apart.
- Stand the tallest tray at the back.
- Keep daily boards in the front slot.
Best for: Bakers with deep corner base cabinets.
Budget: $15 to $40
Quick tip: Tension dividers need no screws at all to install. Check the tension monthly and twist tight if anything starts to slip.
26. Store Bulky Appliances in the Corner Cabinet

The deep corner swallows bulky appliances that clog other cabinets. Slow cookers, blenders and mixers fit the wide floor. Daily tools stay in the easy reach zones.
How to do it:
- Measure appliance heights before you commit.
- Set the heaviest appliance at the front.
- Coil cords and clip them to each unit.
- Keep manuals in one zip pouch inside.
Best for: Small kitchens with many bulky gadgets.
Budget: Under $20
Quick tip: One appliance per corner keeps daily access simple and clear. Keep cords short and looped so counters stay clear for prep work.
27. Add a Shelf Riser Inside the Cabinet
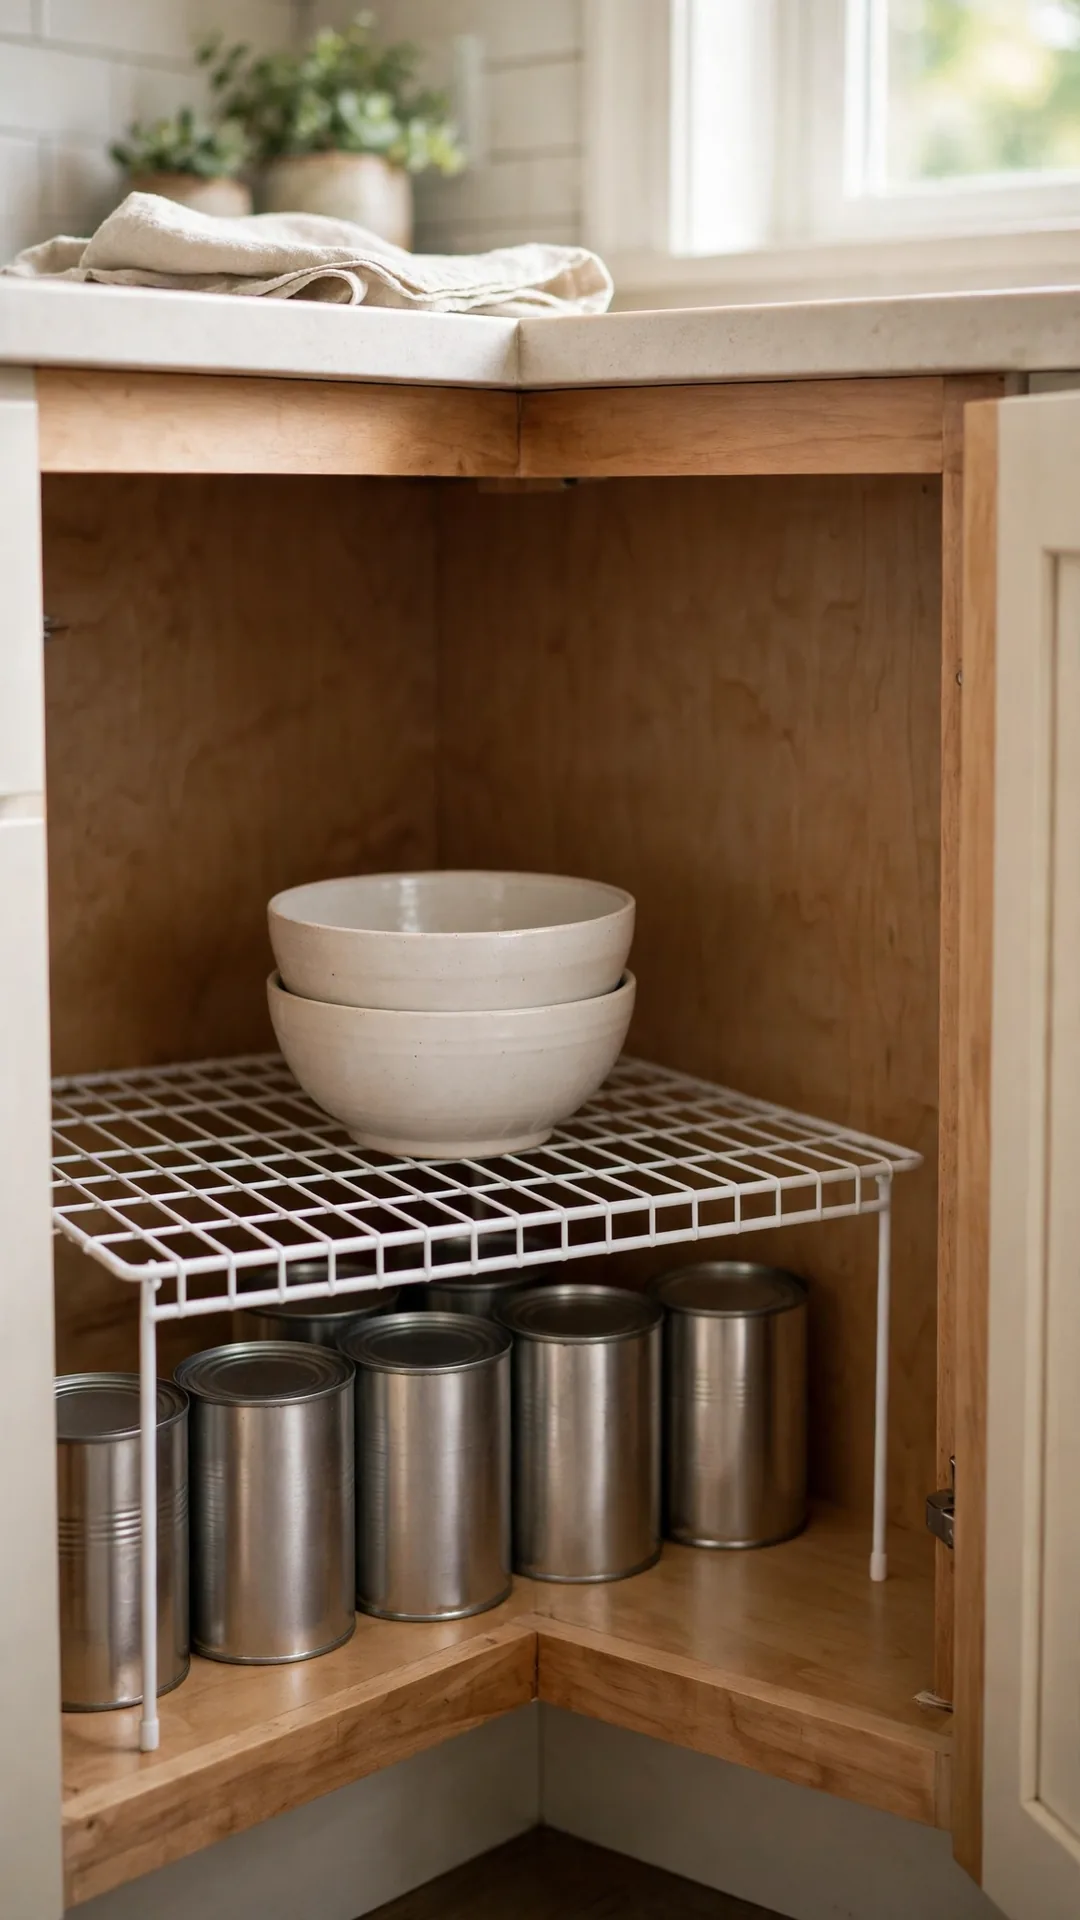
A shelf riser doubles the flat space inside the corner cabinet. Risers make small kitchen corner storage ideas work harder in fixed shelf cabinets. Pair risers with the sorted bins in these space saving kitchen organization ideas for extra storage.
How to do it:
- Pick a riser about 12 inches deep.
- Set cans and jars under the riser.
- Stack bowls or mugs on top.
- Leave a hand gap at the front edge.
Best for: Tall corner cabinets with one fixed shelf.
Budget: $12 to $30
Quick tip: Wire risers let light reach the lower layer.
28. Stick a Battery Light Inside the Corner
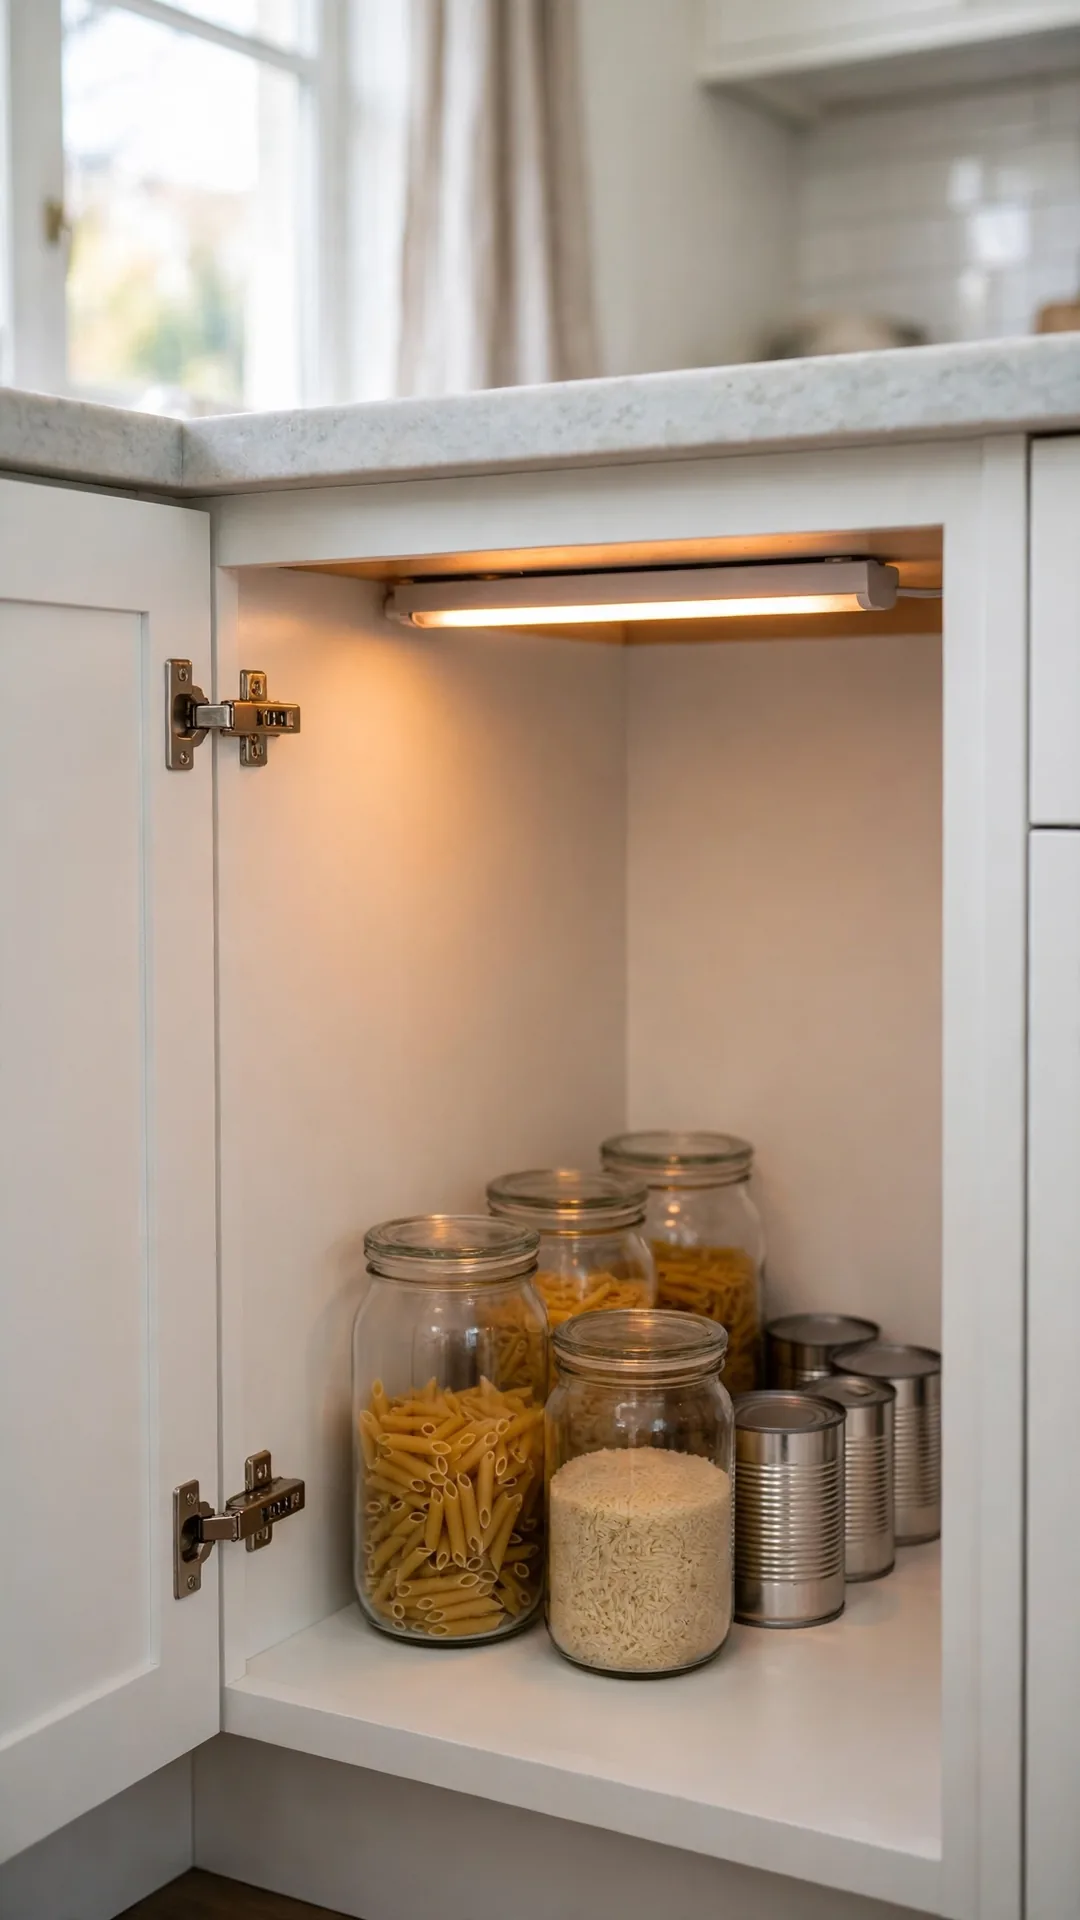
A stick-on battery light fixes the dark corner problem fast. Motion lights wake when the door opens. You stop guessing what hides at the back.
How to do it:
- Pick a light bar about 8 inches long.
- Stick it under the shelf above.
- Aim the sensor toward the door.
- Keep spare batteries in the same cabinet.
Best for: Deep corners with no cabinet lighting.
Budget: $10 to $25
Quick tip: Warm light shows food colors more true at night. Keep two spare batteries in the same cabinet for quick swaps at night.
29. Send Rarely Used Gear to the Back
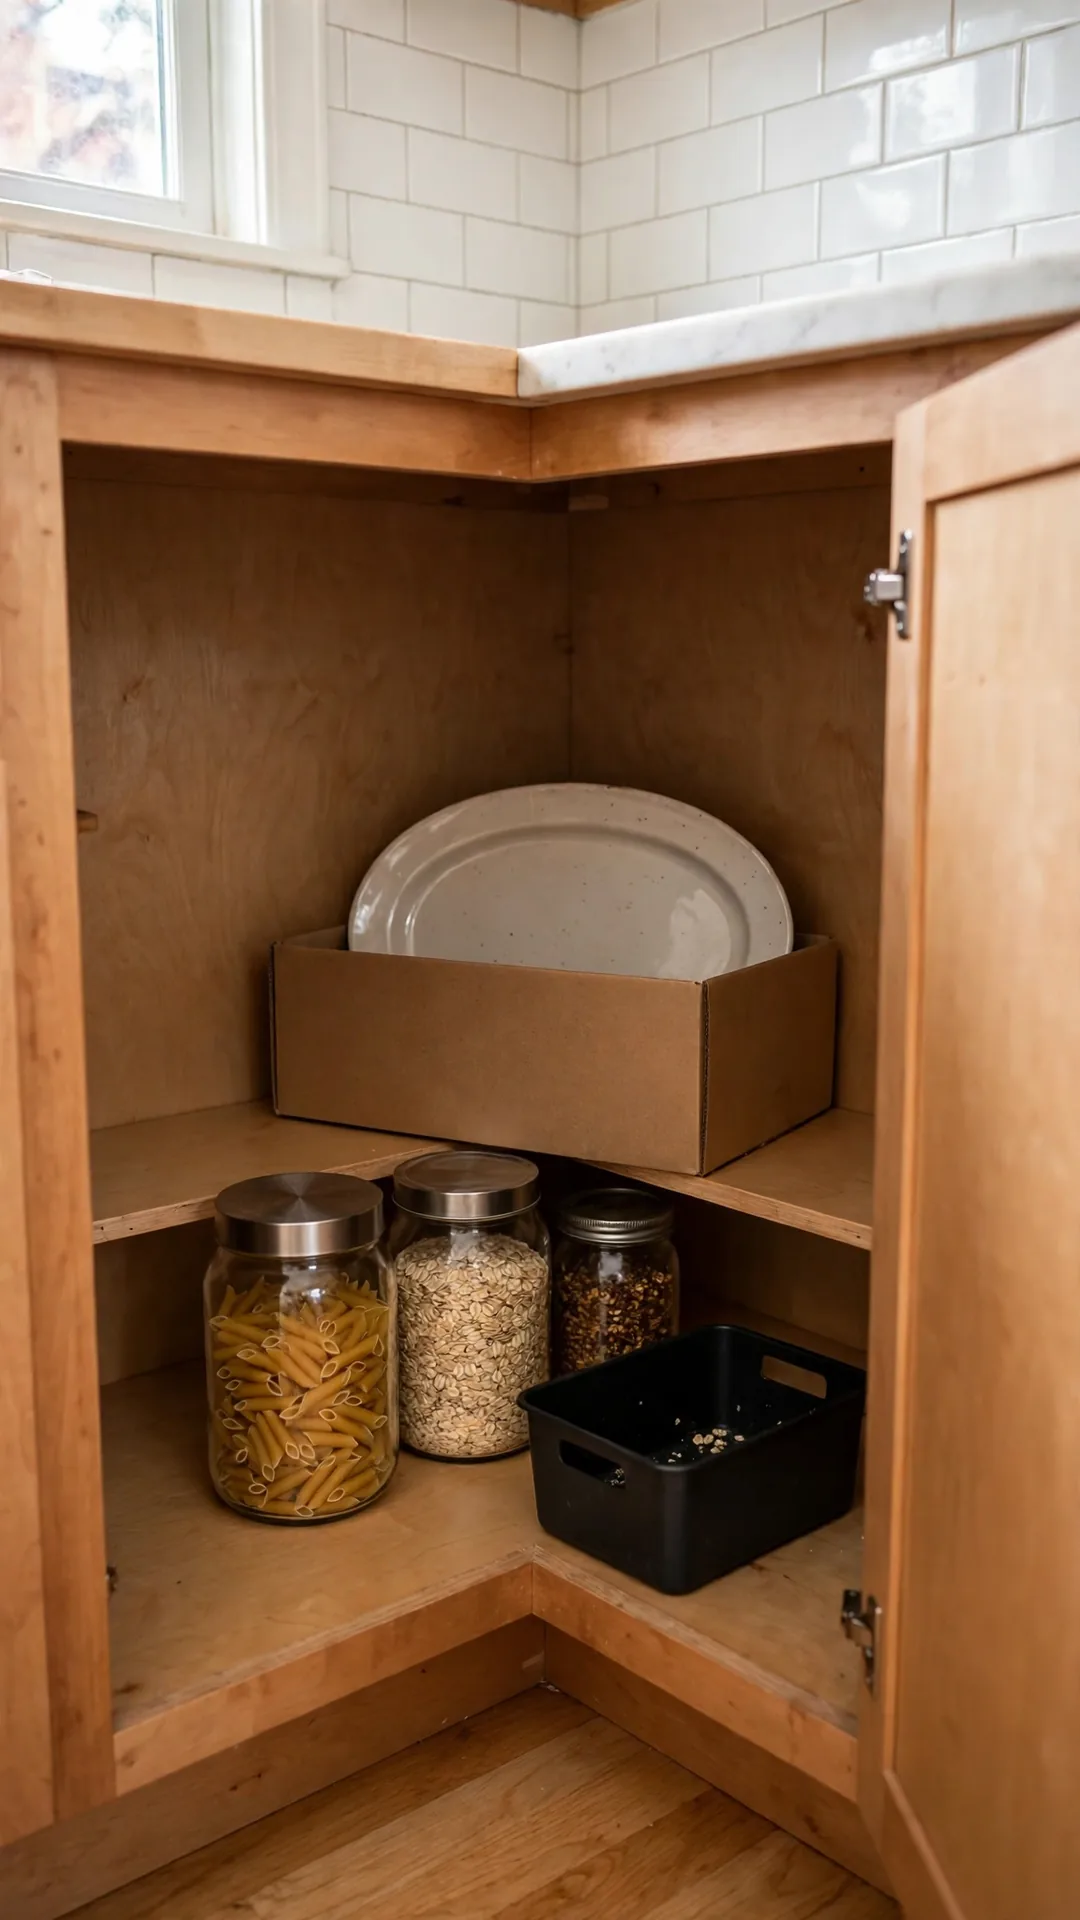
The far back of the corner suits gear you use twice a year. Holiday platters and spare vases live there happily. Bag the loose shopping bags in a holder like these bag storage ideas for a small space.
How to do it:
- List what truly counts as rare use.
- Box fragile pieces with padding.
- Mark the box name on two sides.
- Keep the front half clear for daily items.
Best for: Corners too deep for daily storage.
Budget: Under $15
Quick tip: Review the back zone twice a year.
30. Fit Corner Drawers That Open Toward You

Corner drawers pull the whole corner out in one motion. Angled fronts follow the counter line on both sides. They cost more, but no space hides inside.
How to do it:
- Plan drawers 24 inches deep or more.
- Use the top drawer for utensils.
- Use the deep drawer for pots.
- Choose soft close runners for heavy loads.
Best for: Owners planning a cabinet refresh.
Budget: $200 to $450
Quick tip: Drawer inserts stop tools sliding around on the curves. Line the drawer base so inserts grip and stay in place all week.
31. Keep Daily Glasses in the Upper Corner
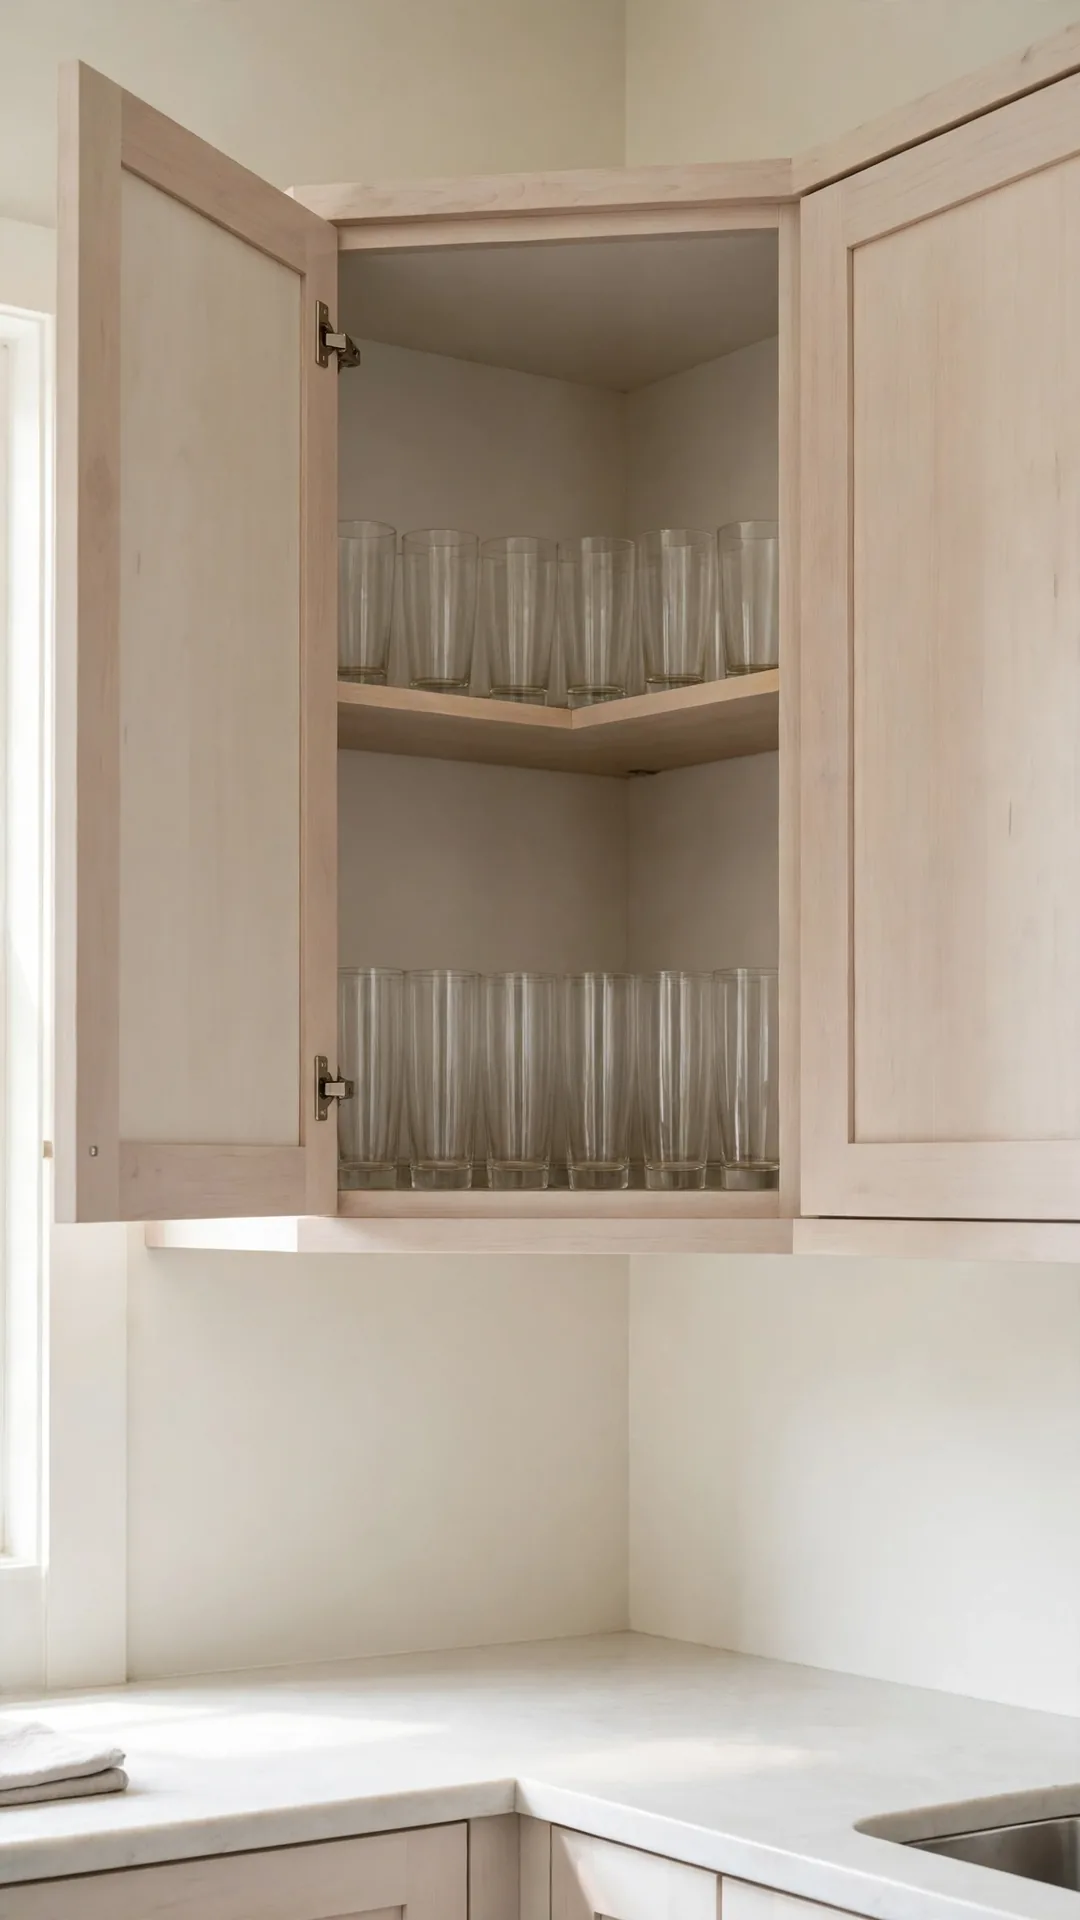
Daily glasses belong where your hand lands first. The upper corner cabinet holds daily glasses at perfect reach behind a diagonal door. It is one of the small kitchen corner storage ideas that pays off daily.
How to do it:
- Keep two rows of glasses only.
- Put daily glasses on the lowest shelf.
- Stand taller tumblers at the back.
- Leave the front edge clear for fingers.
Best for: Diagonal or angled upper corner cabinets.
Budget: Under $15
Quick tip: Shelf liner stops glasses sliding forward when doors close. Cut liner half an inch short so the door closes without any bunching.
32. Angle Mugs Across a Diagonal Shelf
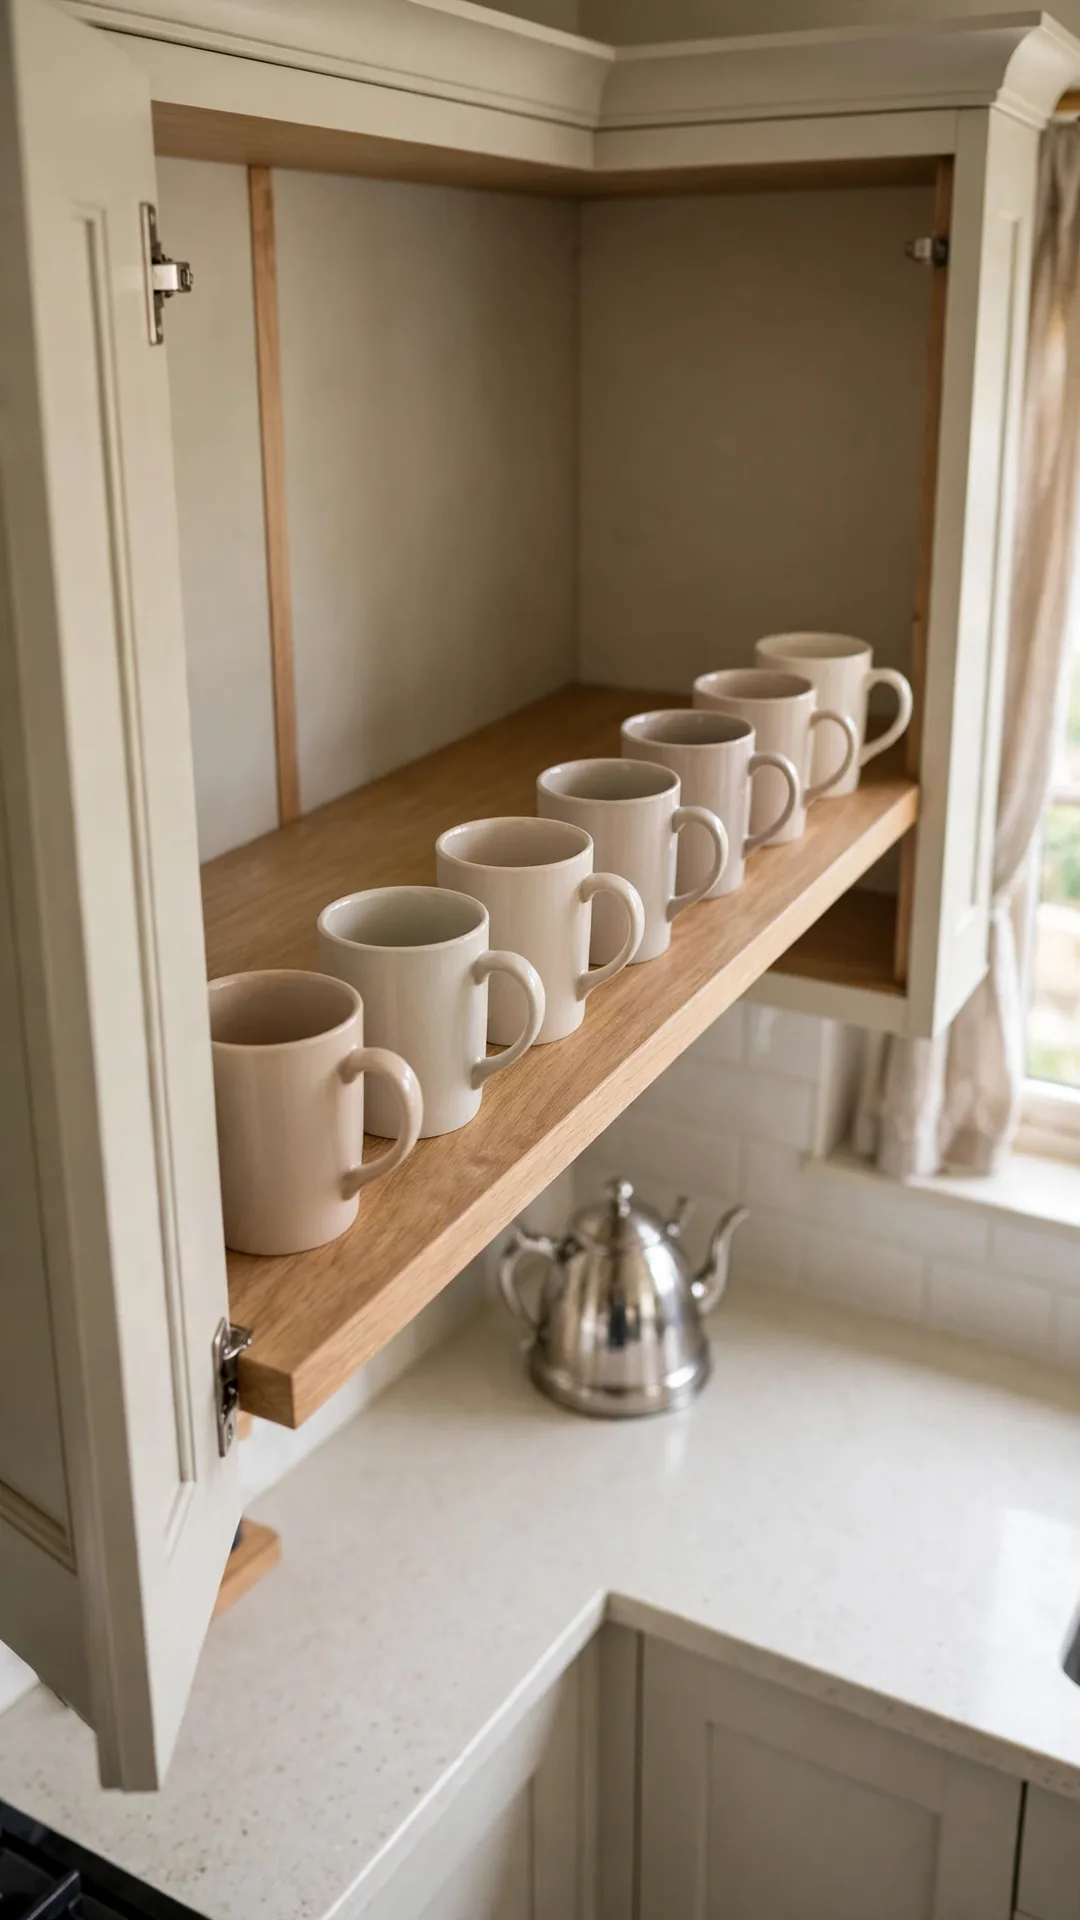
Mugs line up neatly across a diagonal corner shelf. Handles face one way so each mug lifts clean. The angled front shows the whole set at once.
How to do it:
- Fit a shelf about 12 inches deep.
- Line mugs in a single row.
- Keep daily mugs at the front.
- Move spare mugs to a higher shelf.
Best for: Angled upper cabinets near the coffee spot.
Budget: $10 to $25
Quick tip: Hooks under the shelf double the mug count easily. Space hooks two inches apart so mug handles never knock each other.
33. Add a Spice Turntable in the Upper Corner
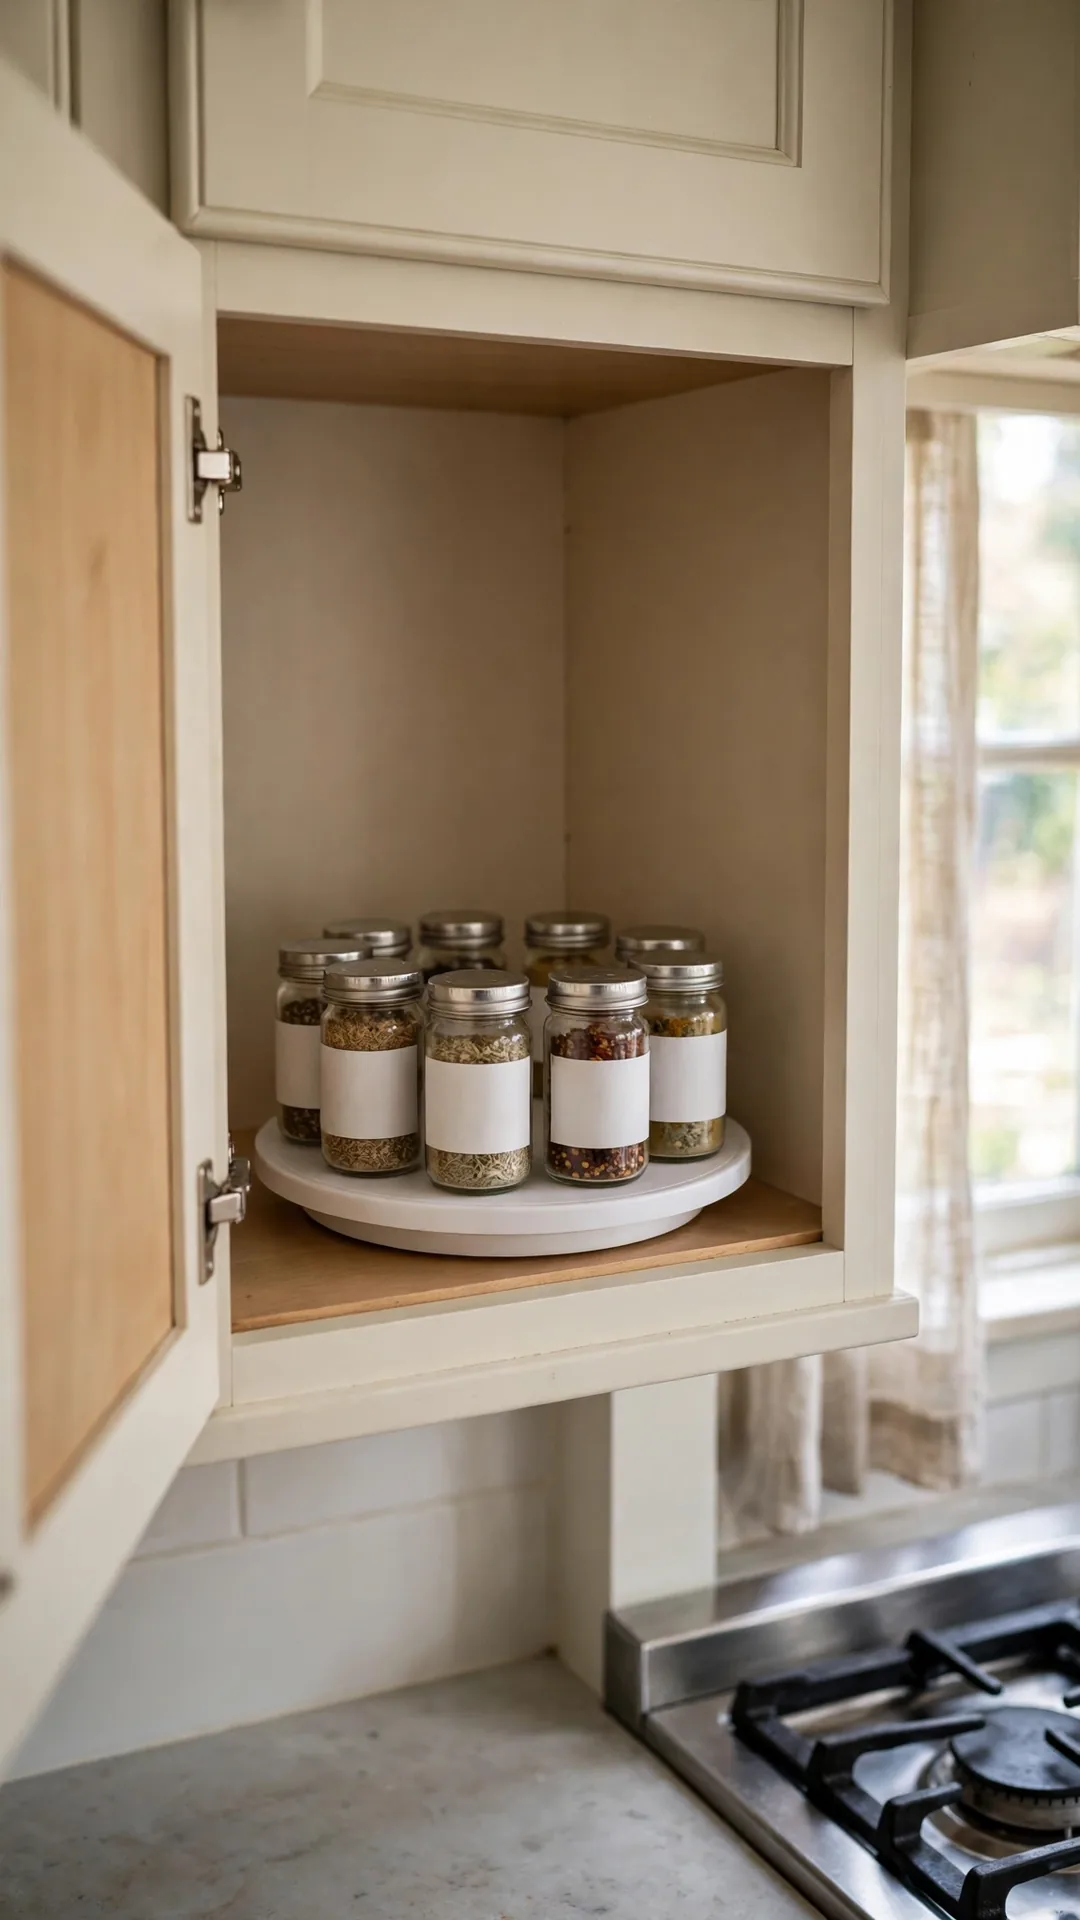
A small turntable spins spices into view in the upper corner. Short jars fit the shelf height well. You stop buying duplicates of hidden spices.
How to do it:
- Pick a turntable 10 inches wide.
- Sort jars by cuisine or use.
- Keep tall bottles on a lower shelf.
- Spin slowly and grab with one hand.
Best for: Upper corners beside the stove.
Budget: $10 to $22
Quick tip: One turntable per shelf beats a crowded double every time. Spin it slowly with one finger and grab items as they come around.
34. Stack Cup Risers in the Upper Corner
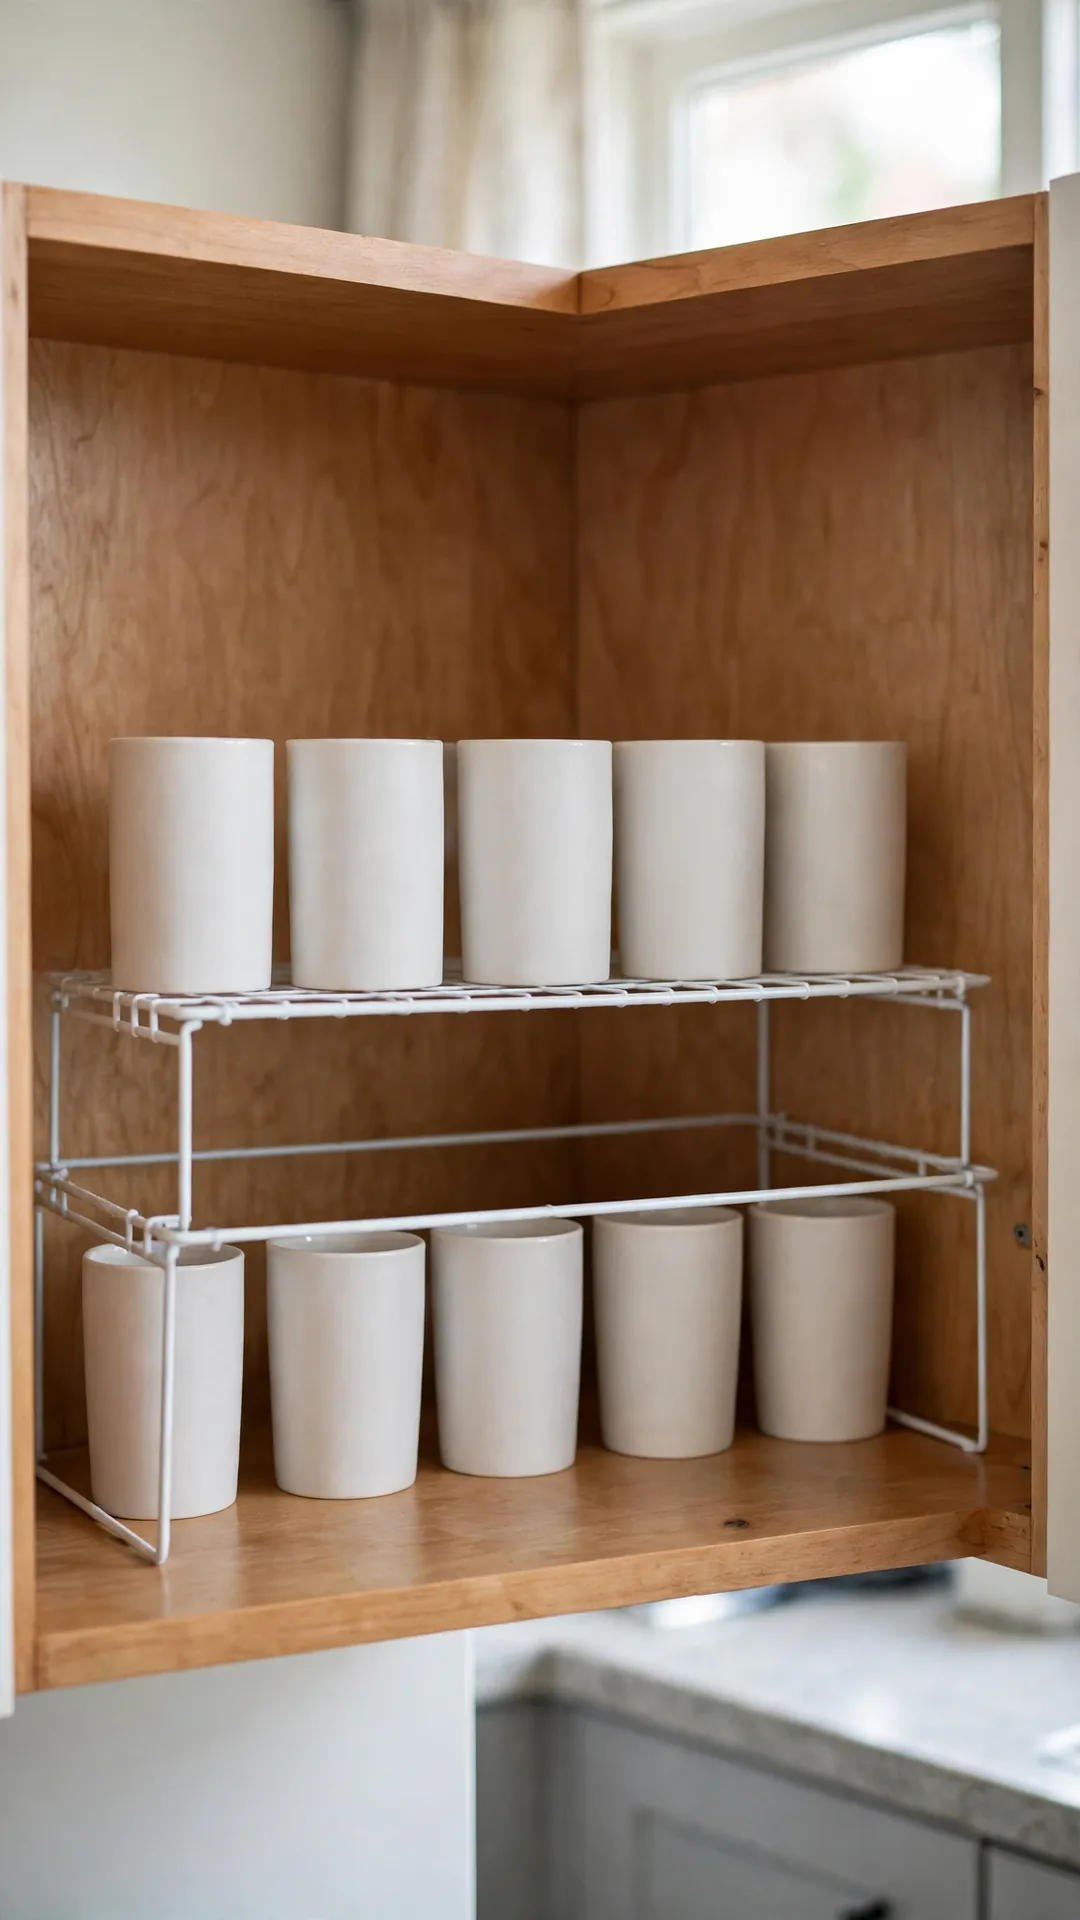
Wire risers stack cups in two layers inside the upper corner. The dead height above cups finally gets used. Each layer stays easy to reach and see.
How to do it:
- Measure the shelf height before buying.
- Pick risers about 9 inches wide.
- Put sturdy mugs on the lower layer.
- Keep light cups on the top layer.
Best for: Tall upper cabinets with wasted headroom.
Budget: $12 to $28
Quick tip: Rubber feet stop risers skidding on smooth wood shelves. Check the feet monthly and swap any that have gone flat or smooth.
35. Zone Baking Supplies in the Upper Corner
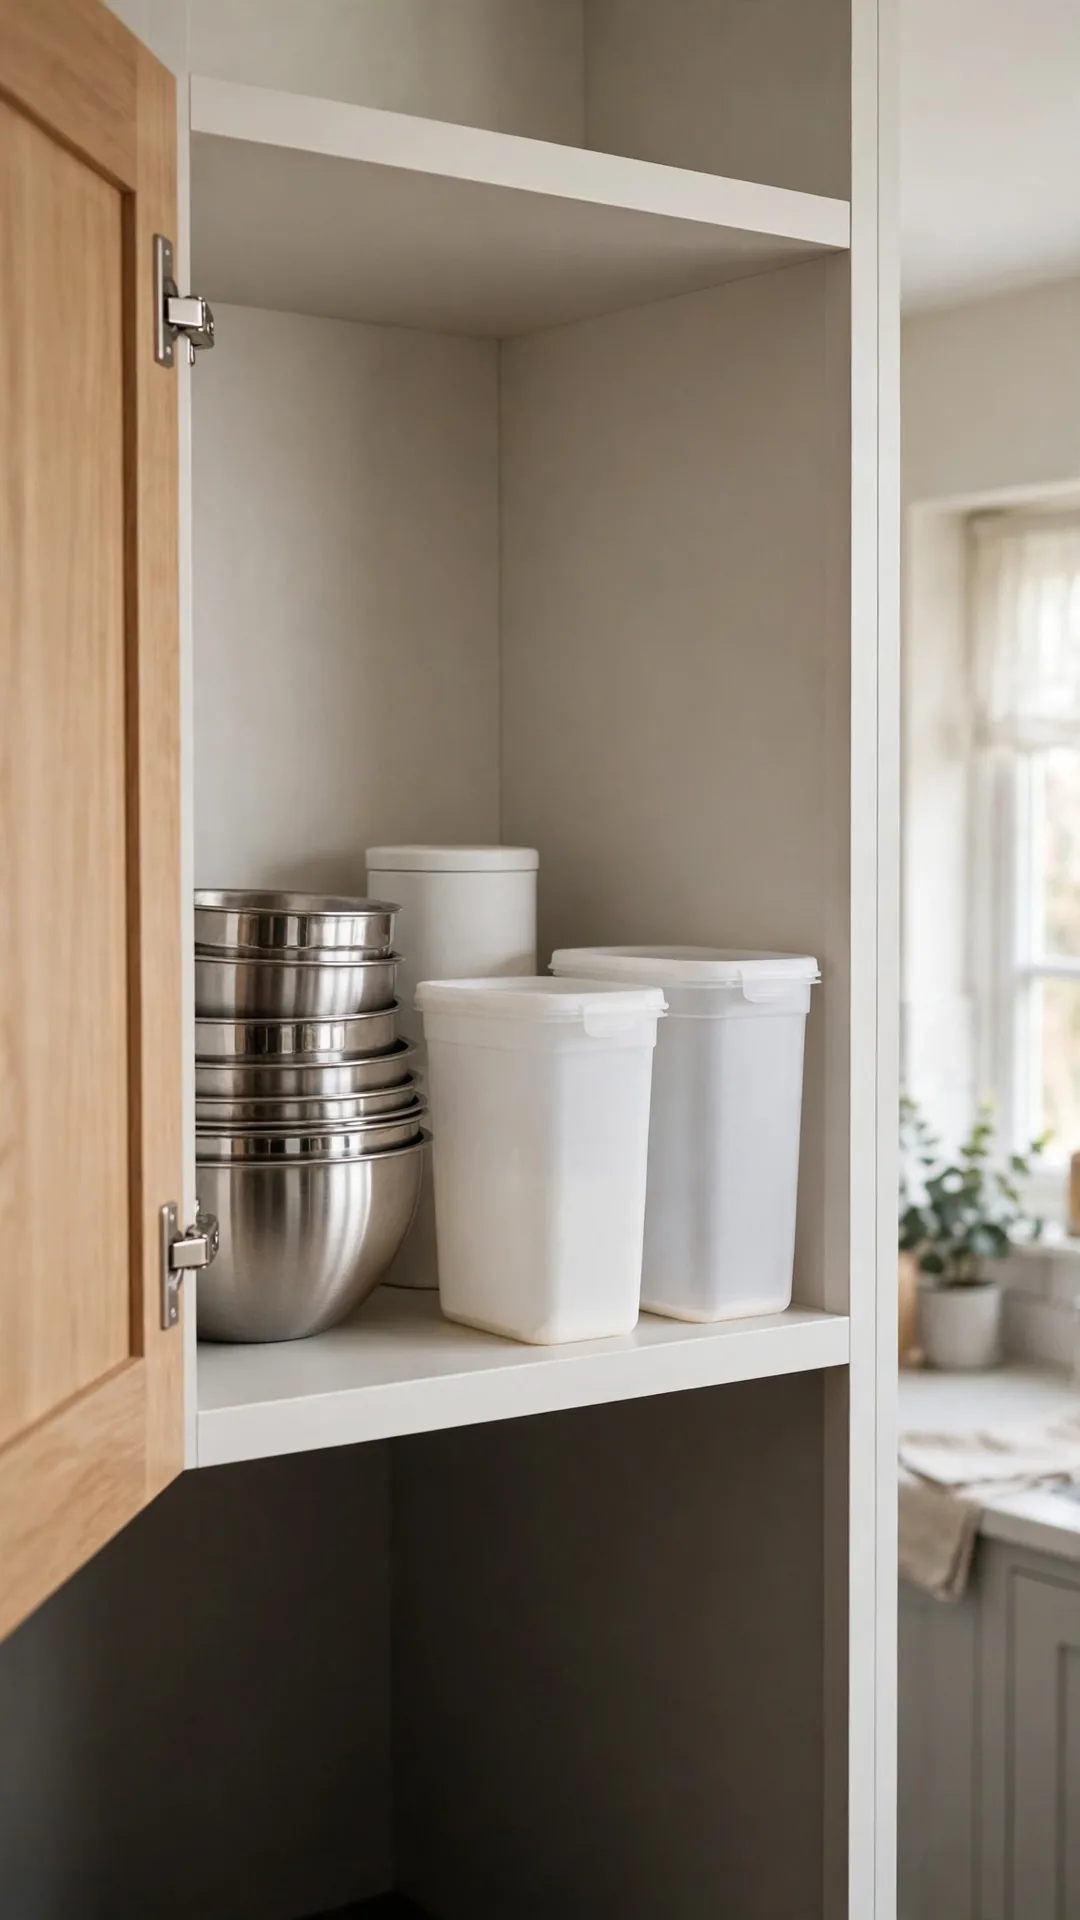
Baking supplies group well in the quiet upper corner. It is one of the calm small kitchen corner storage ideas for keen bakers. Bowls, tubs and tins share one shelf zone.
How to do it:
- Keep flour and sugar in sealed tubs.
- Nest mixing bowls on the same shelf.
- Stand measuring cups on a small hook.
- Store the scale flat under the tubs.
Best for: Bakers in kitchens with few drawers.
Budget: $15 to $35
Quick tip: Decant flour into tubs the day you buy it. Date each tub with tape so older flour gets used first every time.
36. Hang a Rack Inside the Corner Door

A slim rack inside the corner door holds wraps and foils. The door swing brings supplies right to your hand. Thin boxes stop rattling around a deep drawer.
How to do it:
- Pick a rack under 3 inches deep.
- Screw it to the door inner frame.
- Load foil, wrap and bag boxes upright.
- Check screws monthly on hollow doors.
Best for: Corner cabinets with a wide single door.
Budget: $12 to $30
Quick tip: Keep the sharpest box edge facing down for safety. Teach kids which boxes stay off limits in that corner zone.
37. Store Serving Bowls High in the Corner

Big serving bowls earn the high corner shelf. They are light, bulky and used only weekly. The lower shelves stay free for daily gear.
How to do it:
- Stack bowls inside each other by size.
- Add felt dots between glass bowls.
- Keep the platter behind the bowls upright.
- Use a step stool and two hands.
Best for: Entertainers with bulky serve ware.
Budget: Under $15
Quick tip: One stack only, so lifting heavy bowls stays safe. Use a sturdy step stool and both hands for every single lift down.
38. Leave One Corner Shelf Open for Display
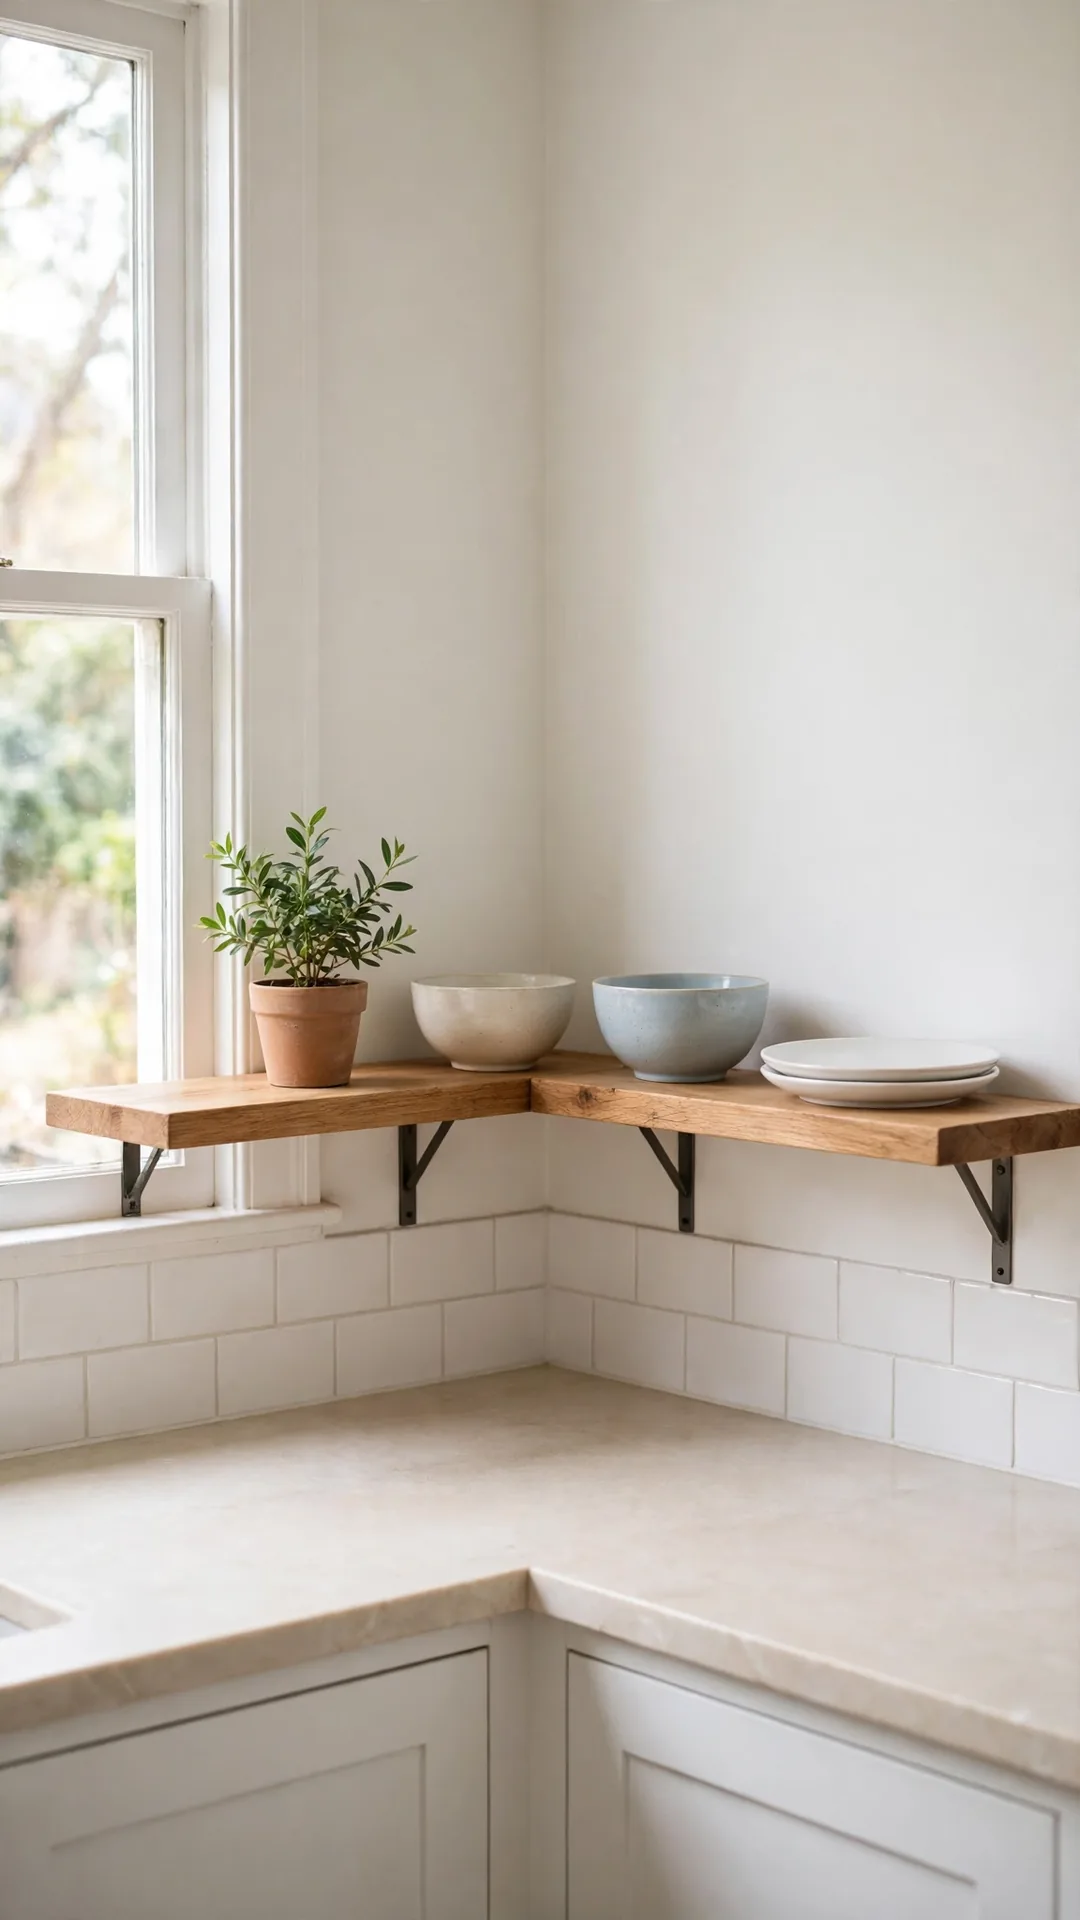
One open corner shelf can hold your prettiest pieces. A plant, two bowls and a small stack of plates rest the eye. Open corners make a small kitchen feel wider.
How to do it:
- Limit the shelf to three groups.
- Mix one plant with daily pieces.
- Keep colors within your kitchen palette.
- Dust the shelf during weekly cleans.
Best for: Corners visible from the dining spot.
Budget: $15 to $40
Quick tip: Odd numbers of items look more natural on display shelves. Leave breathing room between groups so shelves look calm, not crowded.
39. Build a Coffee Station in the Corner

A corner coffee station keeps the whole morning routine in reach. Makers, mugs and beans group tight in many small kitchen corner storage ideas for a reason. The main counter stays clear for cooking.
How to do it:
- Pick a corner with an outlet nearby.
- Set the maker at the back angle.
- Keep beans in a sealed canister beside it.
- Hang two mugs on hooks above.
Best for: Small kitchens with one free counter corner.
Budget: $25 to $70
Quick tip: A washable tray under the maker catches morning drips.
40. Hide Small Appliances in a Corner Garage

A corner appliance garage hides the toaster and blender behind one door. Tambour or hinged doors roll up or swing wide. Counters look clear while gear stays plugged in.
How to do it:
- Measure your tallest appliance first.
- Fit a garage about 18 inches deep.
- Add an outlet strip inside the back.
- Keep daily gear at the front lip.
Best for: Owners who hate counter clutter.
Budget: $80 to $200
Quick tip: Leave the door up during busy weekday mornings at home. Close it again once breakfast ends to keep the kitchen looking tidy.
41. Set a Breakfast Station in the Corner
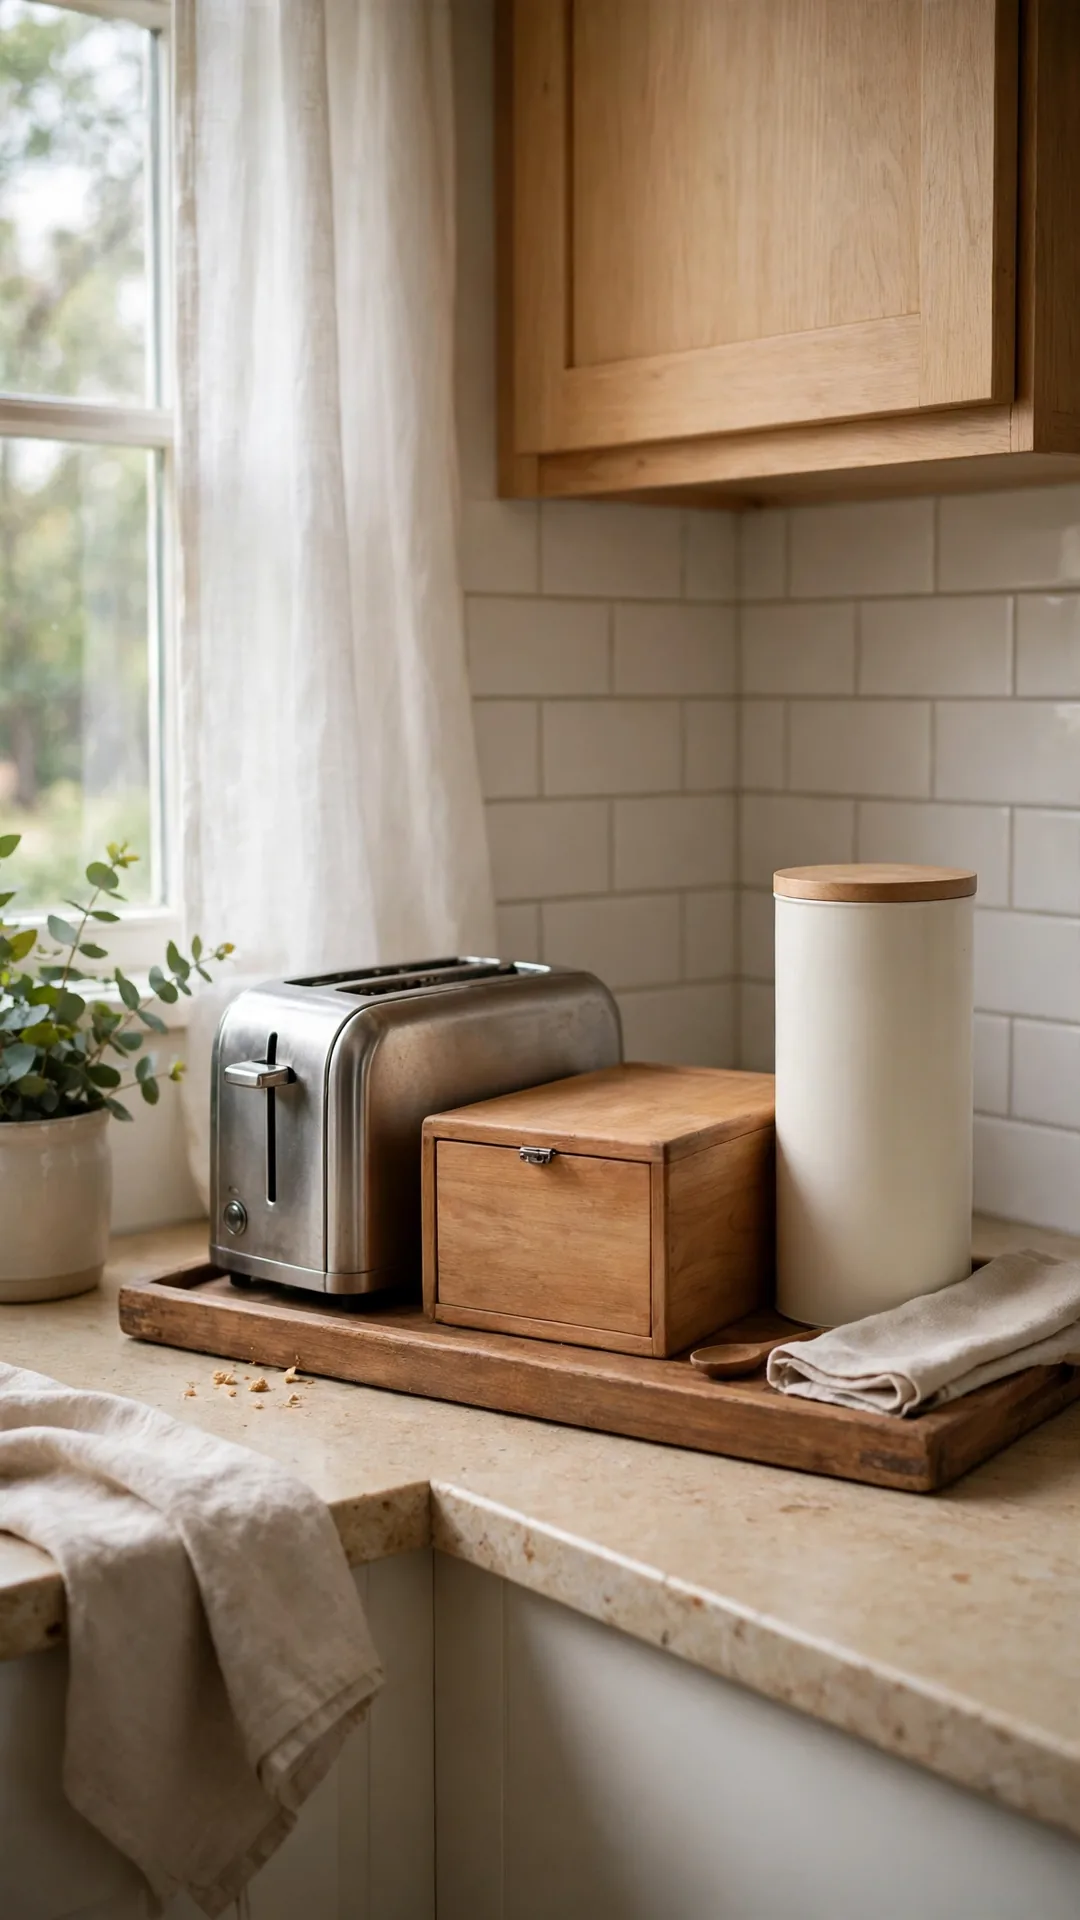
Toast, spreads and cereal meet in one breakfast corner. A tray and two jars cover the whole routine. Kids can serve themselves without raiding every cabinet.
How to do it:
- Set the toaster on a heat safe mat.
- Keep bread in a box beside it.
- Stand cereal in one tall canister.
- Park butter and spreads on a tray.
Best for: Families with a set breakfast routine.
Budget: $20 to $50
Quick tip: Keep the tray small so breakfast clutter cannot spread. Return stray items to the tray each night so mornings start clean.
42. Tuck a Utensil Crock into the Corner
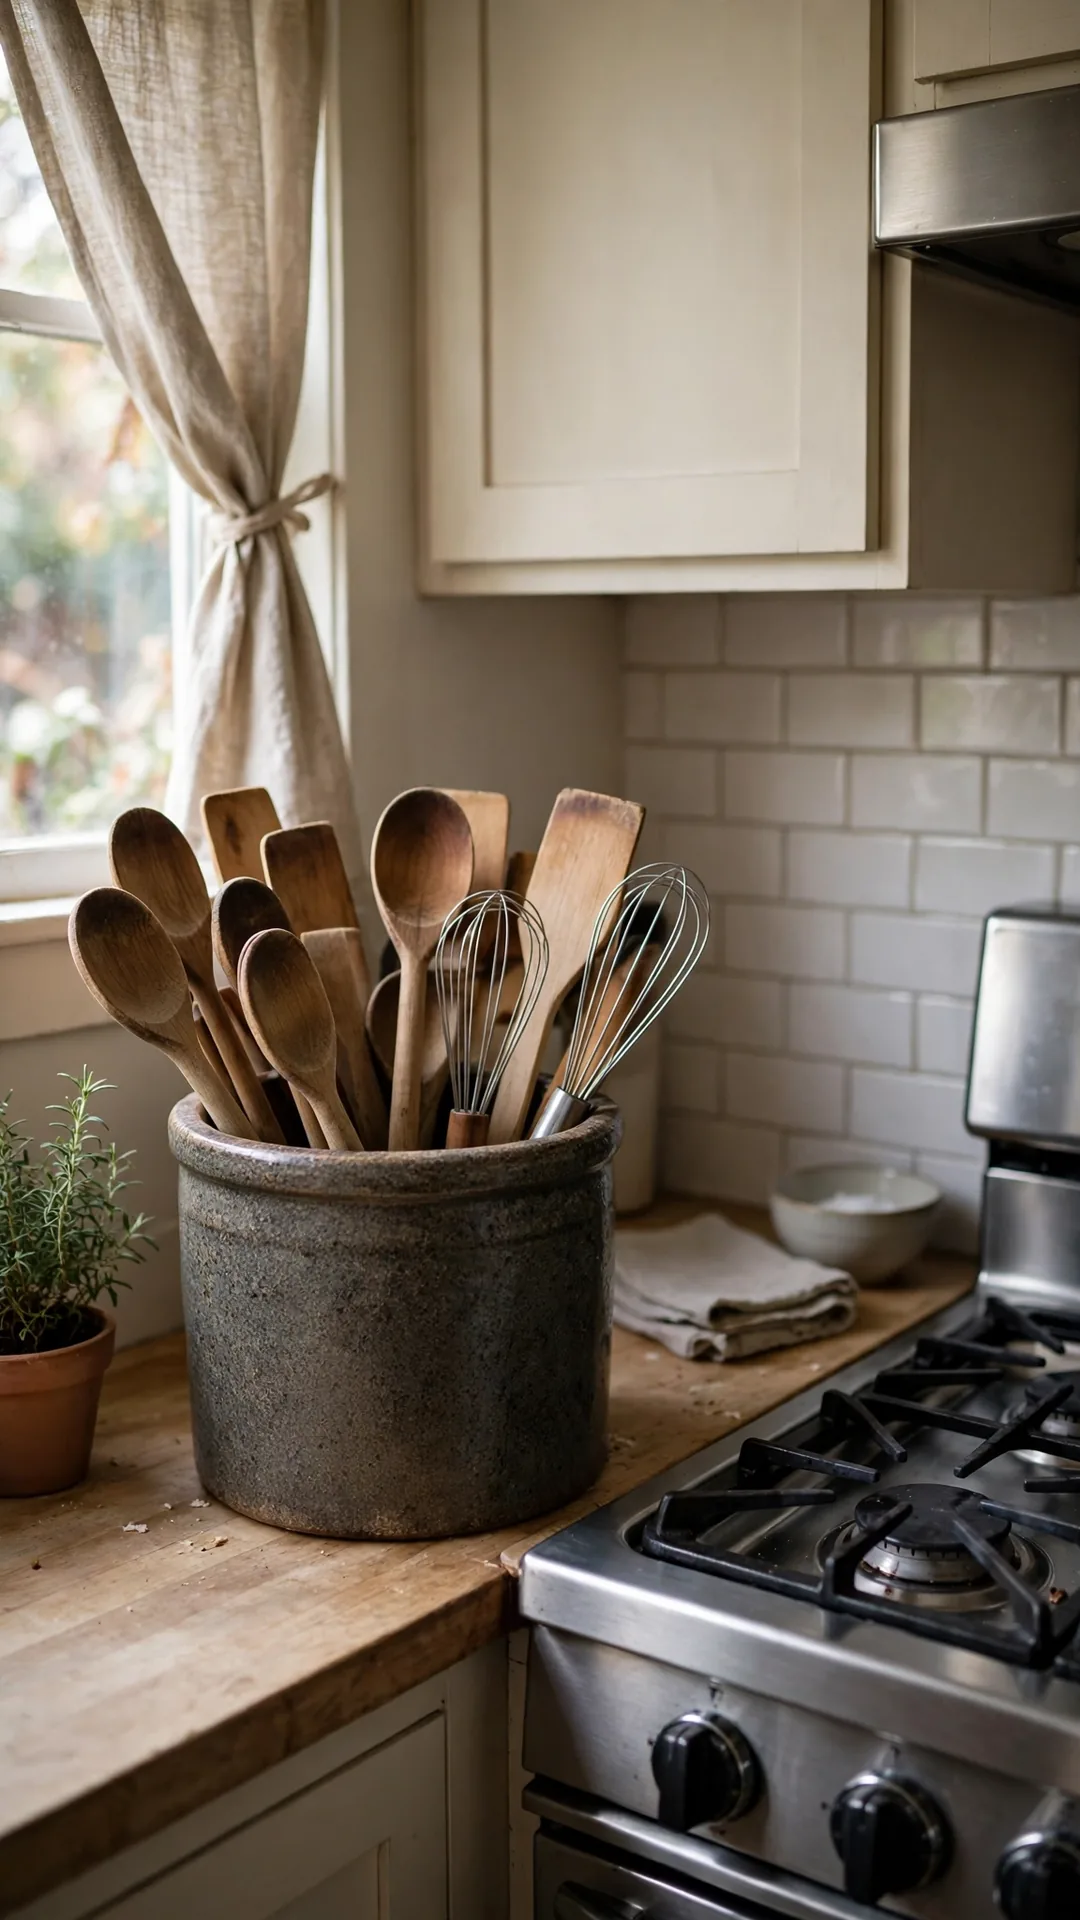
A heavy crock in the stove corner holds daily utensils. Spoons and turners stand ready at the heat. One crock clears a whole shallow drawer.
How to do it:
- Pick a crock about 6 inches wide.
- Choose heat safe stoneware or steel.
- Keep long tools at the back.
- Wash the crock weekly against grease.
Best for: Corners between stove and counter end.
Budget: $12 to $30
Quick tip: A liner disc stops crock scratches on stone counters. Lift the crock monthly and wipe grit away before it can scratch stone.
43. Mount a Spice Rack on the Corner Wall
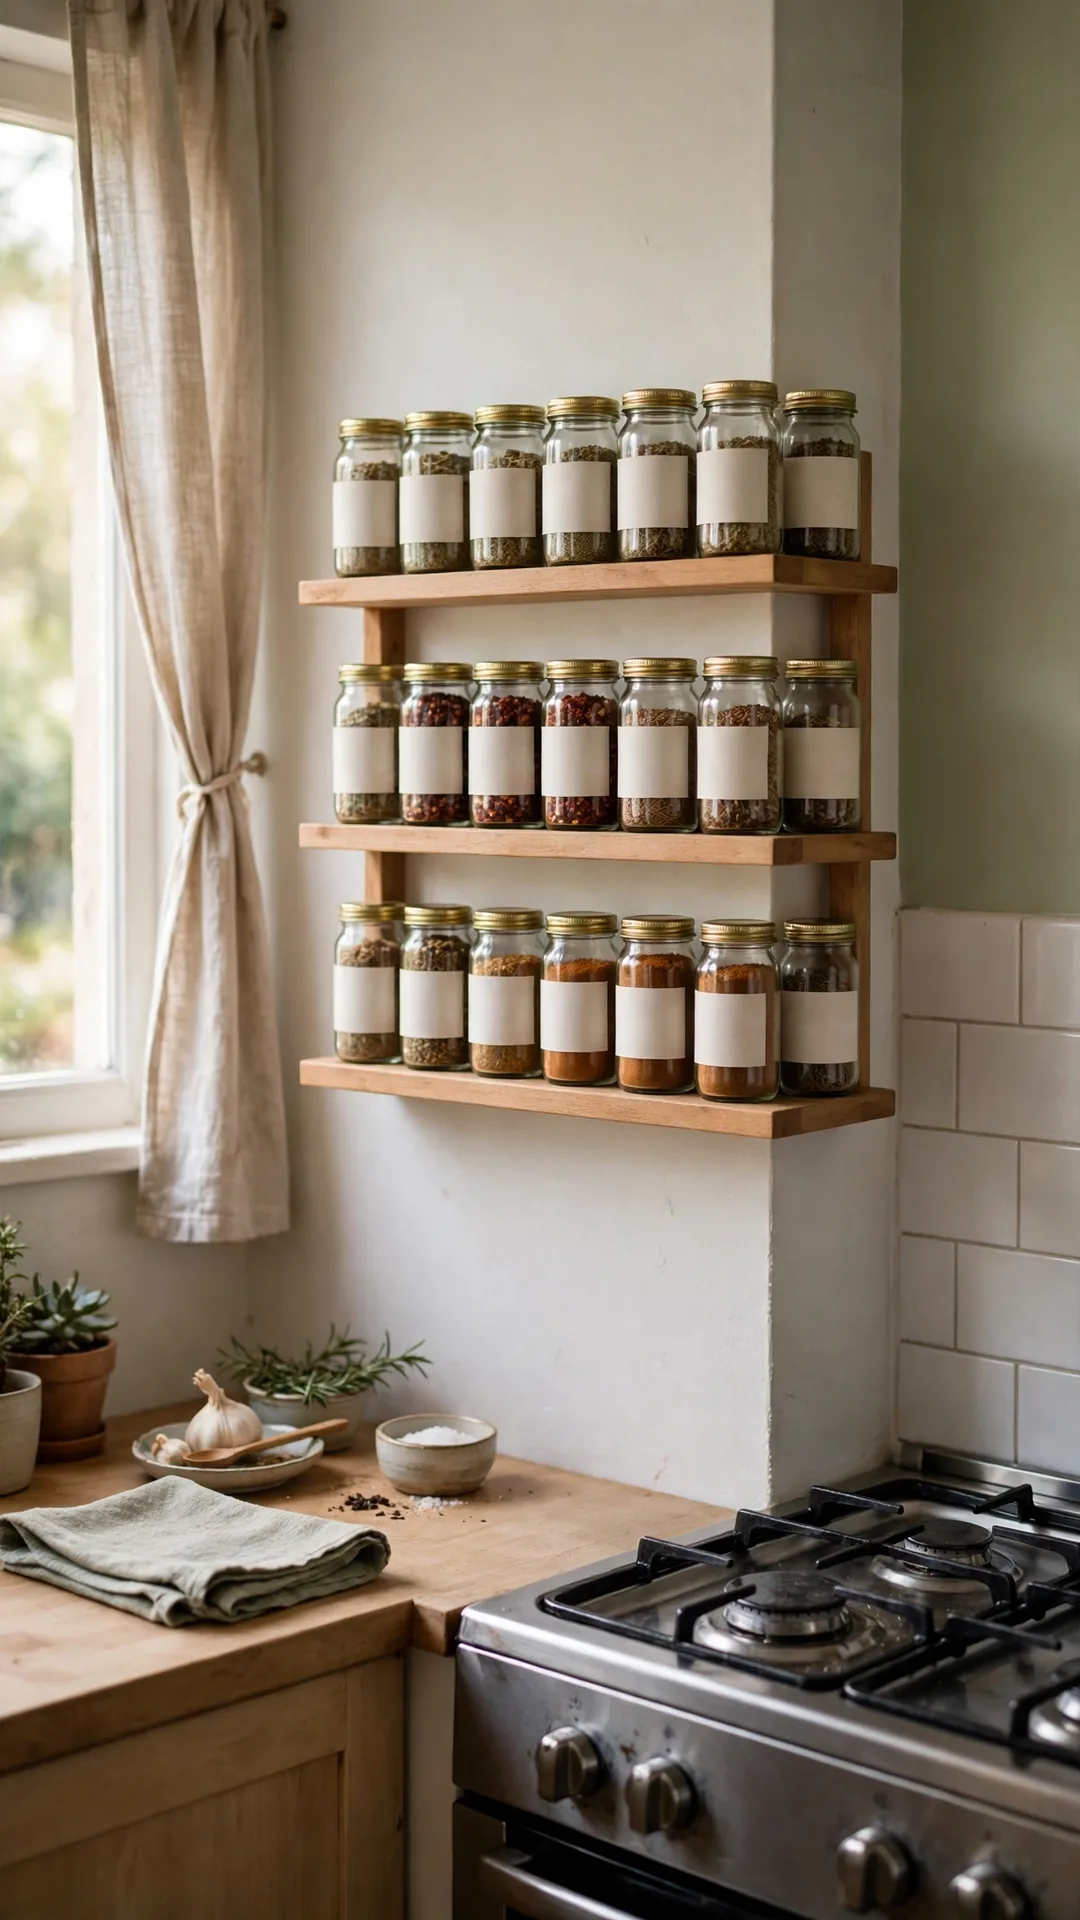
A wall spice rack claims the corner beside the stove. Rows of small jars follow the wall angle in smart small kitchen corner storage ideas like this one. Plain jar fronts keep the row calm and tidy.
How to do it:
- Pick a rack with three or four rows.
- Fix it clear of stove heat splash.
- Sort jars by how often you cook.
- Keep refills in a backup bin below.
Best for: Cooks with deep spice collections.
Budget: $20 to $45
Quick tip: Small jars beat bulk jars on wall racks.
44. Stack Fruit in a Tiered Corner Stand
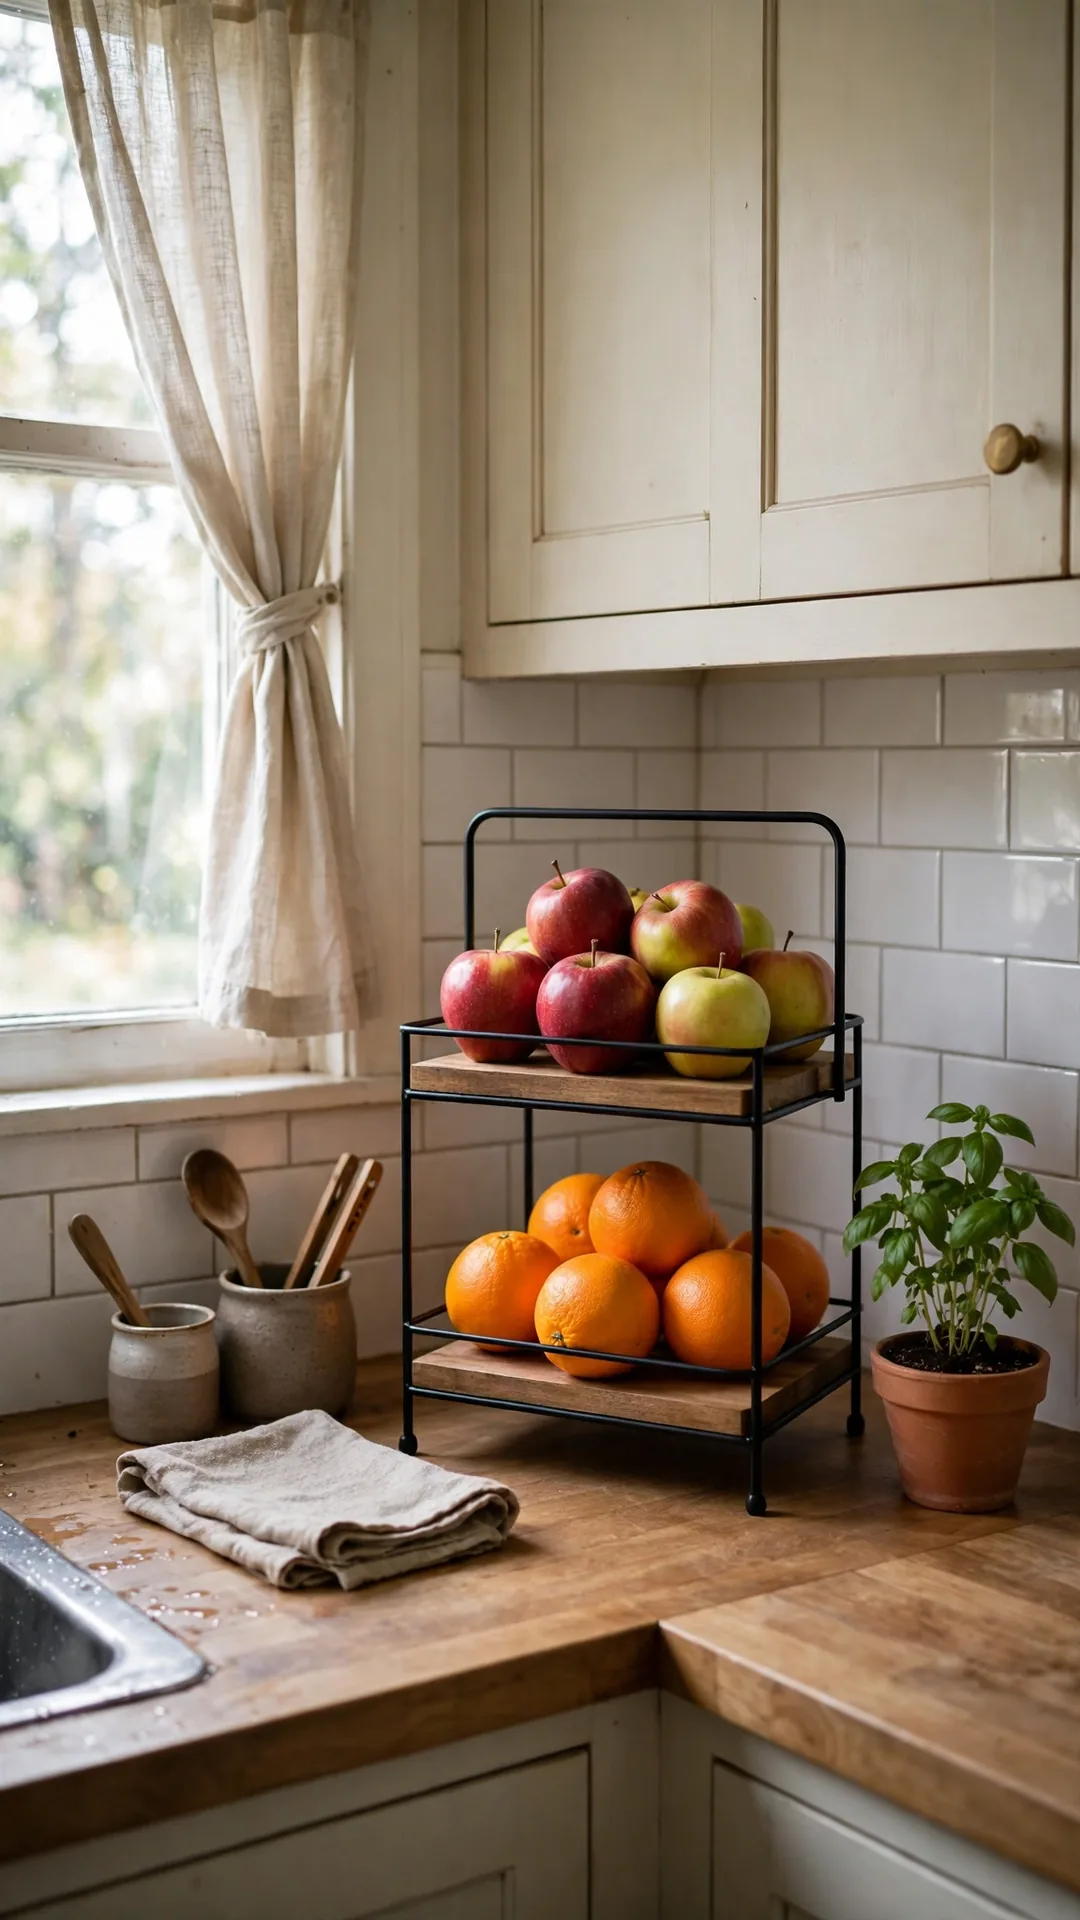
A tiered fruit stand turns the counter corner into a fresh display. Air flows around fruit on open tiers. The bowl habit frees fridge space too.
How to do it:
- Pick a stand about 12 inches wide.
- Keep heavy fruit on the bottom tier.
- Put soft fruit on the top tier.
- Check the bottom tier twice weekly.
Best for: Bright corners away from stove heat.
Budget: $18 to $40
Quick tip: Bananas hang best from a sturdy top hook nearby. Keep bananas away from direct sun so they ripen slow and even.
45. Prop a Recipe Stand in the Corner
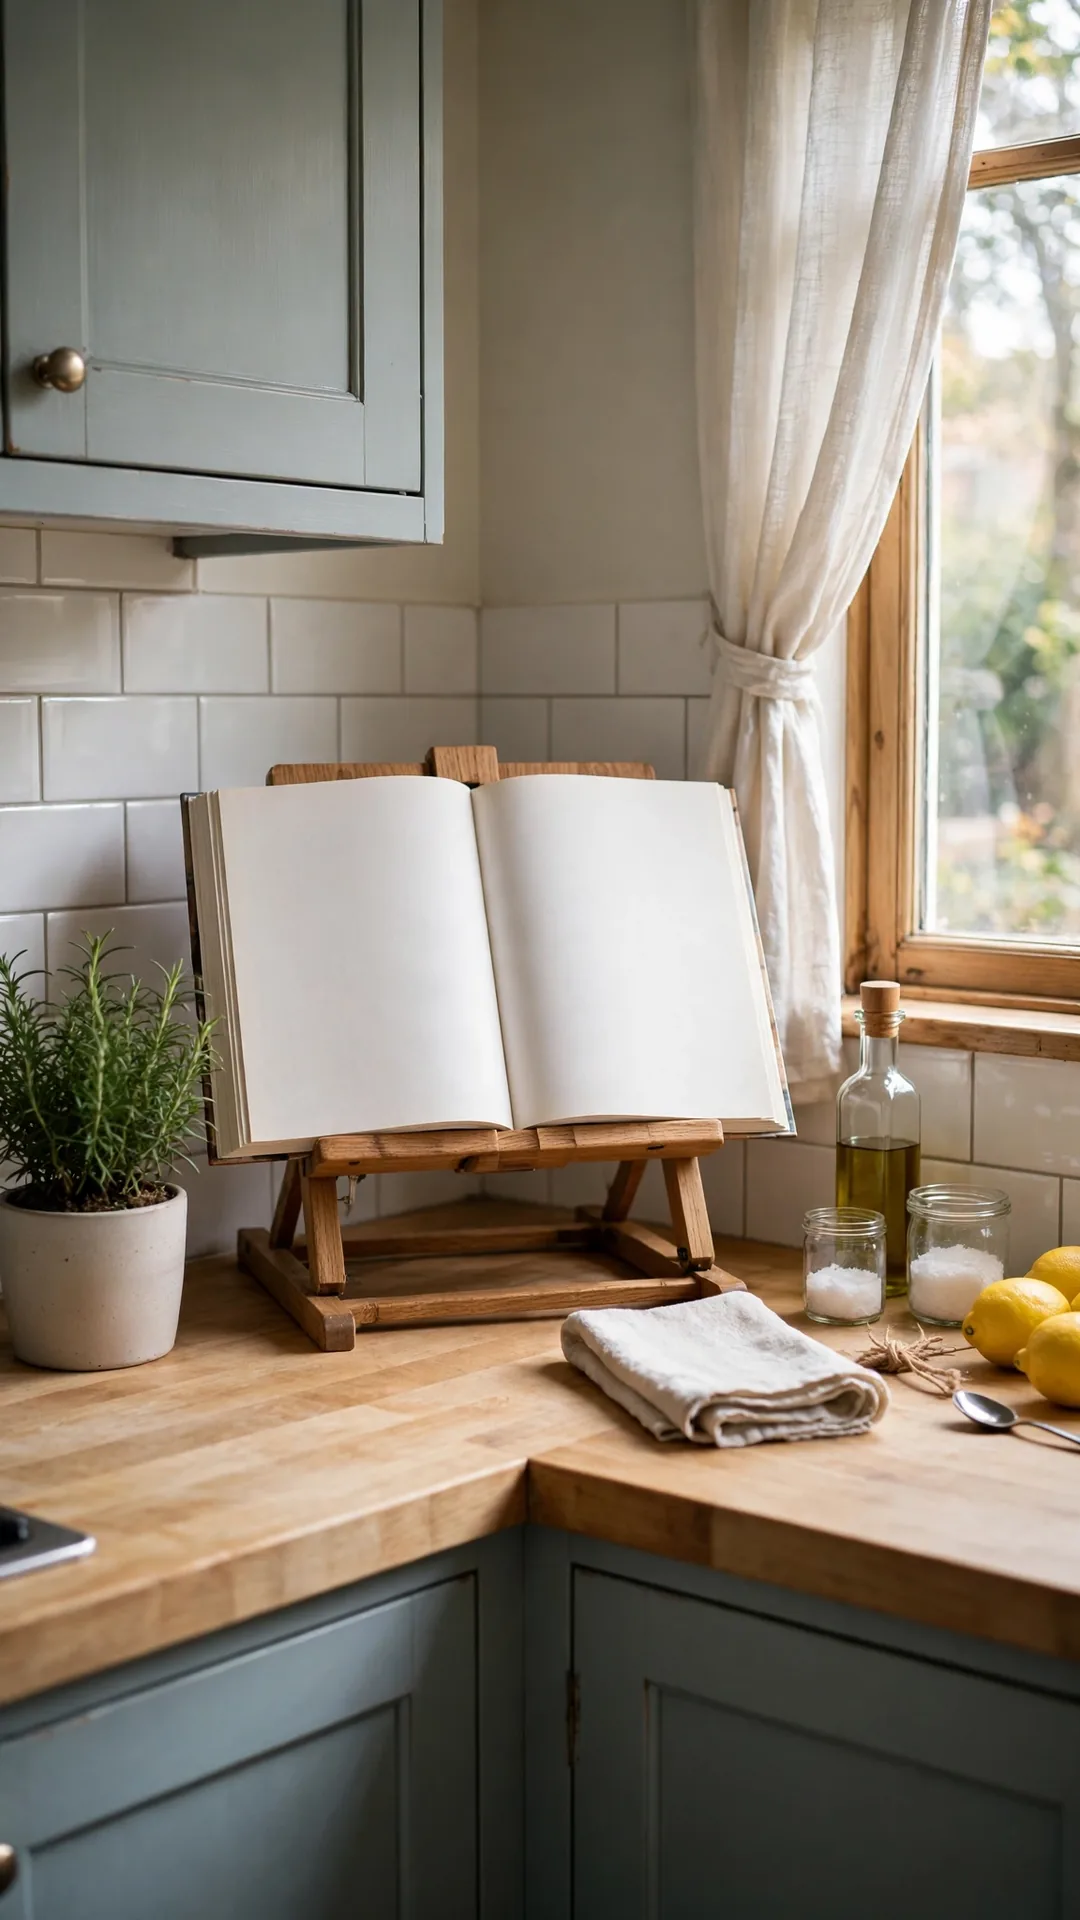
A recipe stand props books and tablets in the dead corner. The angle keeps pages clear of splashes. Your hands stay free for the actual cooking.
How to do it:
- Pick a stand with a wide ledge.
- Angle it toward your main work spot.
- Keep a charger cord clipped behind.
- Wipe the stand after saucy meals.
Best for: Corners beside the main prep zone.
Budget: $12 to $30
Quick tip: A simple plate stand works as a cheap swap here. Test the stand with one plate before loading the full set.
46. Dock Phones and Tablets in the Corner

The far counter corner suits a small charging dock. Phones and a tablet charge away from water and heat. Cords stay coiled in one tidy spot.
How to do it:
- Use a dock with two or three slots.
- Route cords along the wall edge.
- Keep the dock 12 inches from the sink.
- Add a small tray for keys and mail.
Best for: Kitchens that double as home base.
Budget: $15 to $35
Quick tip: One short cord per slot ends messy counter tangles. Label each plug at the strip so unplugging stays quick and safe.
47. Fit a Corner Sink with Storage Below

A corner sink opens storage that straight runs waste. The angled base fits bins and bottles in many small kitchen corner storage ideas for L-shaped rooms. Tilt access stays good with the right organizers.
How to do it:
- Measure the angled cabinet depth first.
- Fit a caddy for daily sprays.
- Keep a small bin for trash bags.
- Leave room for pipe access always.
Best for: L-shaped kitchens with a corner sink.
Budget: $20 to $50
Quick tip: Keep a small flashlight under the sink for leaks. Test the batteries monthly so the light works when a leak starts.
48. Hang a Caddy Inside the Sink Cabinet
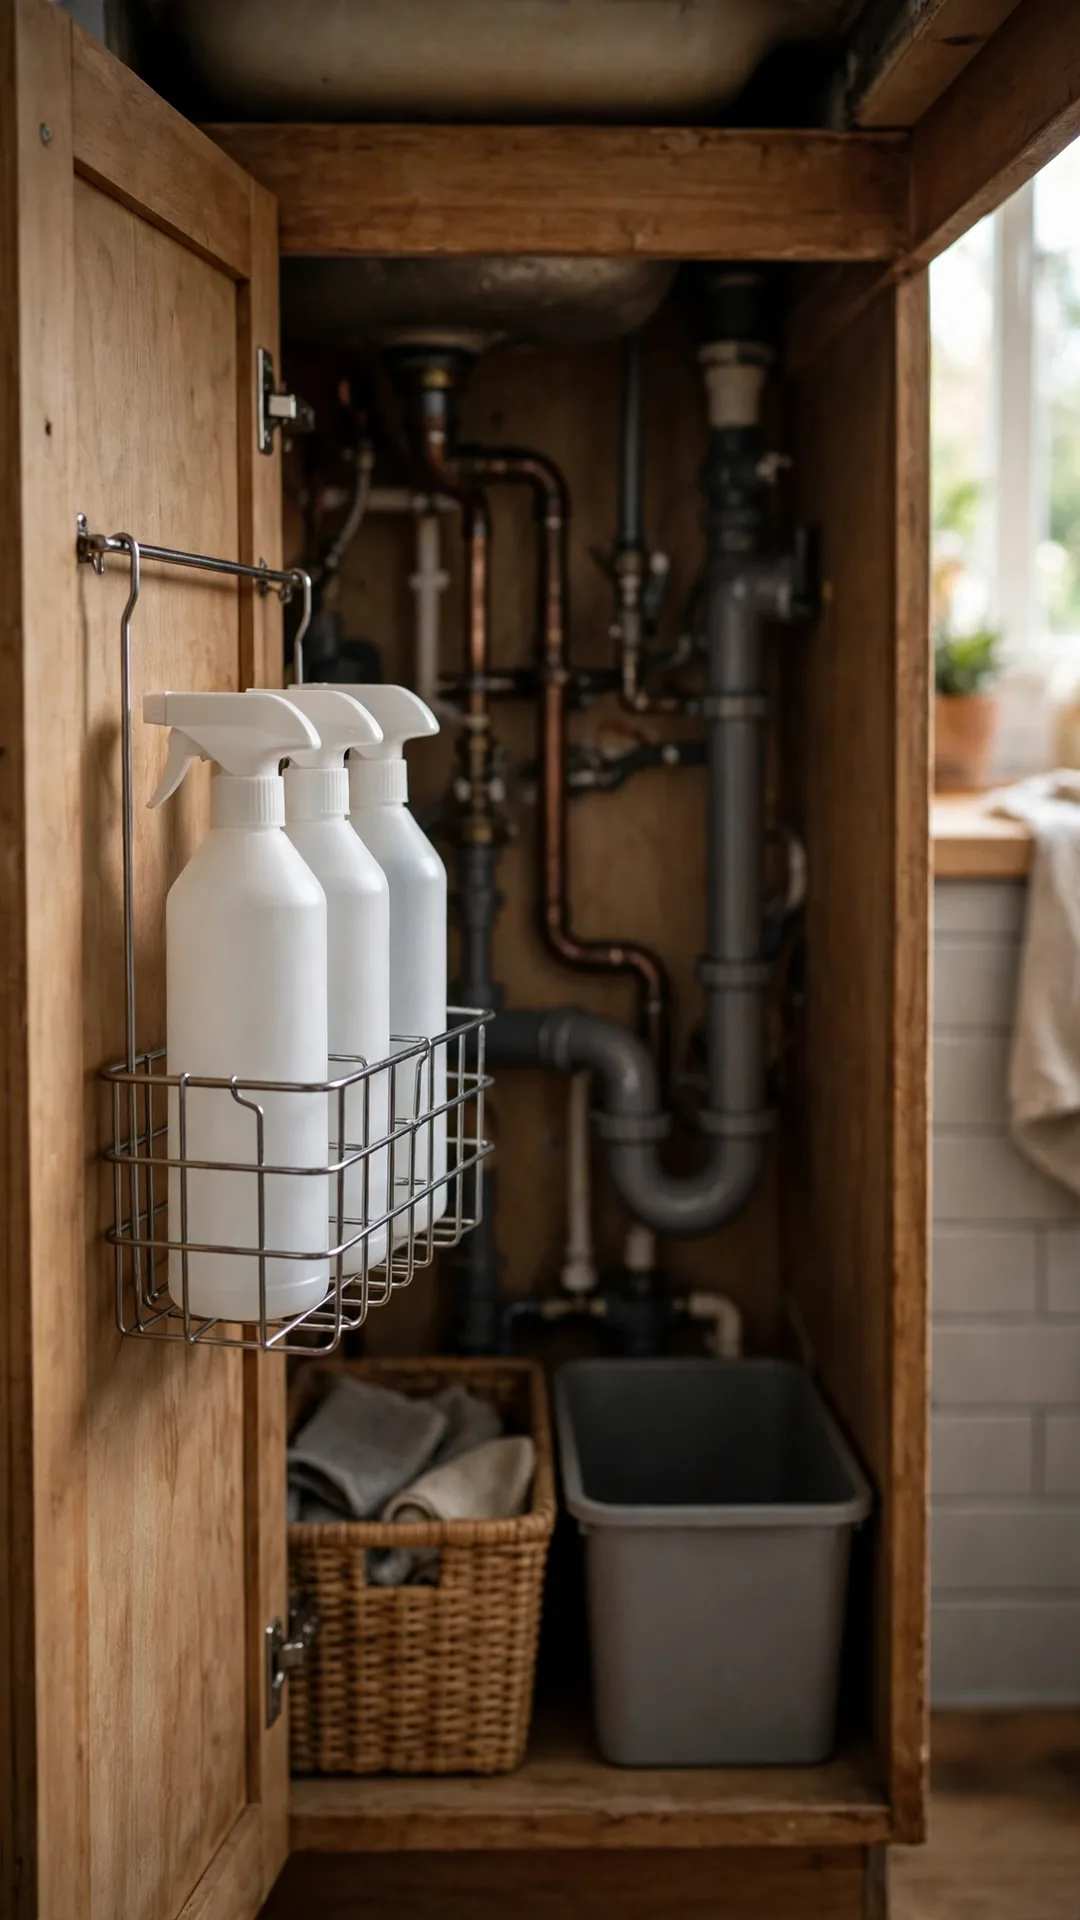
A hanging caddy sorts sprays inside the corner sink cabinet. Bottles stop toppling behind the pipes. Sort daily sprays the way these cleaning supplies organization ideas for small spaces suggest, with refills at the back.
How to do it:
- Pick a caddy that clears the pipes.
- Hang it on the cabinet side wall.
- Keep daily bottles in the top tier.
- Store refills low and upright.
Best for: Deep angled cabinets under corner sinks.
Budget: $12 to $28
Quick tip: Hang spray bottles by their triggers on the rod. Hang the heaviest bottle closest to the cabinet side wall.
49. Use the Tip-Out Tray by the Sink

The false front panel by the sink hides a slim tray. Tip-out trays feature in small kitchen corner storage ideas for tight sink runs. Sponges and scrubbers dry out of sight.
How to do it:
- Pick a tray kit about 11 inches wide.
- Screw the hinges to the false front.
- Keep one sponge and one brush inside.
- Wipe the tray weekly against damp.
Best for: Corner sinks with a false drawer front.
Budget: $15 to $35
Quick tip: Stainless trays resist rust far better than plastic ones. Dry trays fully before stacking so water spots never form.
50. Add a Shelf Above the Corner Sink
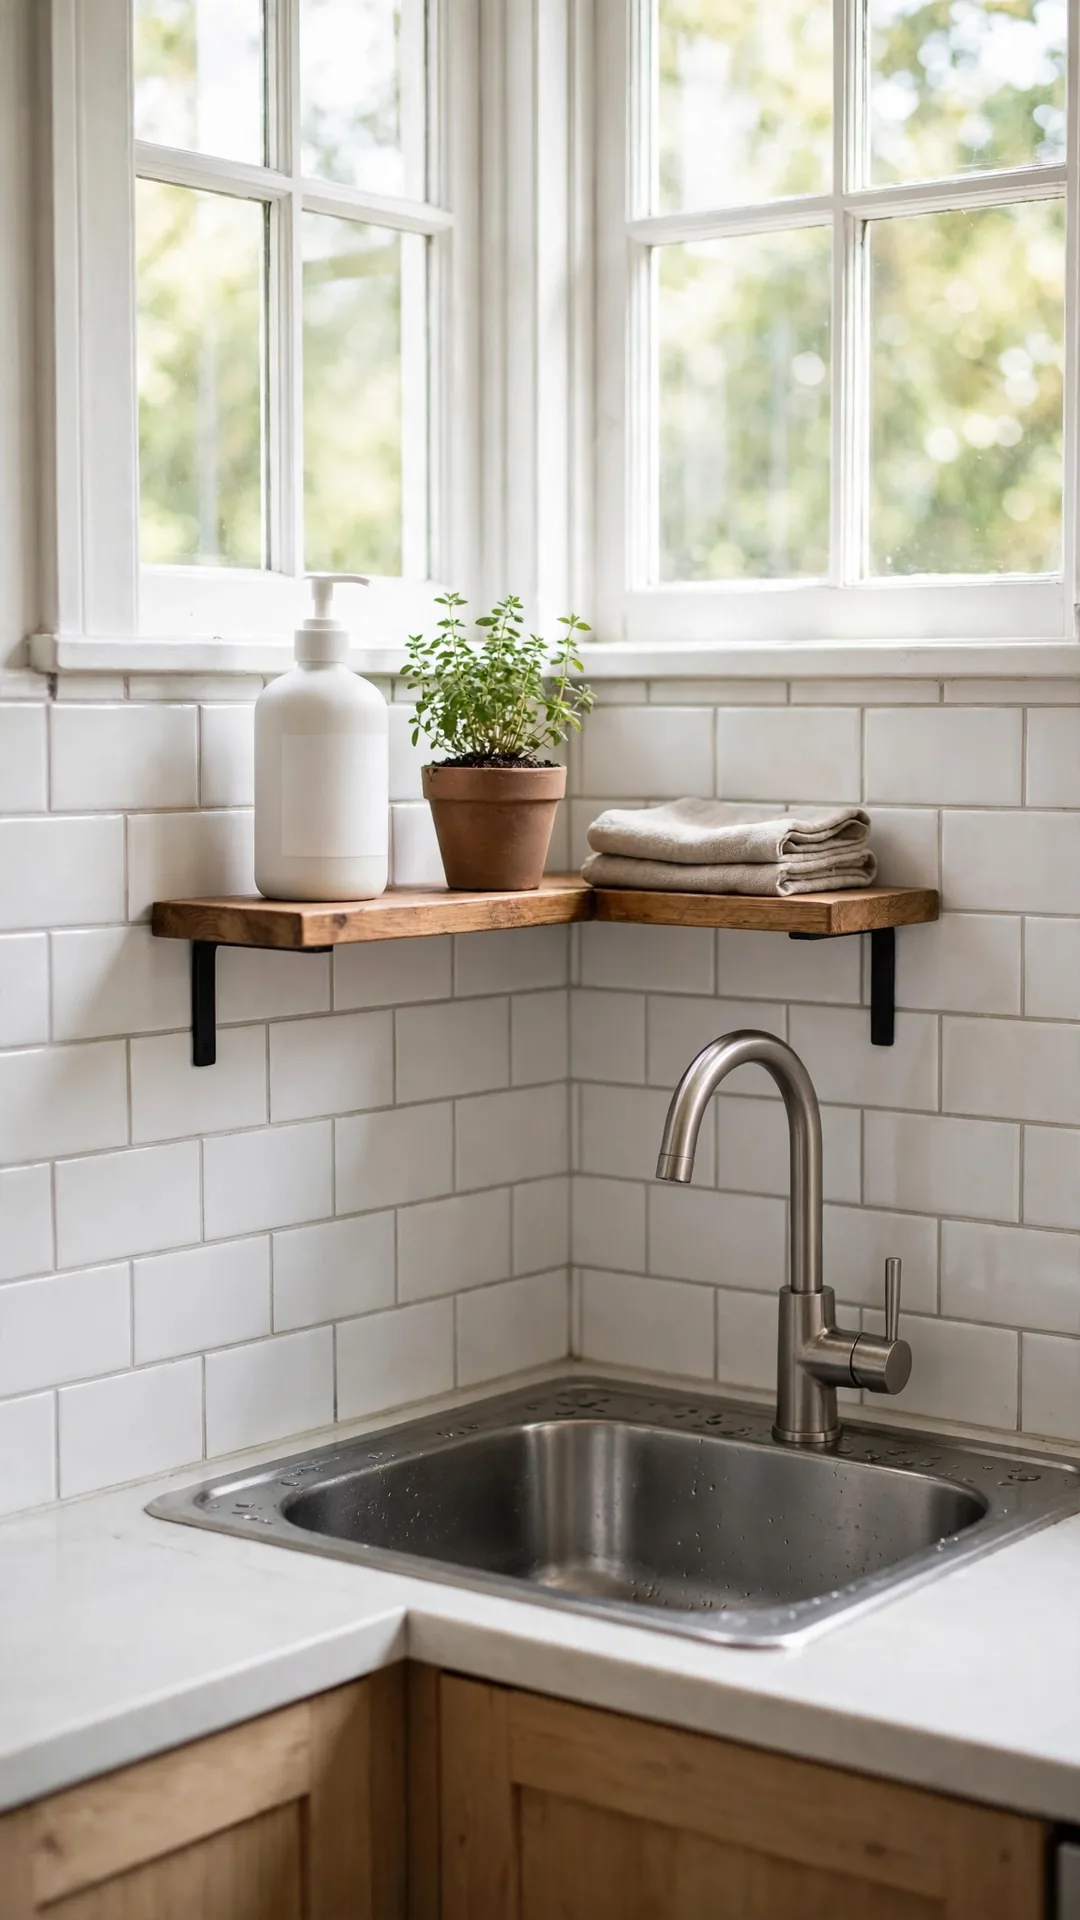
One shelf above the corner sink holds daily wash gear. Soap, brushes and a small plant share the ledge. The spot gets light and stays easy to wipe.
How to do it:
- Fit a shelf about 8 inches deep.
- Keep it clear of the faucet swing.
- Use a tray for wet items only.
- Anchor brackets into studs if possible.
Best for: Corner sinks under a window.
Budget: $15 to $40
Quick tip: Glass shelves keep bright window light flowing through. Wipe glass weekly with a dry cloth to keep the sparkle.
51. Roll a Drying Rack Over the Sink
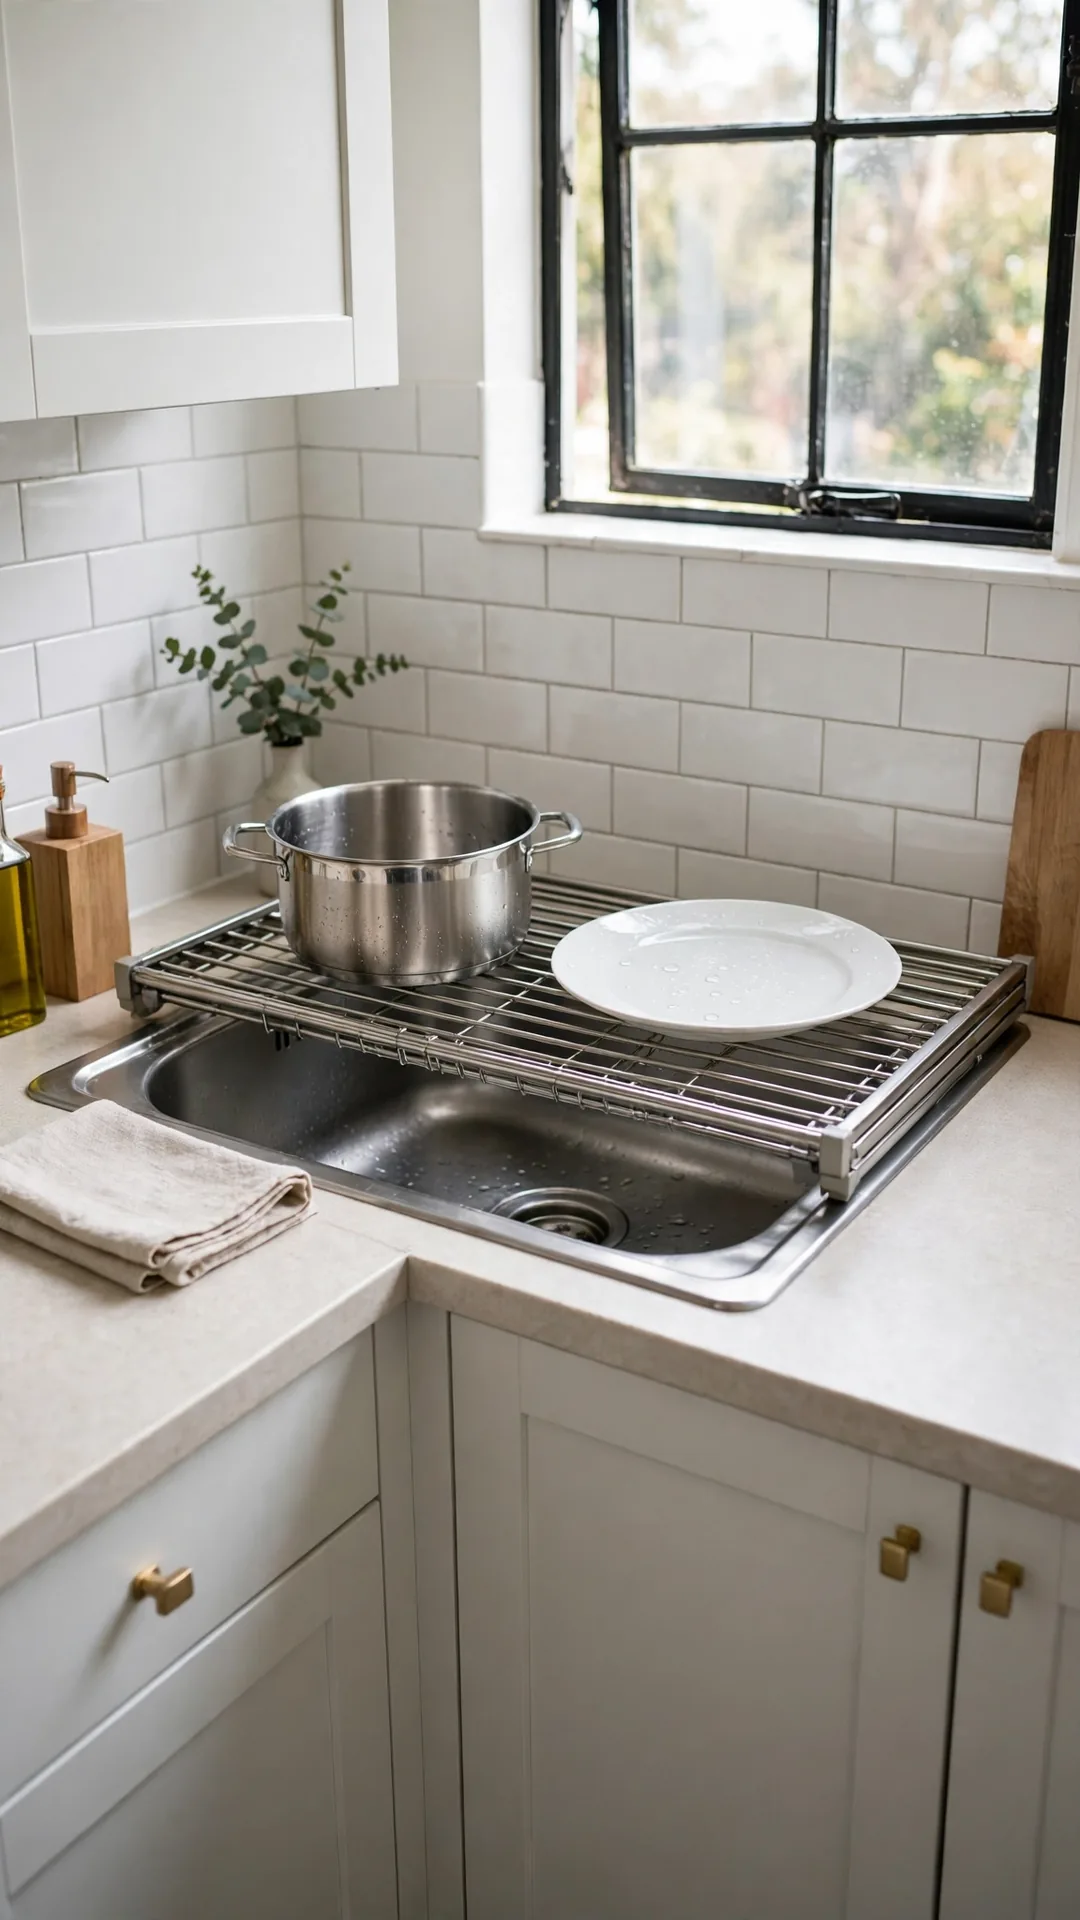
A roll-up rack over the corner sink drains dishes in dead air space. It stands out among small kitchen corner storage ideas because the sink stays free. Roll it away when you need the full basin.
How to do it:
- Measure the sink width across the corner.
- Pick a rack with silicone coated rails.
- Rest pots across the widest span.
- Roll and store it under the sink.
Best for: Corner sinks with no rack space beside.
Budget: $18 to $35
Quick tip: Heat safe racks double as a trivet.
52. Roll a Slim Cart into the Corner Gap
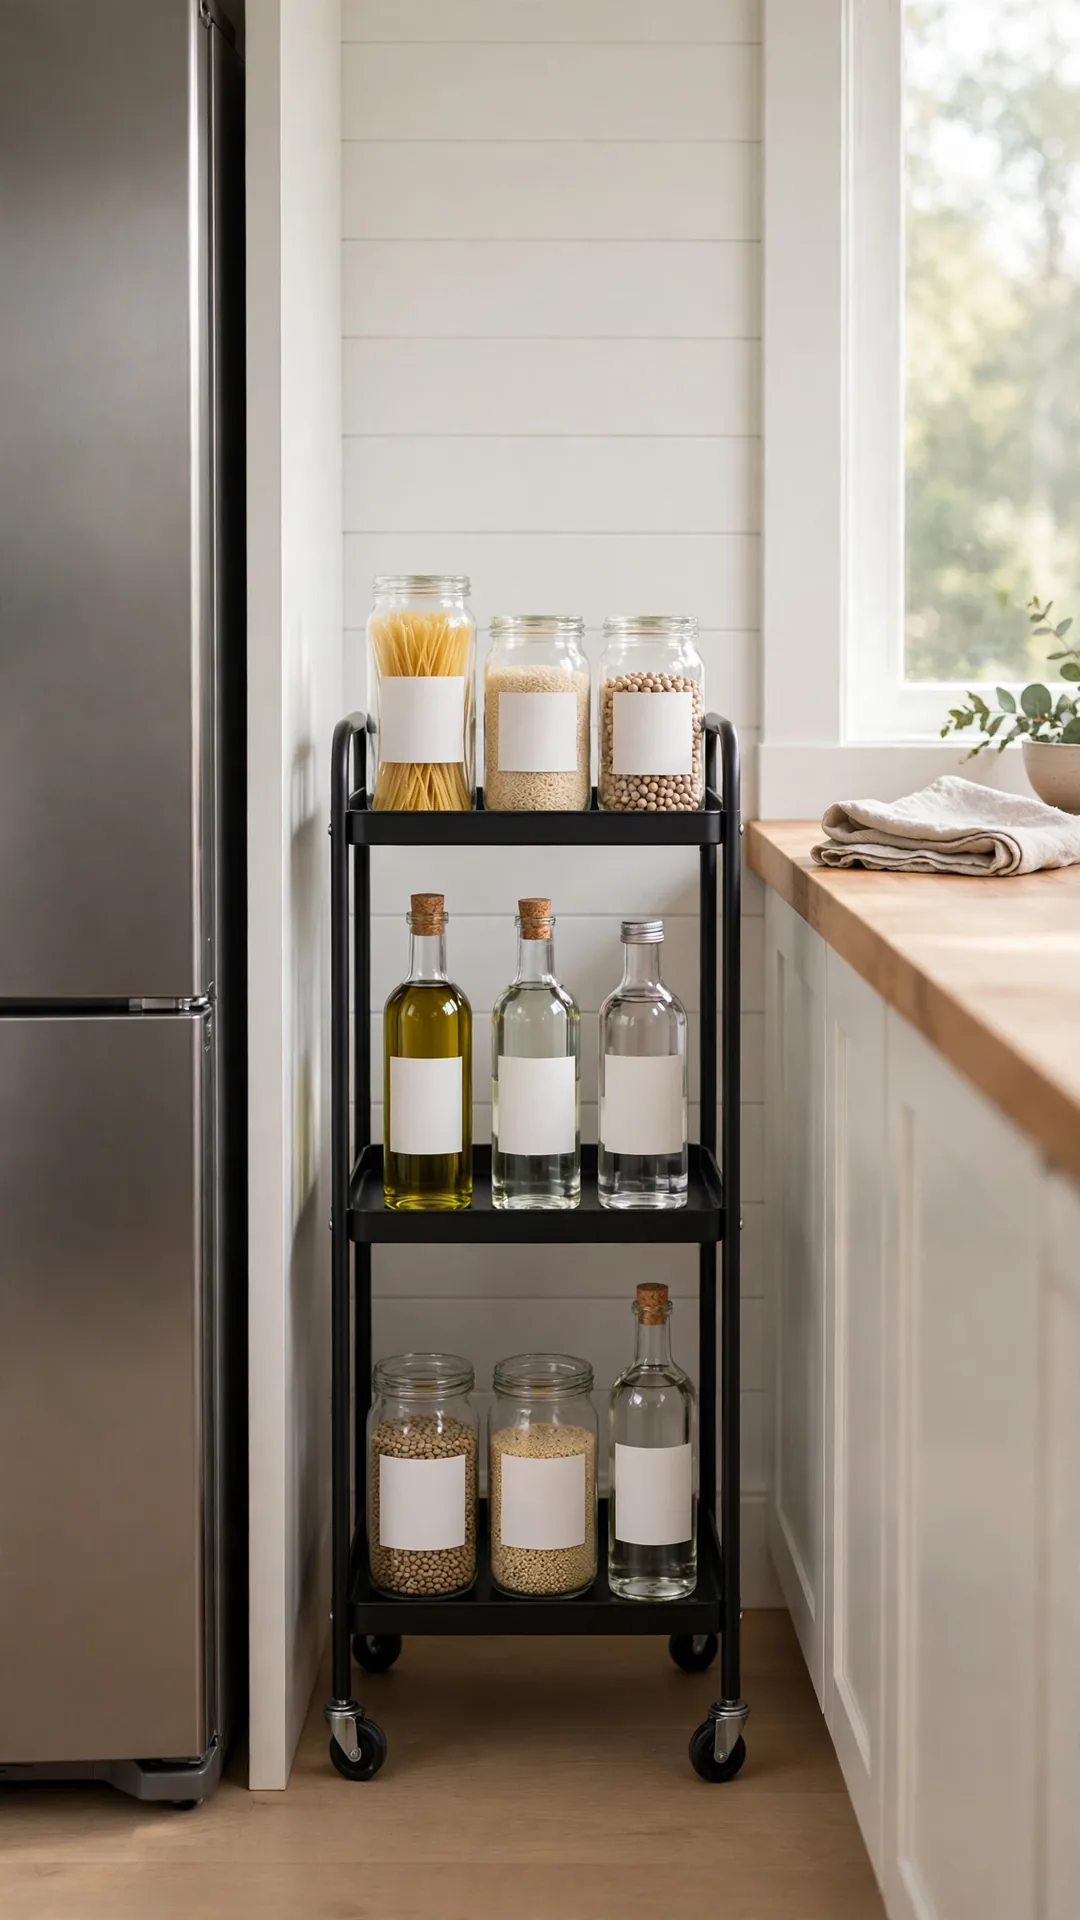
A slim cart rolls into the gap beside the fridge or cabinets. Three tiers hold jars, cans or cleaning bottles. The corner gap stops collecting dust and bags.
How to do it:
- Pick a cart 5 to 7 inches wide.
- Measure the gap depth and height first.
- Load heavy jars on the lowest tier.
- Pull it by the handle, not the sides.
Best for: Narrow gaps at the end of a run.
Budget: $25 to $55
Quick tip: Locking casters stop the loaded cart wandering across floors. Lock the front wheels first, then load the shelves from bottom up.
53. Stand a Tall Shelf Unit in the Corner
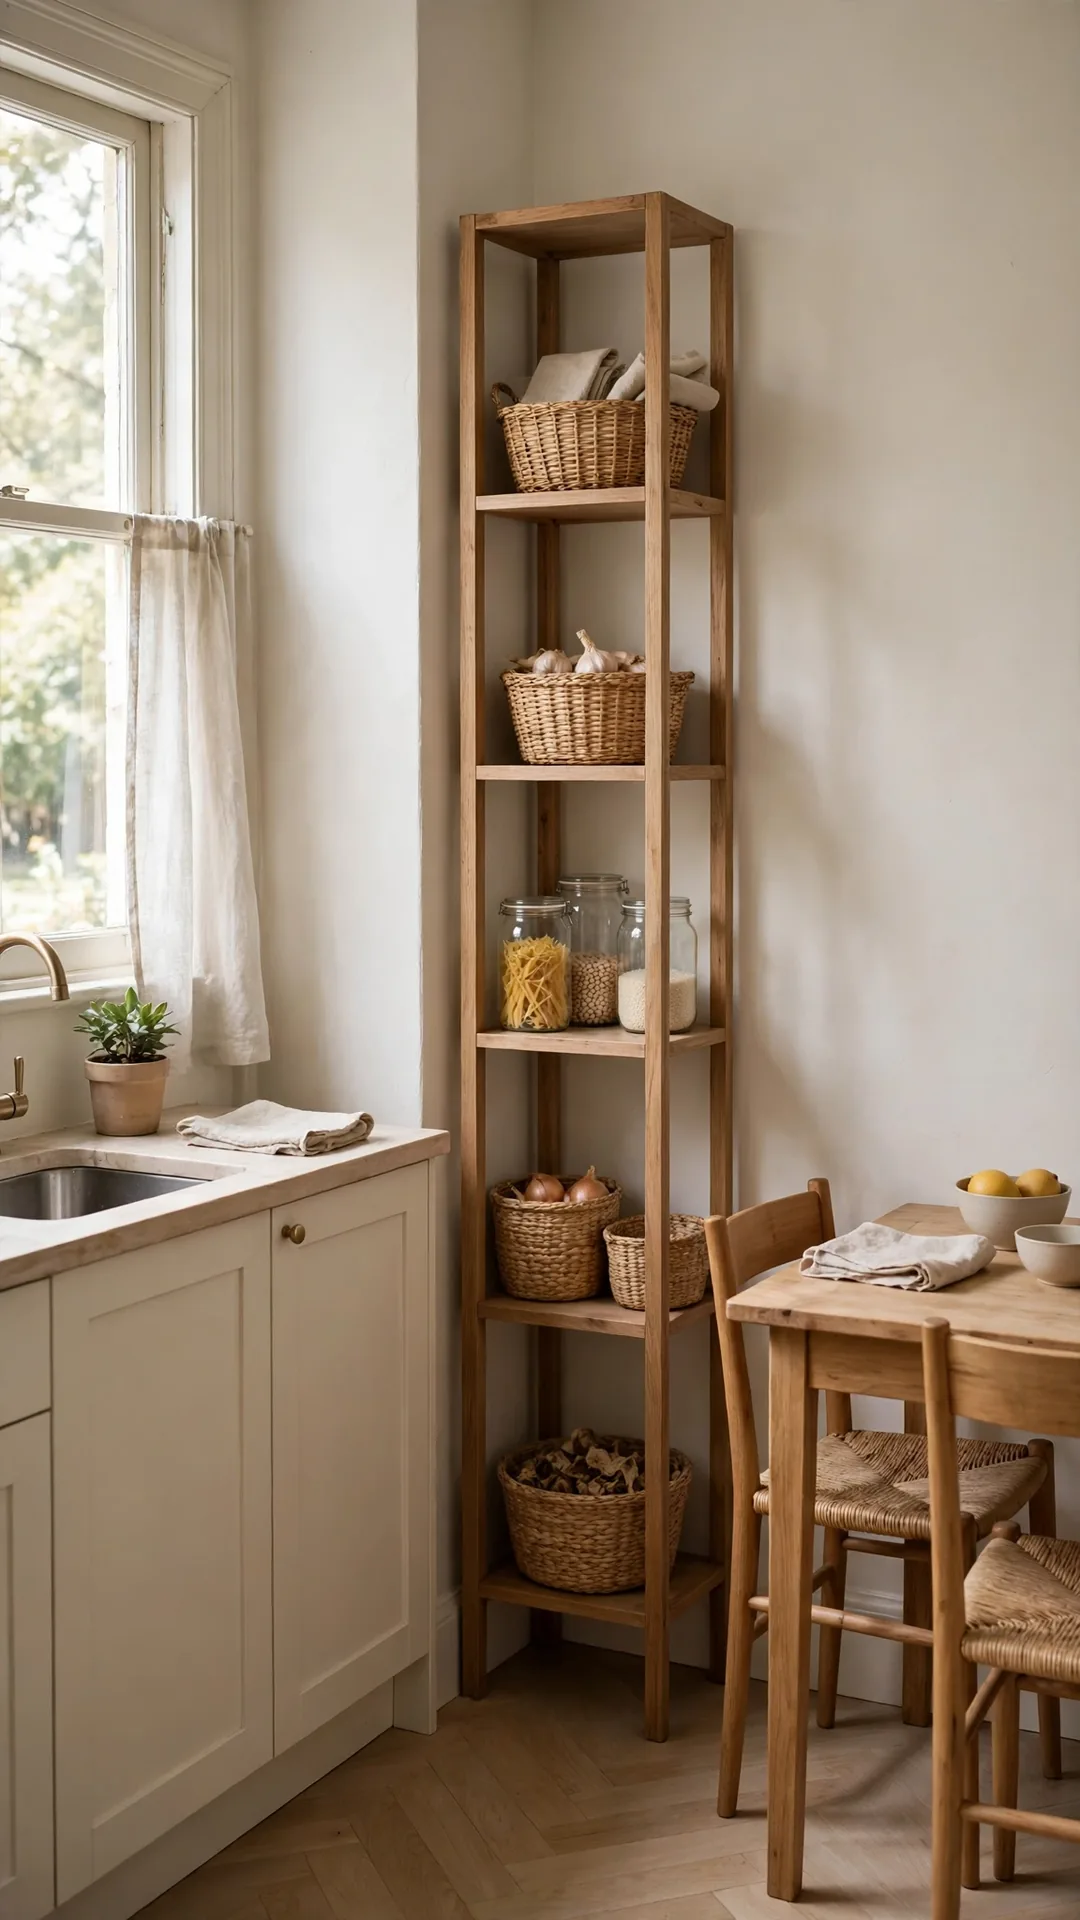
A tall corner shelf unit climbs the one spot cabinets skip. Five tiers hold pantry overflow, cookbooks and plants. The footprint stays smaller than a chair.
How to do it:
- Pick a unit about 12 inches deep.
- Anchor the top to the wall.
- Keep heavy tins on lower tiers.
- Leave the top tier for light items.
Best for: Bare corners beside the dining area.
Budget: $45 to $110
Quick tip: Matching baskets calm a tall and mixed storage load. Keep one spare basket empty for surprise overflow on busy weeks.
54. Stack Storage Cubes in the Kitchen Corner

Storage cubes stack into the kitchen corner as pantry overflow. Cubes earn their place in small kitchen corner storage ideas when cupboards overflow at holidays. The same cubes anchor these cube storage ideas for small spaces across the home.
How to do it:
- Stack two or three cubes at most.
- Use fabric bins inside each cube.
- Keep daily overflow in the top cube.
- Anchor the stack to the wall.
Best for: Corners beside the kitchen table.
Budget: $30 to $70
Quick tip: One cube per food group ends rummaging.
55. Hang a Rack Over the Pantry Door

A rack over the pantry door turns the door into storage. Packets, wraps and light jars ride at eye level. The corner beside the door stays clear.
How to do it:
- Pick a rack with adjustable baskets.
- Check the door closes fully first.
- Load light items in top baskets.
- Keep heavy jars in the lowest basket.
Best for: Kitchens with a pantry or closet door.
Budget: $20 to $45
Quick tip: Felt pads stop the metal frame rattling against doors. Add pads to the top corners too, where frames knock the most.
56. Fold a Step Stool Flat in the Corner
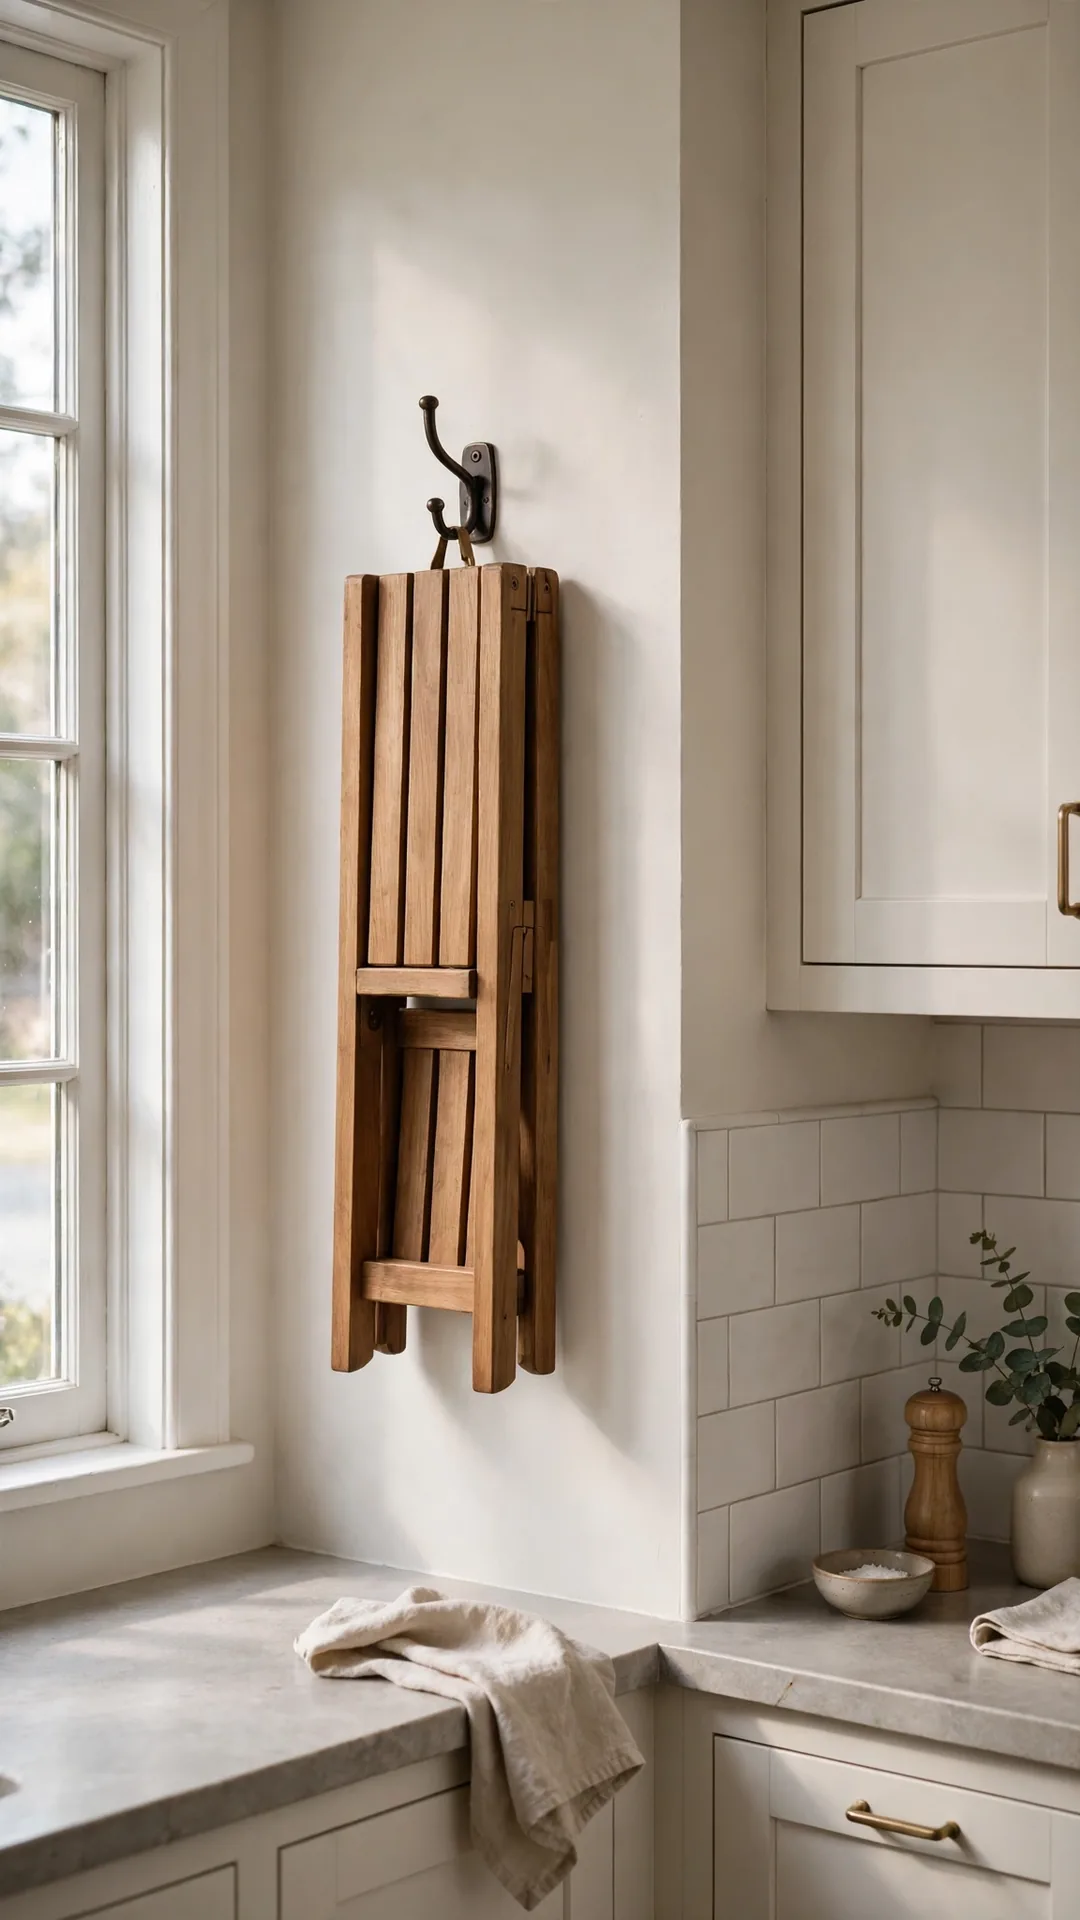
A folding step stool lives flat in the kitchen corner. It makes top shelves and cabinets part of daily storage. The stool hangs on one hook when folded.
How to do it:
- Pick a stool rated for your weight.
- Fold it to under 3 inches thick.
- Hang it on a hook in the corner.
- Keep the steps clean for grip.
Best for: Kitchens with high corner cabinets.
Budget: $20 to $45
Quick tip: A sturdy two step stool suits most shelf heights. Fold the stool flat and park it beside the fridge gap.
57. Slide a Toe-Kick Drawer Under the Corner
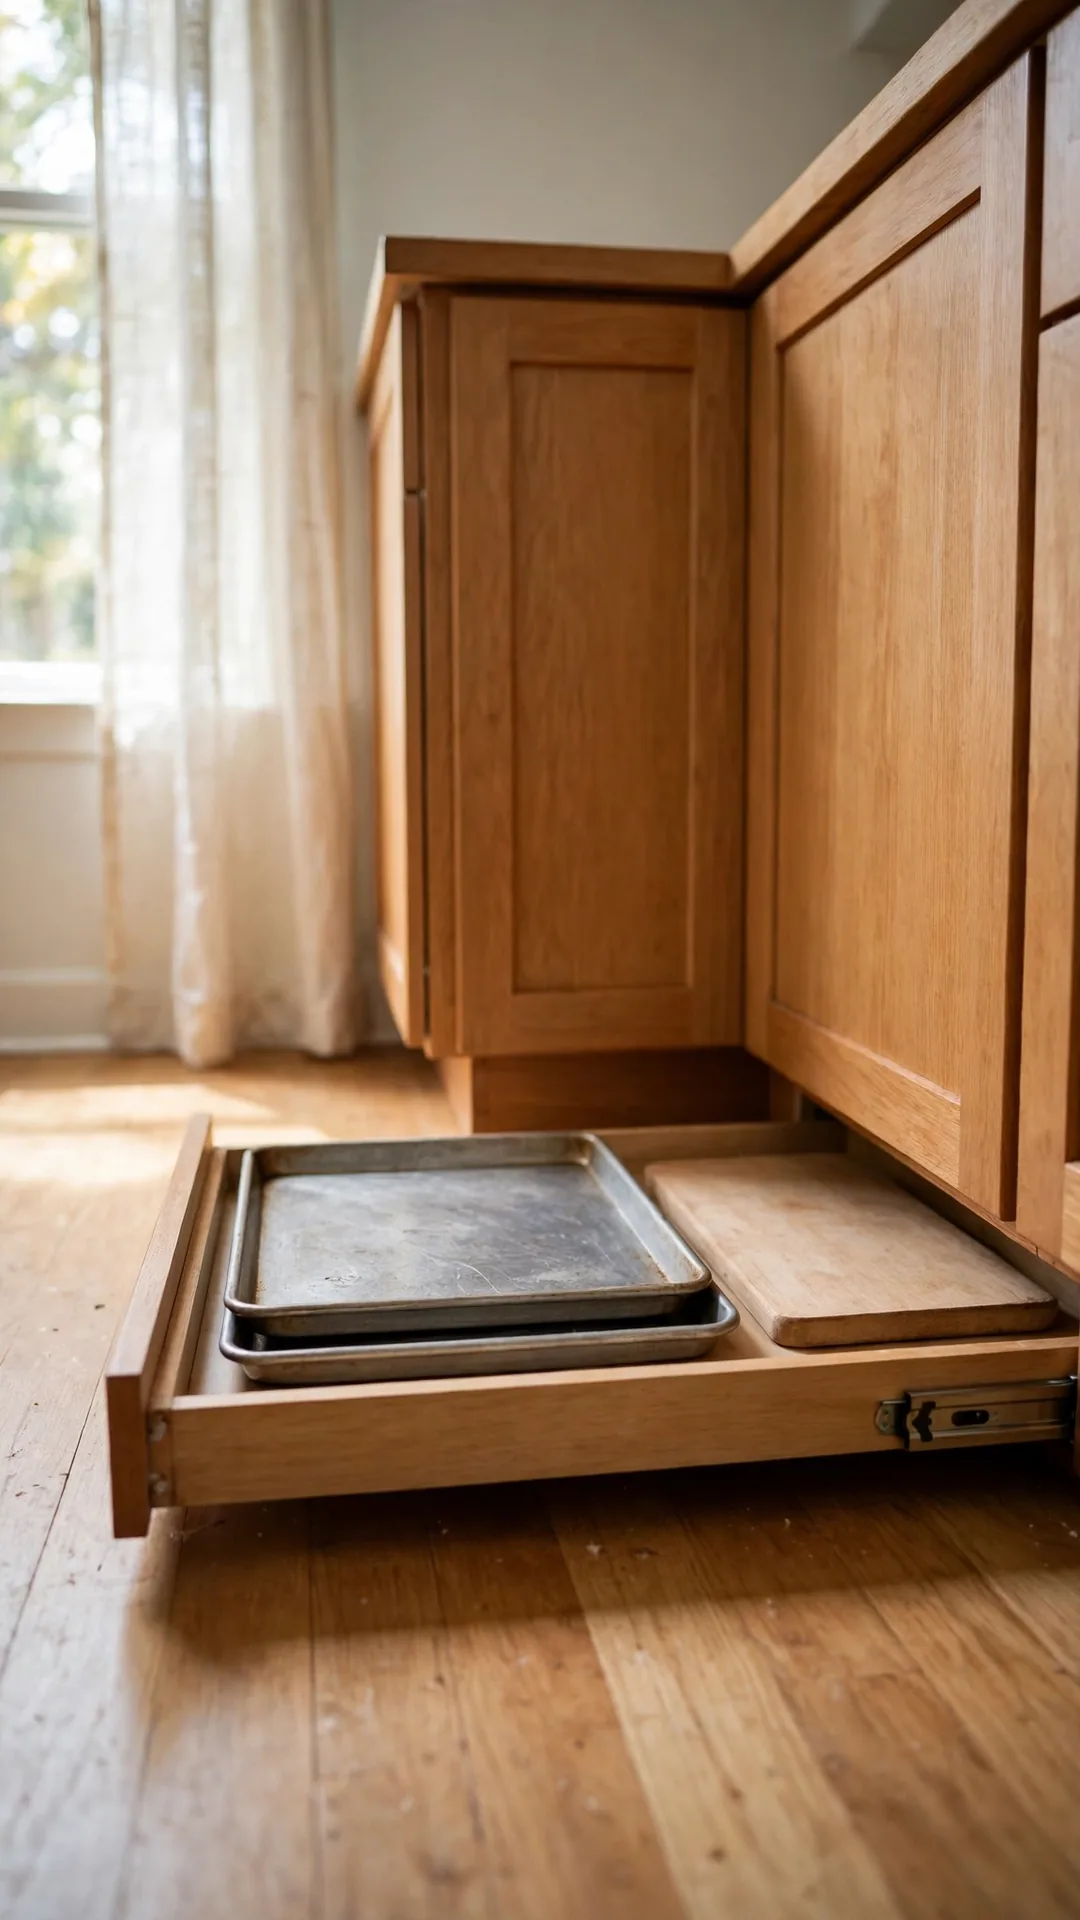
The toe-kick strip under the corner cabinets hides a shallow drawer. It is one of the sneakiest small kitchen corner storage ideas in this whole list. Trays lie flat and stay dust free.
How to do it:
- Fit a drawer about 4 inches tall.
- Use it for flat trays and lids.
- Add a soft close runner if possible.
- Keep the front flush with the kick plate.
Best for: Owners adding storage without new cabinets.
Budget: $60 to $140
Quick tip: Flat trays you use monthly suit this spot best.
58. Keep Brooms Upright in a Corner Caddy
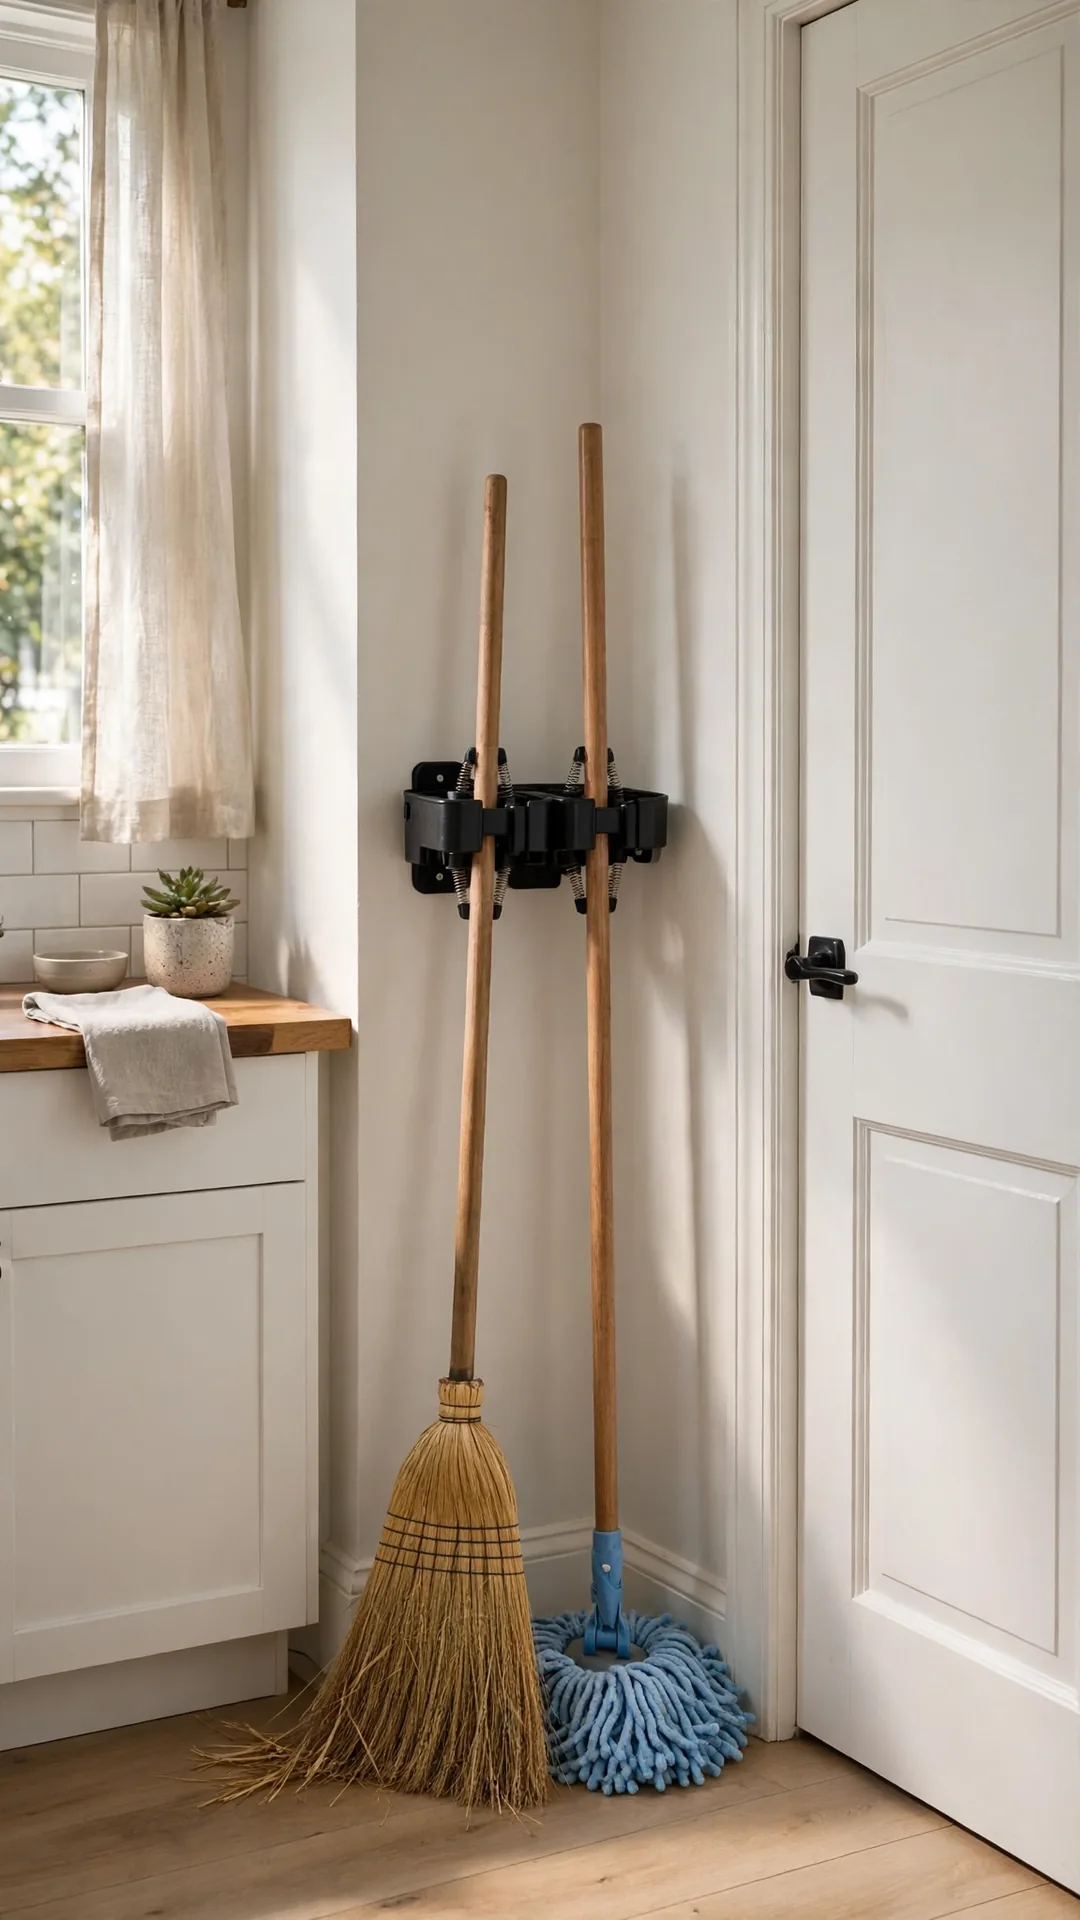
A corner caddy keeps brooms and mops upright by the kitchen door. Grippers hold handles at two heights. The floor corner stays dry and easy to sweep.
How to do it:
- Pick a caddy with three or four slots.
- Fix it at handle height on the wall.
- Stand wet mops head up to dry.
- Keep a dustpan clipped at the end.
Best for: Corners beside the back door.
Budget: $15 to $35
Quick tip: A small tray under the heads catches stray drips. Empty the tray weekly so old drips never start to smell.
59. Stash Overflow Baskets Above the Corner Cabinets

Baskets on top of the corner cabinets hold true overflow. Party gear and spare vases sit out of daily reach. Matching baskets keep the high line tidy.
How to do it:
- Measure the gap to the ceiling first.
- Pick baskets with lids for dust.
- Keep one basket per overflow type.
- Use the step stool and two hands.
Best for: Kitchens with a foot or more above cabinets.
Budget: $20 to $45
Quick tip: List the contents in a phone note for later. Update the note whenever you move a box to a new shelf.
Start With One Corner This Weekend
You do not need a full remodel to fix a dead corner. Pick one shelf, one tray or one turntable from these small kitchen corner storage ideas and set it up today. Save this post or pin your favorite idea so the plan waits for your next shop trip.

- 59 Clever Small Kitchen Corner Storage Ideas to Try Now - November 15, 2026
- 55 Brilliant Small Dining Room Storage Ideas to Try Now - November 14, 2026
- 59 Holiday Decoration Storage Ideas for Small Spaces - November 14, 2026