
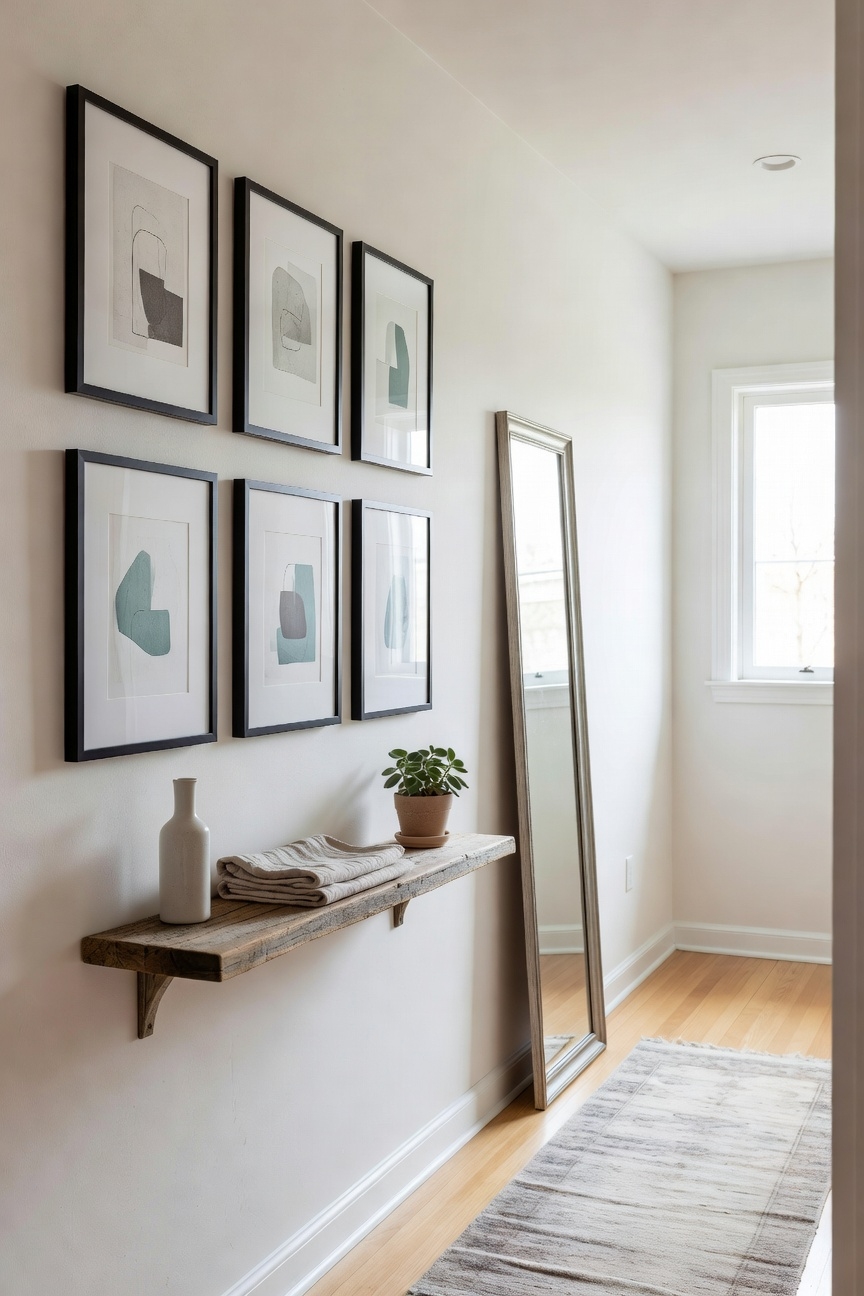
Turn a cramped hallway into a tidy gallery by using a 2‑by‑2 grid of matte‑black 8×10 frames, spaced two inches apart, and add a floating 12‑inch deep wooden shelf for swaps. Stack simple vertical rows at eye level, about 60 inches high, to make narrow walls feel taller. Choose lightweight pine or acrylic frames, keep one‑inch gaps, and hang with safe hooks or adhesive strips. If you keep scrolling, you’ll discover even more clever tricks.
Quick Answer: Design a Small Picture Wall in 5 Steps
When you’ve got a tiny hallway or a cramped living‑room corner, a well‑planned picture wall can turn the space into a visual showcase.
Select a color scheme, soft whites or muted blues, to keep the room feeling safe and spacious for you today.
Mix frame styles, thin black, wood, or acrylic, to add visual interest without clutter, then easy hang pieces, no ladder needed, at 57 inches high.
Like a stylish dressing table, a picture wall maximizes vertical space to maintain functionality and style in compact areas.
Pick a Grid Layout for a Small Picture Wall
If you have a wall that’s only 4 feet wide, a 2‑by‑2 grid can keep the space feeling balanced and tidy.
Choose Frame styles that match your décor, like 8‑inch white wood or black metal, and arrange them for Color harmony, preventing visual chaos.
Secure each piece with easy‑release hooks, keeping walls sturdy, and enjoy a tidy, safe gallery you’ll love it daily.
Strategic placement of your picture wall can reflect light and make your small room feel more spacious and open.
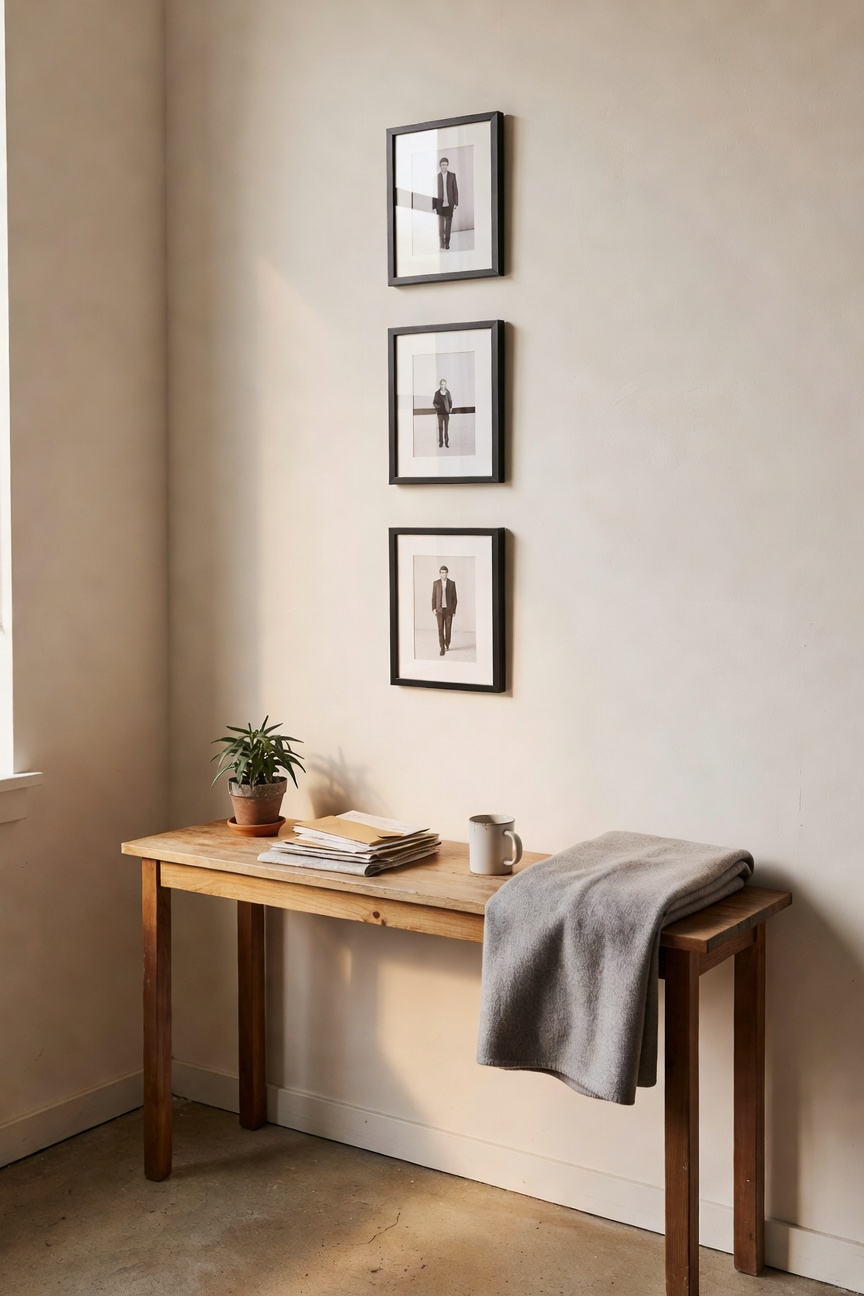
Choose a Vertical Stack for Narrow Spaces
After grid, a vertical stack can turn a hallway into a space that draws the eye upward, making it feel larger, no need for a skyscraper. You’ll choose sturdy, lightweight frames, like 1‑inch pine or metal, so the vertical stacking stays secure in narrow spaces, even if kids brush past. Mount them at eye level, roughly 60‑inch high, with anchors rated for fifteen pounds each. Pairing your picture wall with earthy tone paint creates a cohesive, naturally expansive aesthetic that enhances the visual expansion achieved through vertical arrangement.
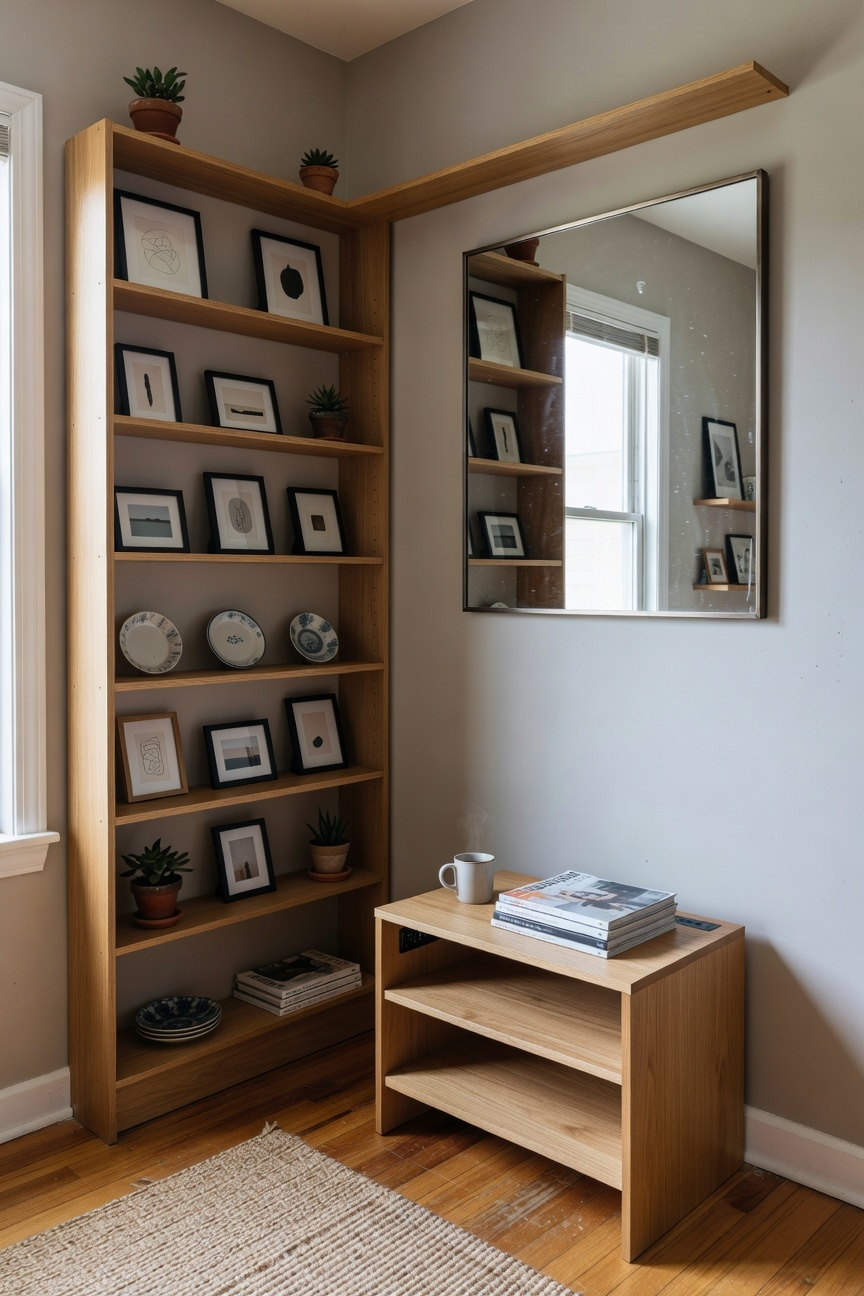
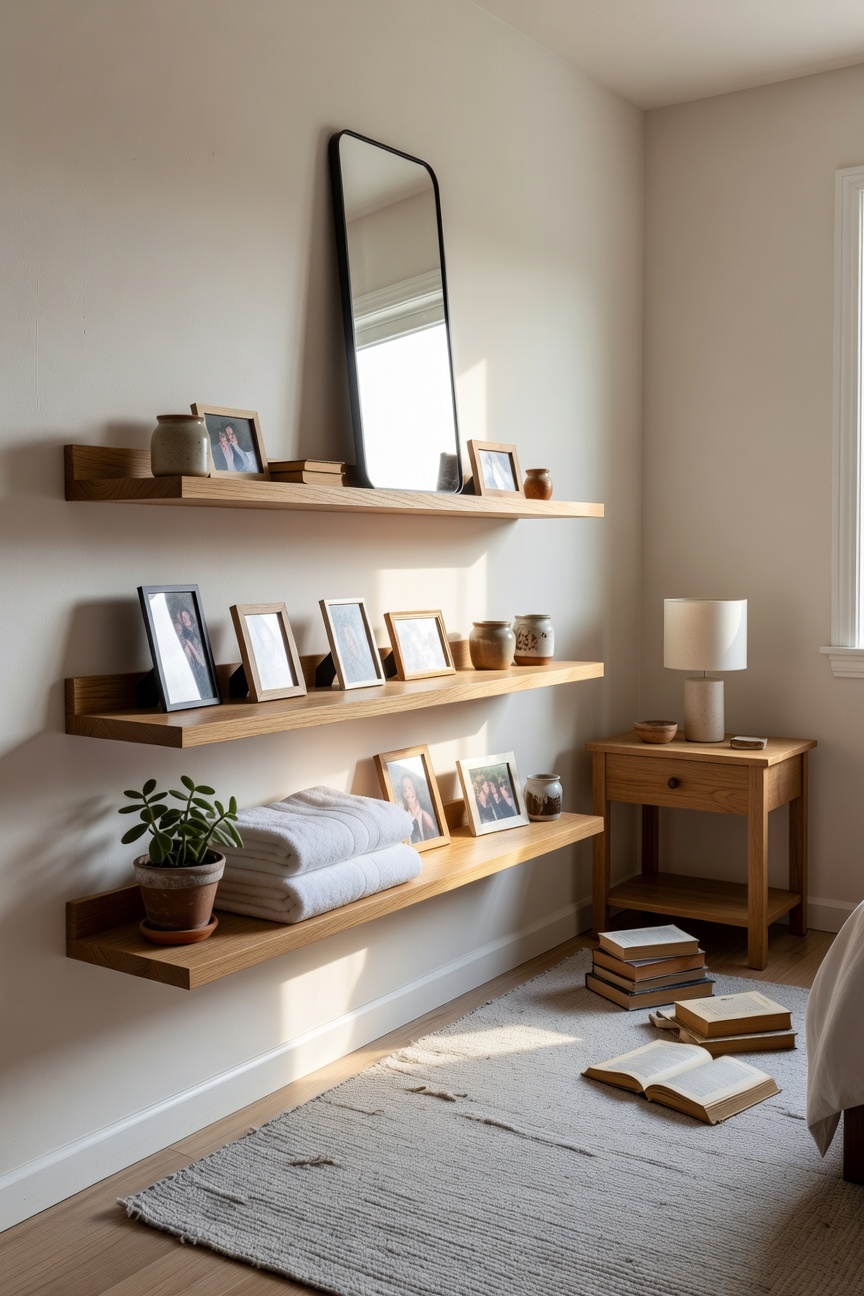
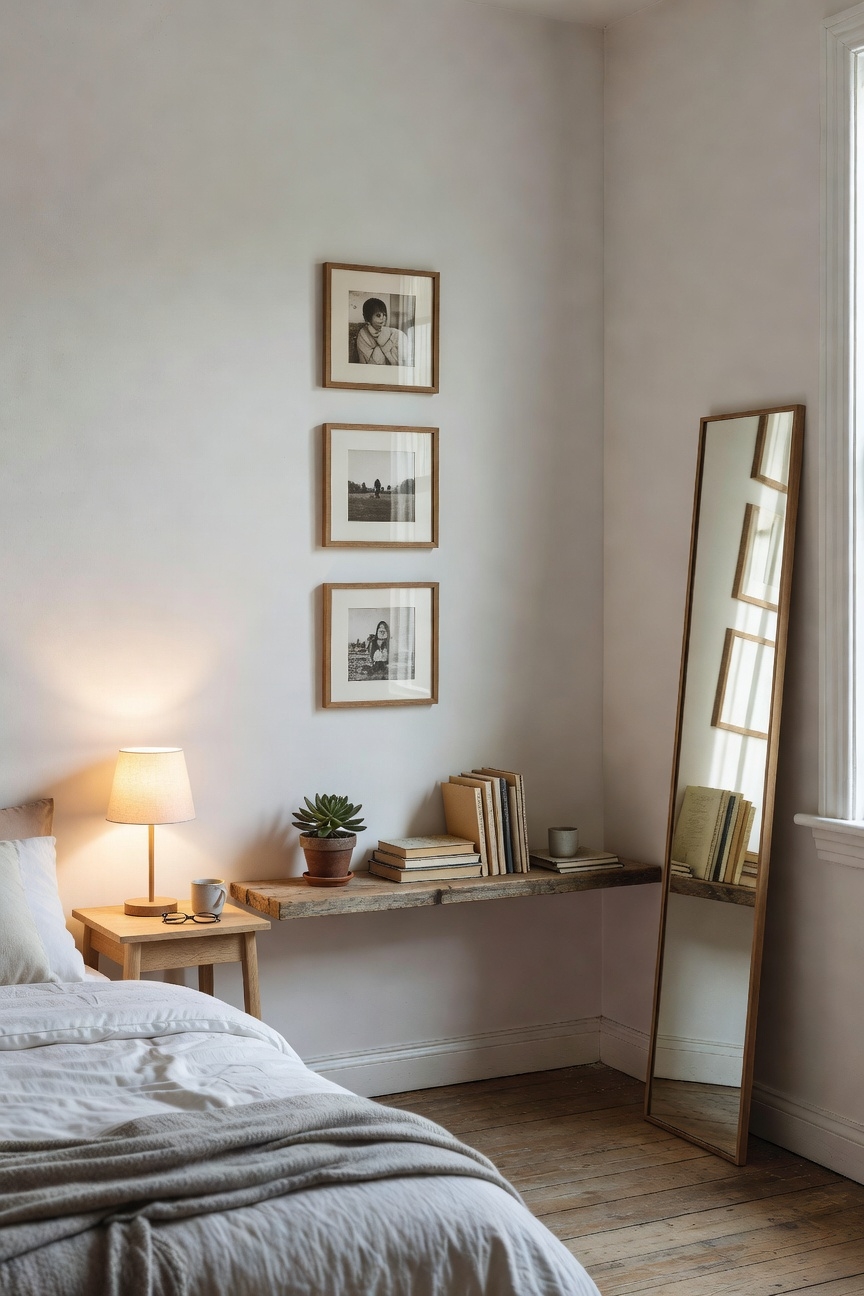
Install Floating Shelves on a Small Picture Wall
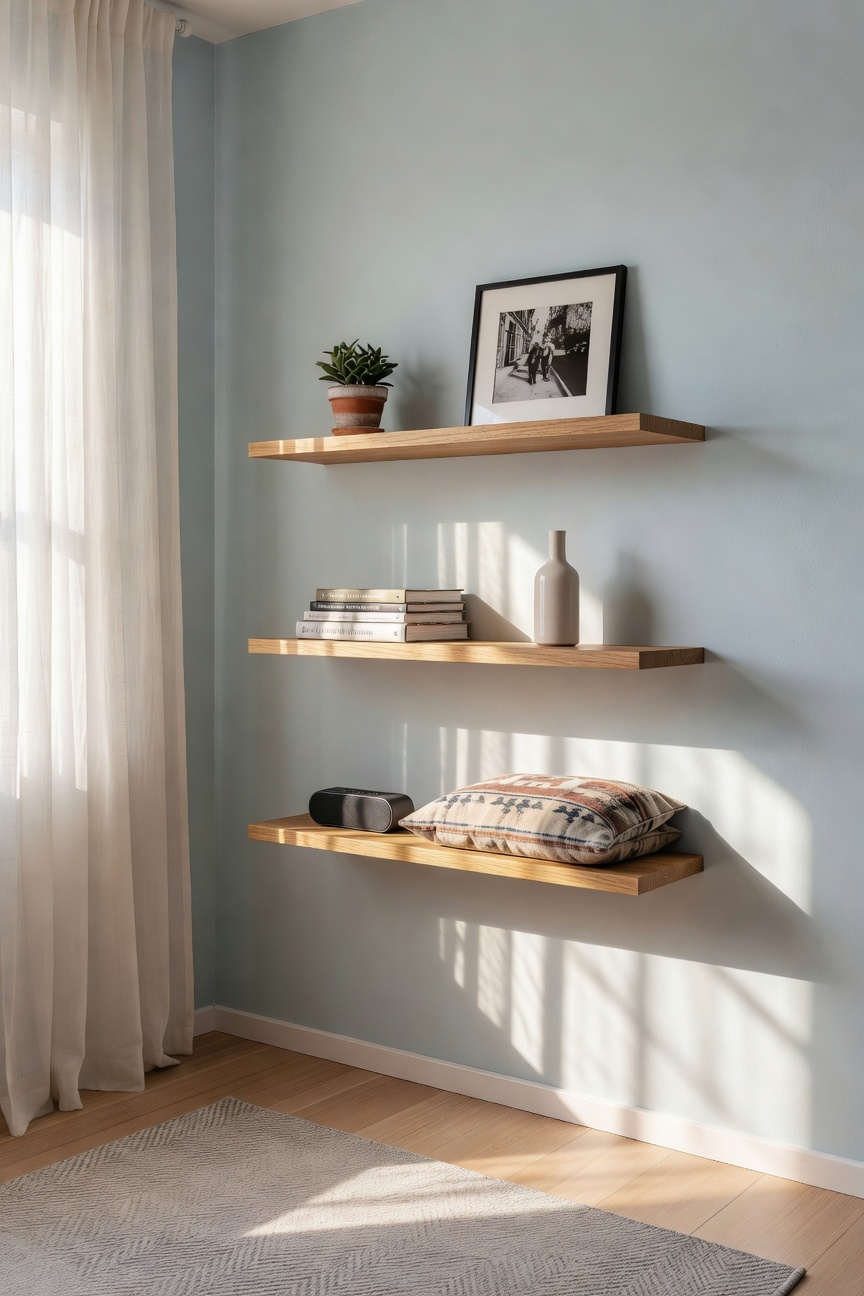
Ever wondered how to turn a cramped picture wall into a functional display without adding bulk? You’ll mount wooden floating shelves, 12‑inch deep, with brackets and wall anchors, easily keeping weight under 5 pounds per bracket for safety. Slip a magnetic display strip behind each shelf, then add photo ledges on top, letting you swap pictures quickly without extra holes, reducing damage risk. These space-saving solutions are particularly effective in compact bedrooms where every inch of wall space matters for both storage and visual appeal.
Pair Symmetrically for Balanced Small‑Space Galleries
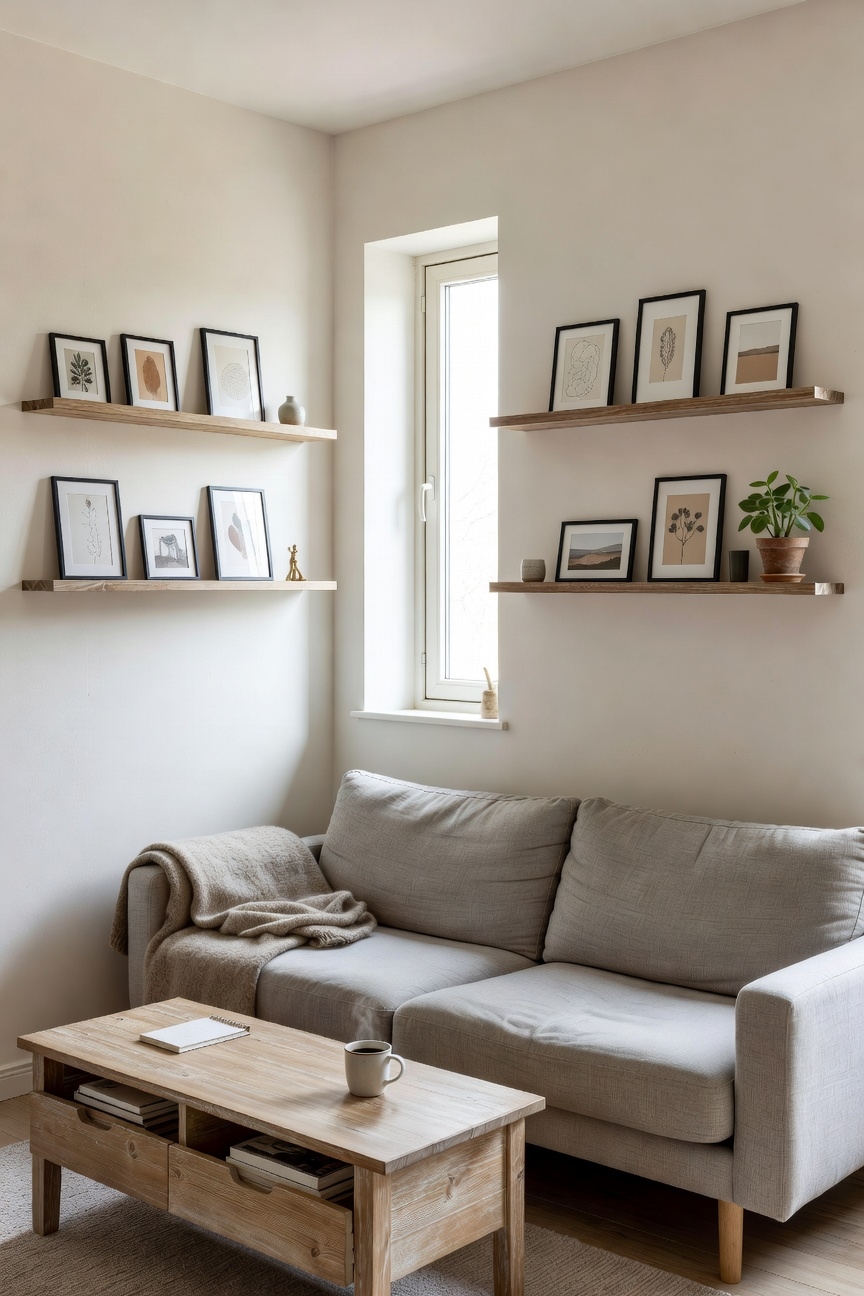
Once you’ve set up those floating shelves, try arranging pictures in mirrored pairs to keep the wall feeling balanced.
You pick matching frame styles, sleek black metal or warm wood, and leave a 2‑inch gap for safety. Use color contrast, bright print beside muted portrait, and keep them 12‑inch apart for safety. Secure piece with wood brackets, screws to ½‑inch depth, and enjoy your safe gallery.
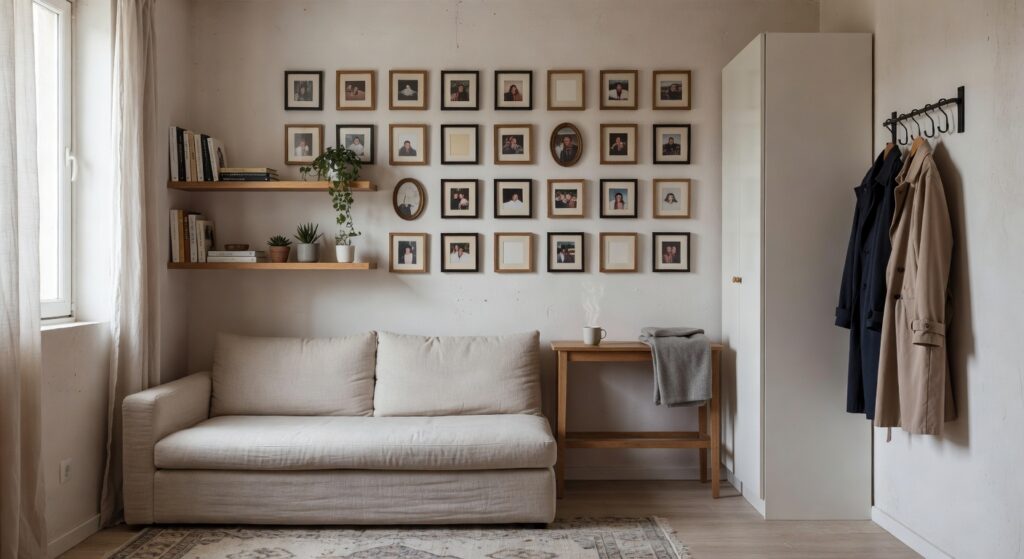
Create a Mixed‑Size Collage on a Small Picture Wall
If you’ve got a tiny wall but a big love for art, mixing different‑sized frames can turn the space into a lively collage.
Choose three to five frames, ranging from 8×10 to 12×18 inches, mixing wood and acrylic to keep weight light, safety high, no worries.
Arrange them for color harmony, balancing blues with soft neutrals, and vary frame styles for interest.
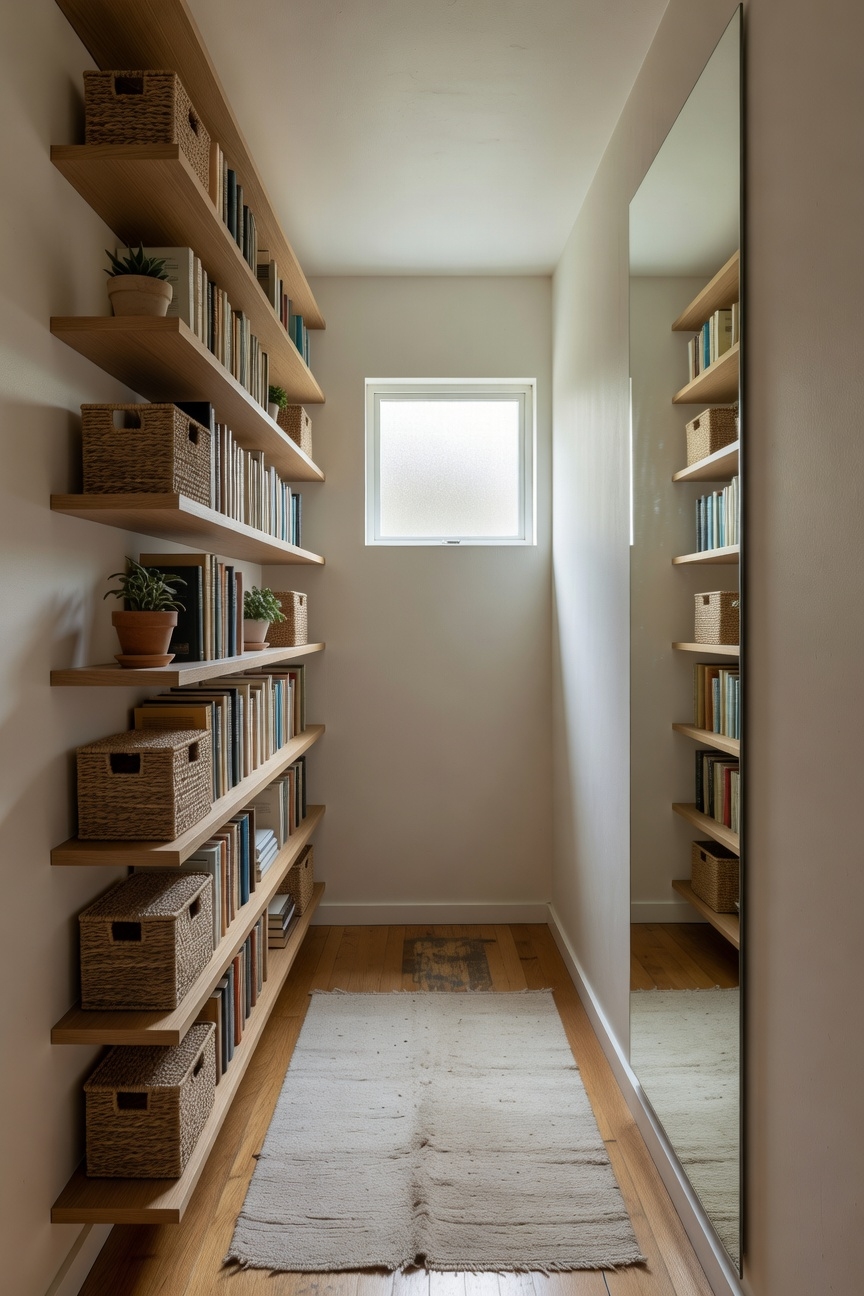
Use a Ladder Shelf System for Small Walls
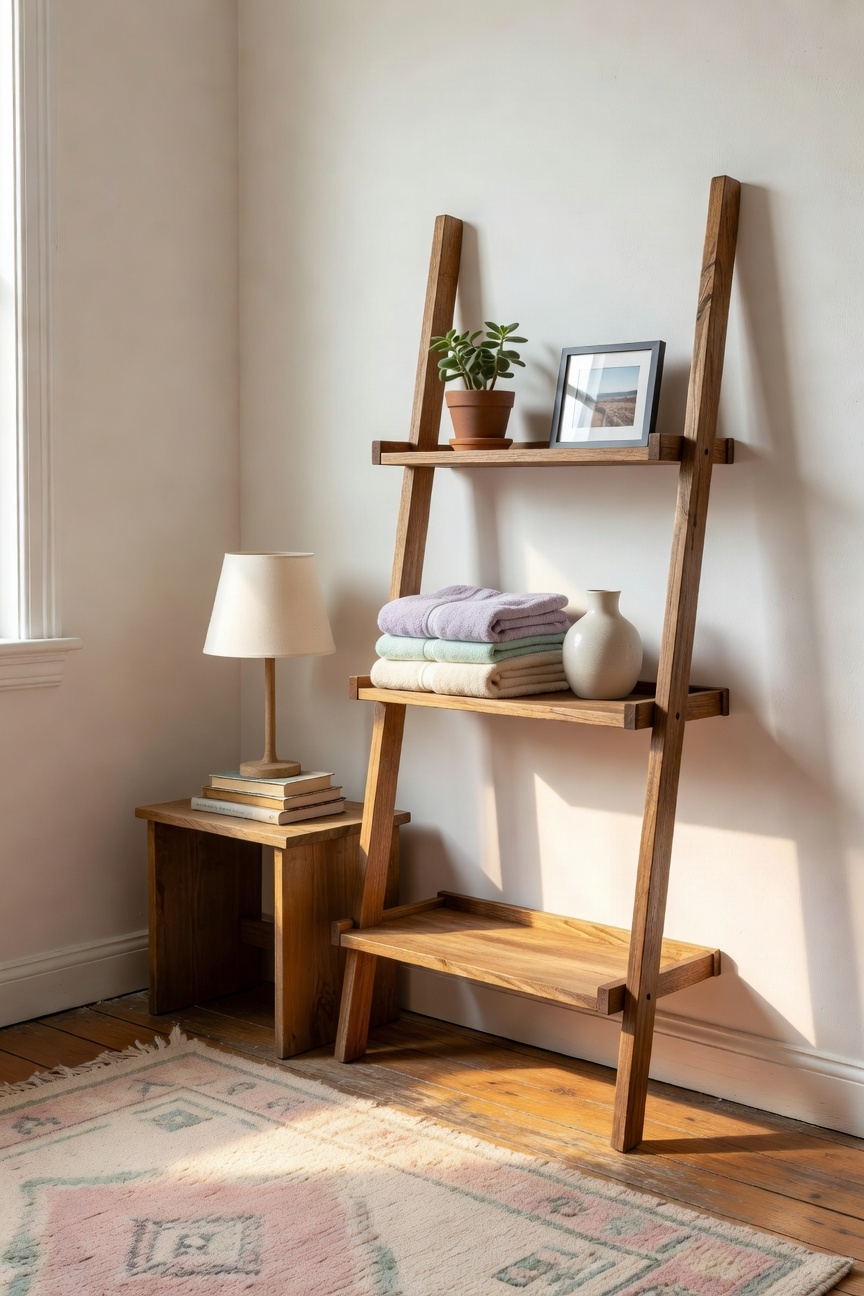
When you have a narrow wall but want to showcase books, plants, or photos, a ladder shelf turns the empty space into a functional display.
Choose a sturdy wooden ladder shelf, about 48 inches tall and 12 inches deep, anchored securely with wall brackets to prevent tipping.
You’ll love space optimization, as each rung holds a plant, a photo frame, or a novel.
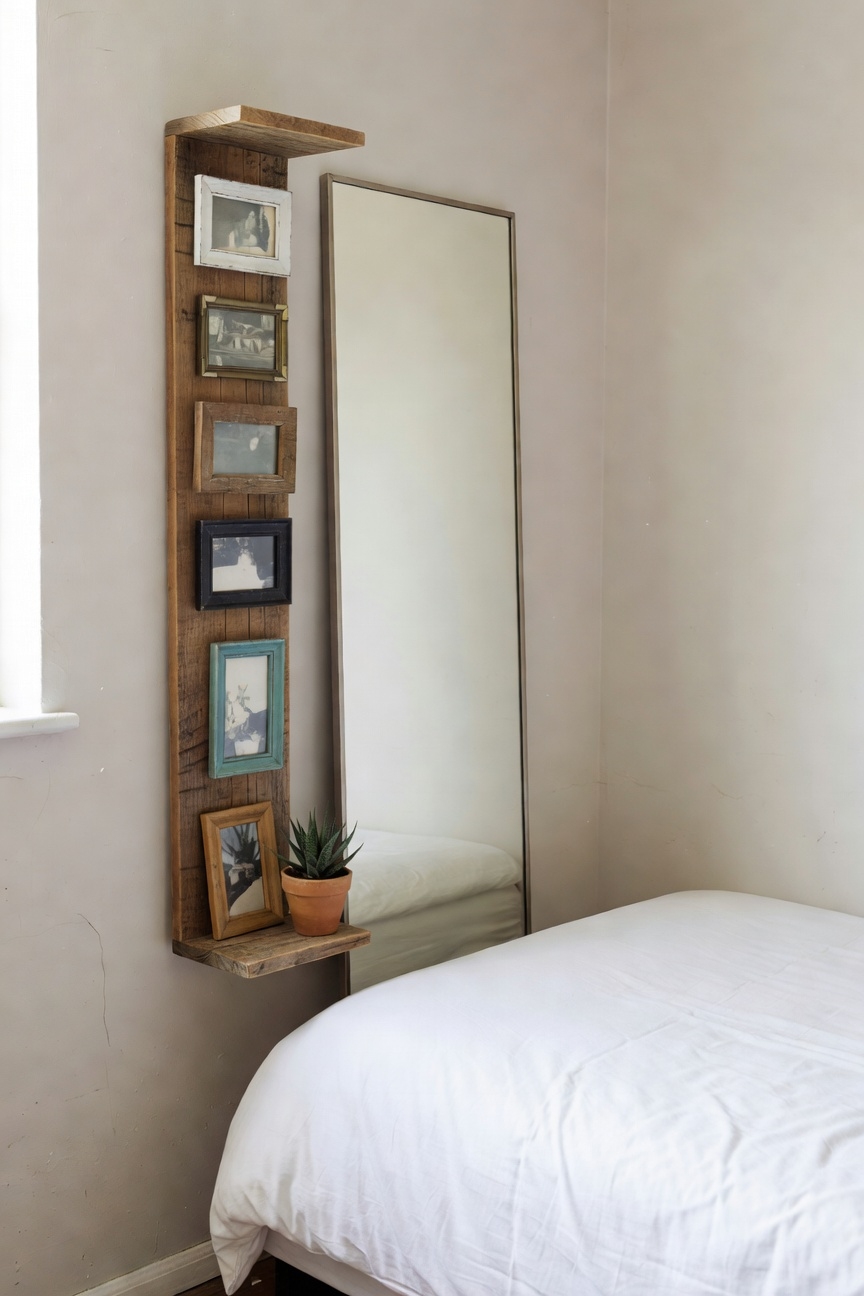
Design a Corner Nook Gallery for Tight Corners
Although a tight corner feels cramped, you can turn it into a mini gallery for art, photos, and plants.
Choose a low shelf, about 12‑inch deep and 24‑inch wide, made of smooth pine, and you’ll secure it with wall anchors for safety.
Add decorative corner accents, such as a metal frame, and follow corner lighting ideas with a LED strip, cords tucked.
Add a Narrow Hallway Accent Picture Wall
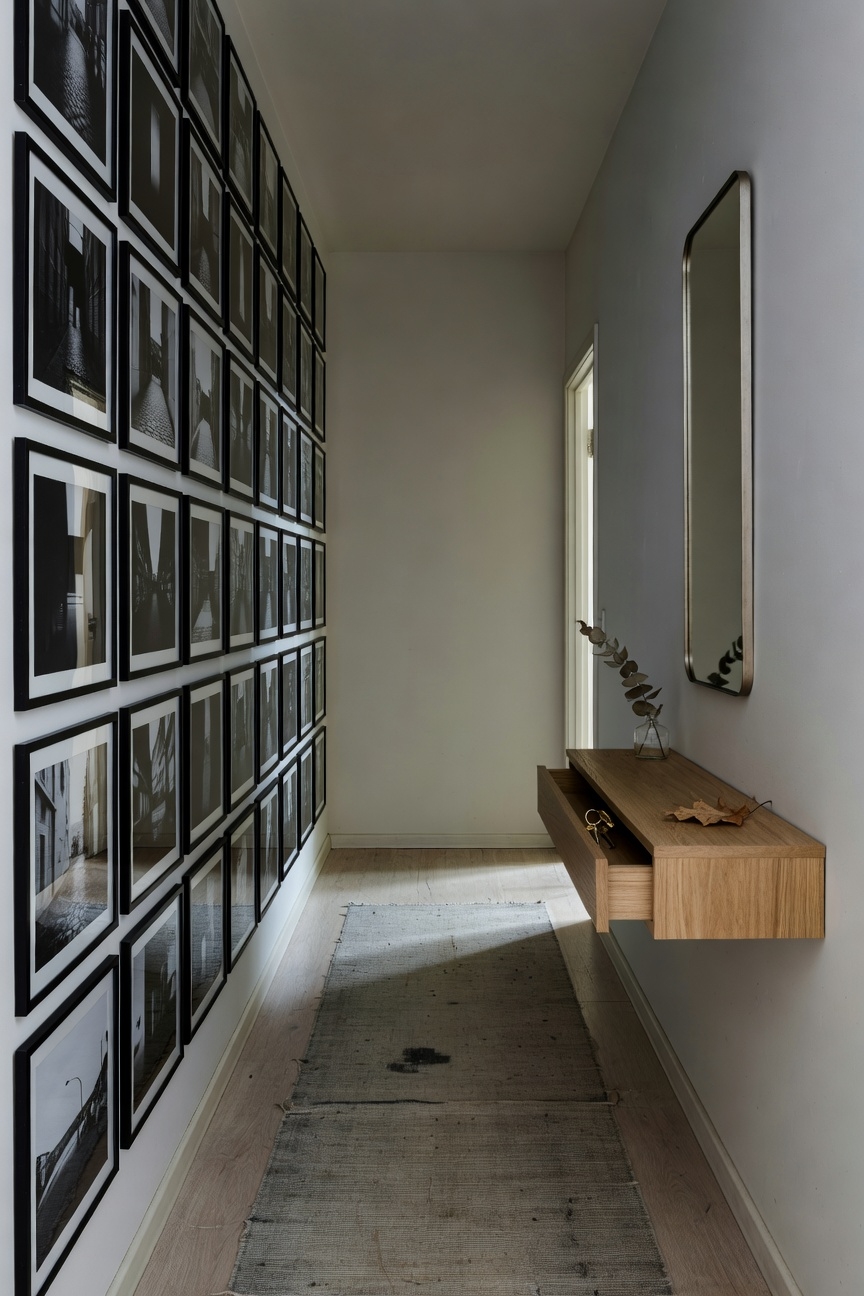
Because hallways are long and narrow, they can feel endless, but a well‑placed picture wall can turn that dull stretch into a visual break. You’ll mount a 3‑foot‑wide strip of frames, using lightweight wood or acrylic, and quickly secure them with sturdy brackets that meet wall safety standards, so nothing tips over. Add gallery lighting above, plug‑in safely, and enjoy brighter hallway.
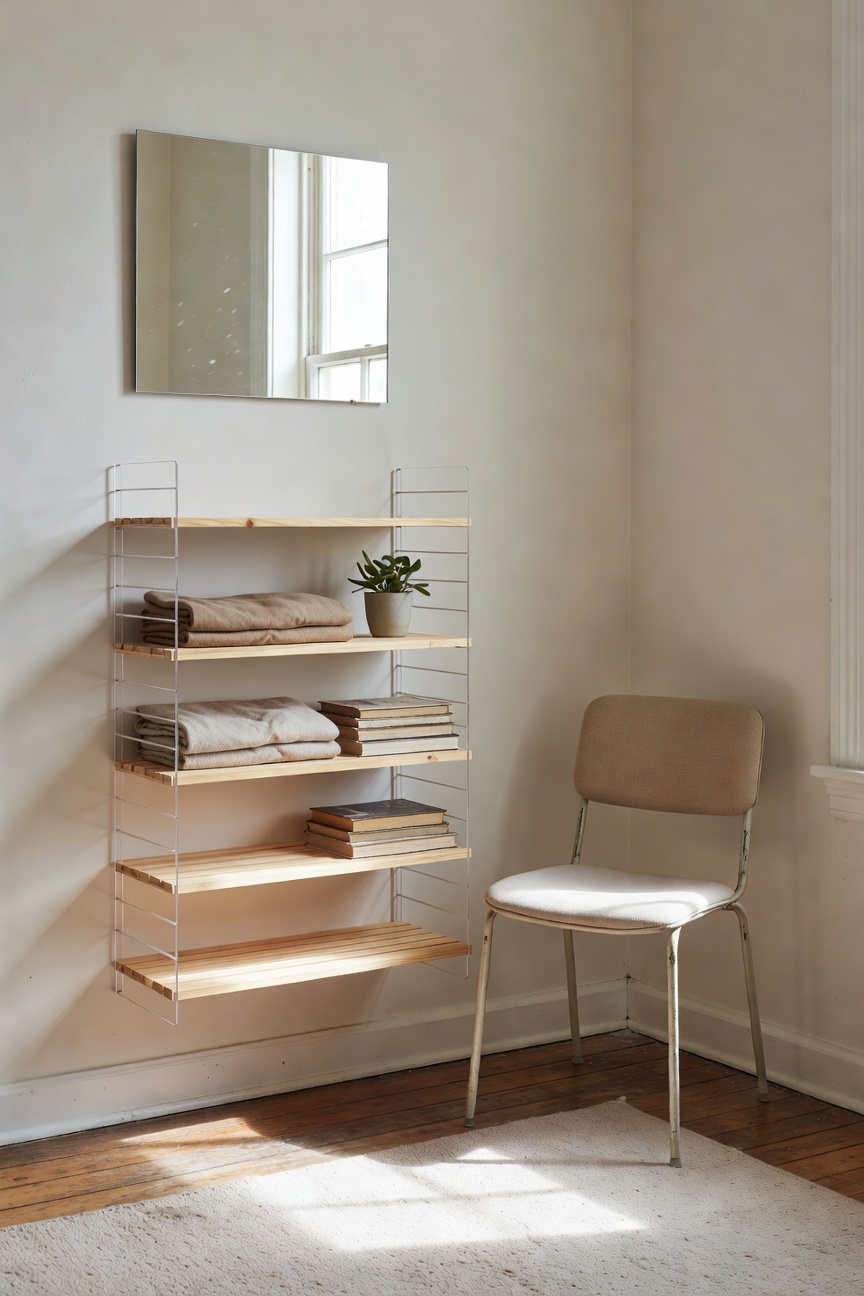
Build a Multi‑Row Shelf System for Small Walls
After turning a hallway into a gallery, you’ve use that framing mindset on a small wall by adding a multi‑row shelf safely.
Secure the unit with heavy‑duty brackets screwed into studs, using 2‑inch lag bolts, so the multi‑row shelving stays sturdy and prevents accidents.
Pick 48‑inch wide, 12‑inch deep pine boards, add slip pads, space rows six inches apart for wall organization.
Hang an Over‑the‑Door Organizer on Small Walls
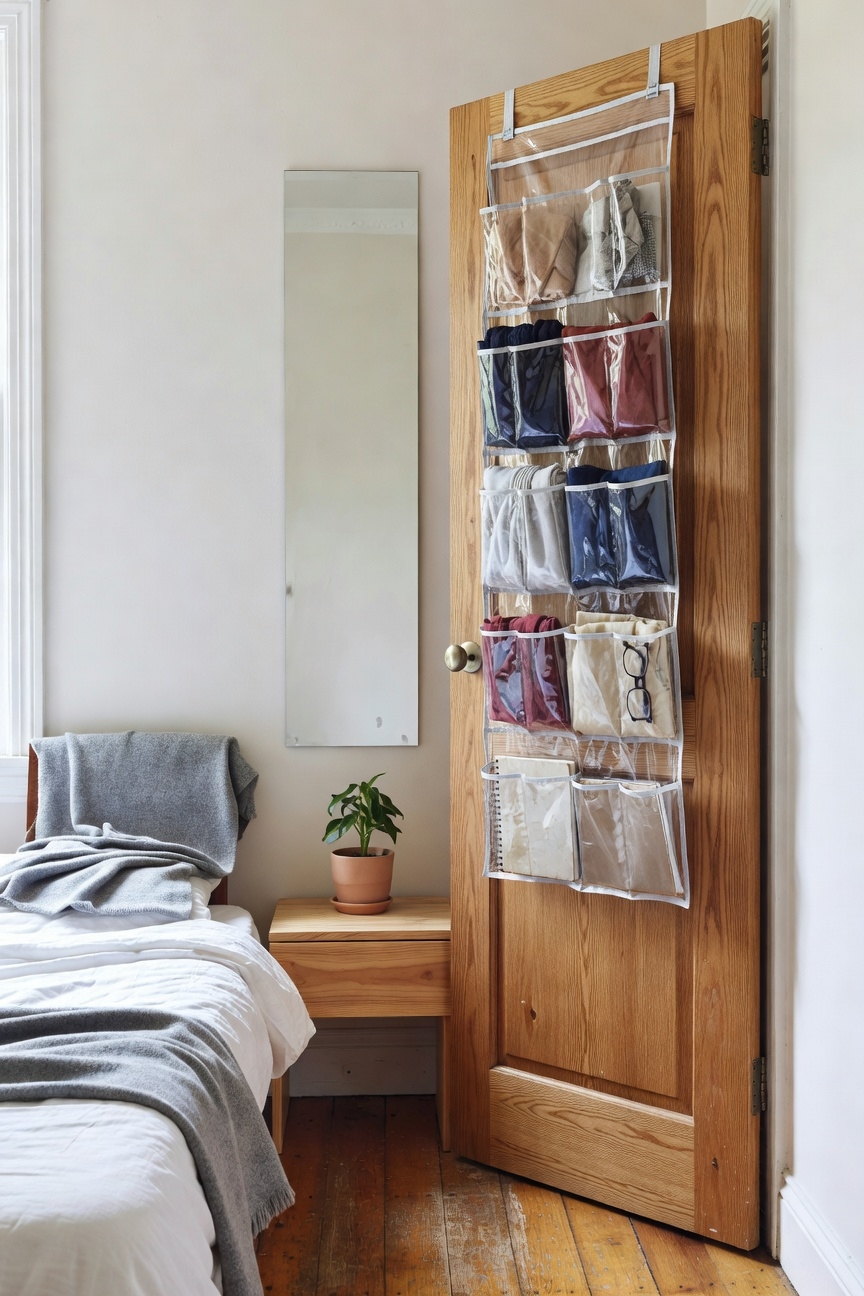
Ever wondered how to squeeze extra storage into a cramped wall without drilling a hole?
You’ve hung easily a slim, fabric organizer on the door’s top edge, using adhesive strips that hold up to 5 lb, keeping walls intact and safe for kids.
Choose a design that complements your wall murals, and pair it with hanging plants for a fresh, balanced look today.
Select Light‑Reflective Frames for Small Picture Walls
Now that you’ve got a sleek door organizer, you can also make the rest of your wall feel brighter by picking light‑reflective frames. For gallery lighting, your frame selection of glossy white‑backed frames that bounce light, and 8‑inch‑12‑inch metal or acrylic pieces stay still light and sturdy, so you won’t worry about wobbling. Secure frame with wall‑safe hooks, enjoy brighter, safer room.
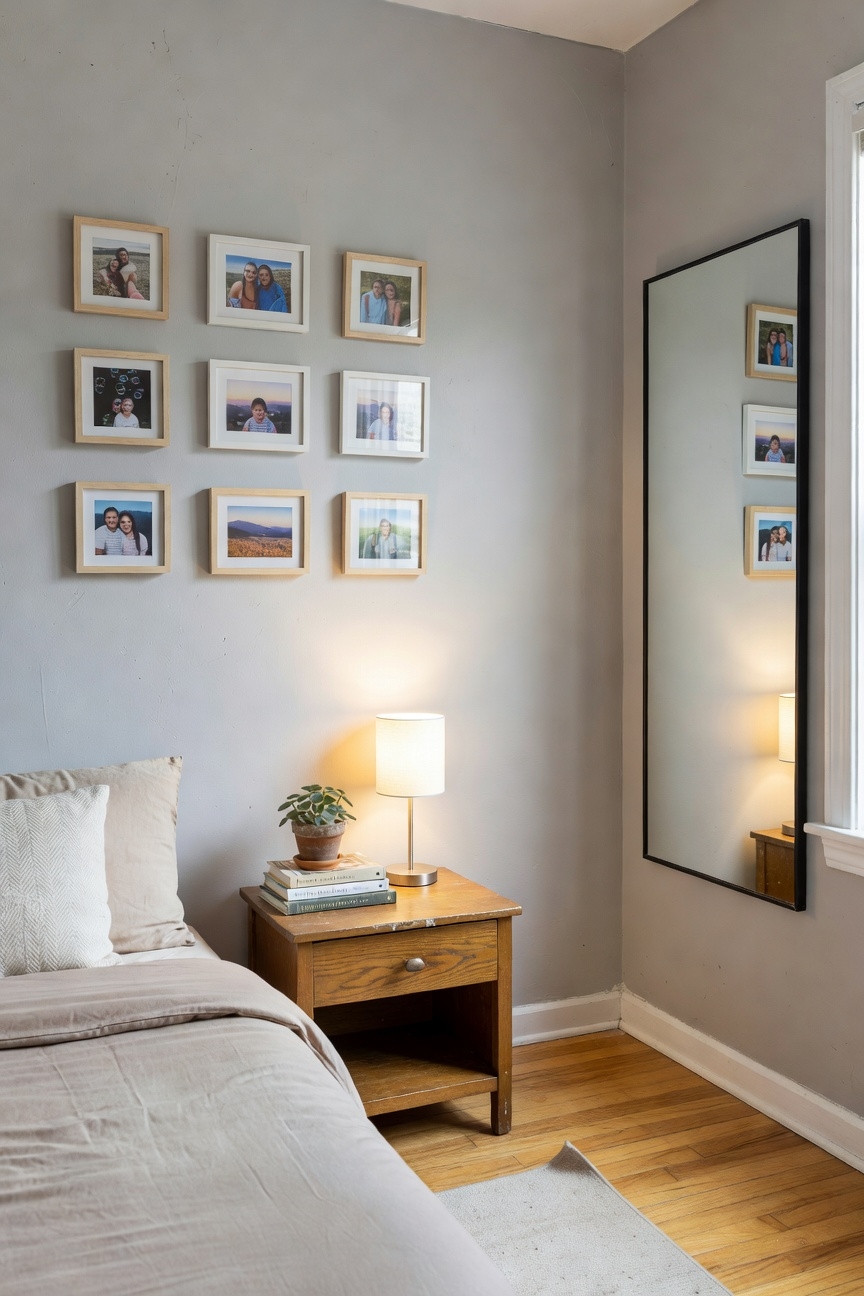
Arrange a Color‑Coordinated Grid on a Small Wall
If you want a tidy, eye‑catching display without crowding the room, start by planning a color‑coordinated grid. Measure a 3‑foot‑by‑3‑foot area, use lightweight frames, and arrange photos in a 3‑by‑3 grid, keeping each piece at least two inches apart for safe hanging. The color coordination adds calm, the wall arrangement feels balanced, and you’ll avoid bumps, plus it looks neat, no drama today.
Adopt a Minimalist Black‑White Theme for Small Picture Walls
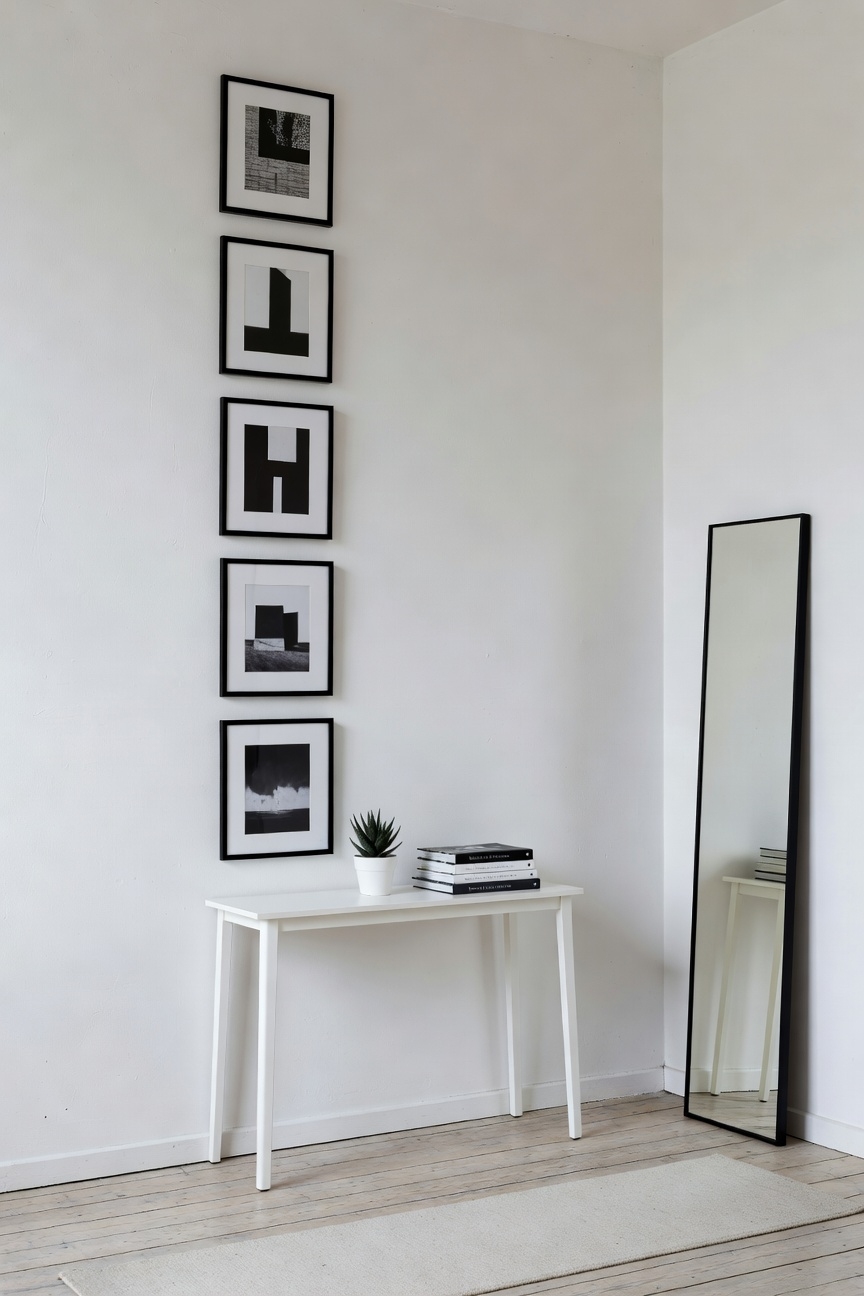
When you limit your picture wall to just black and white, the space instantly feels larger and calmer. Choose secure 8×10 inch frames in matte black wood, spaced one inch apart, to keep the composition tidy and safe. The Monochrome aesthetics create a calm backdrop, while Minimalist framing reduces visual clutter, making the room’s still bigger without loud colors. Enjoy the serenity.
Install a Rotating Photo Carousel on a Small Wall
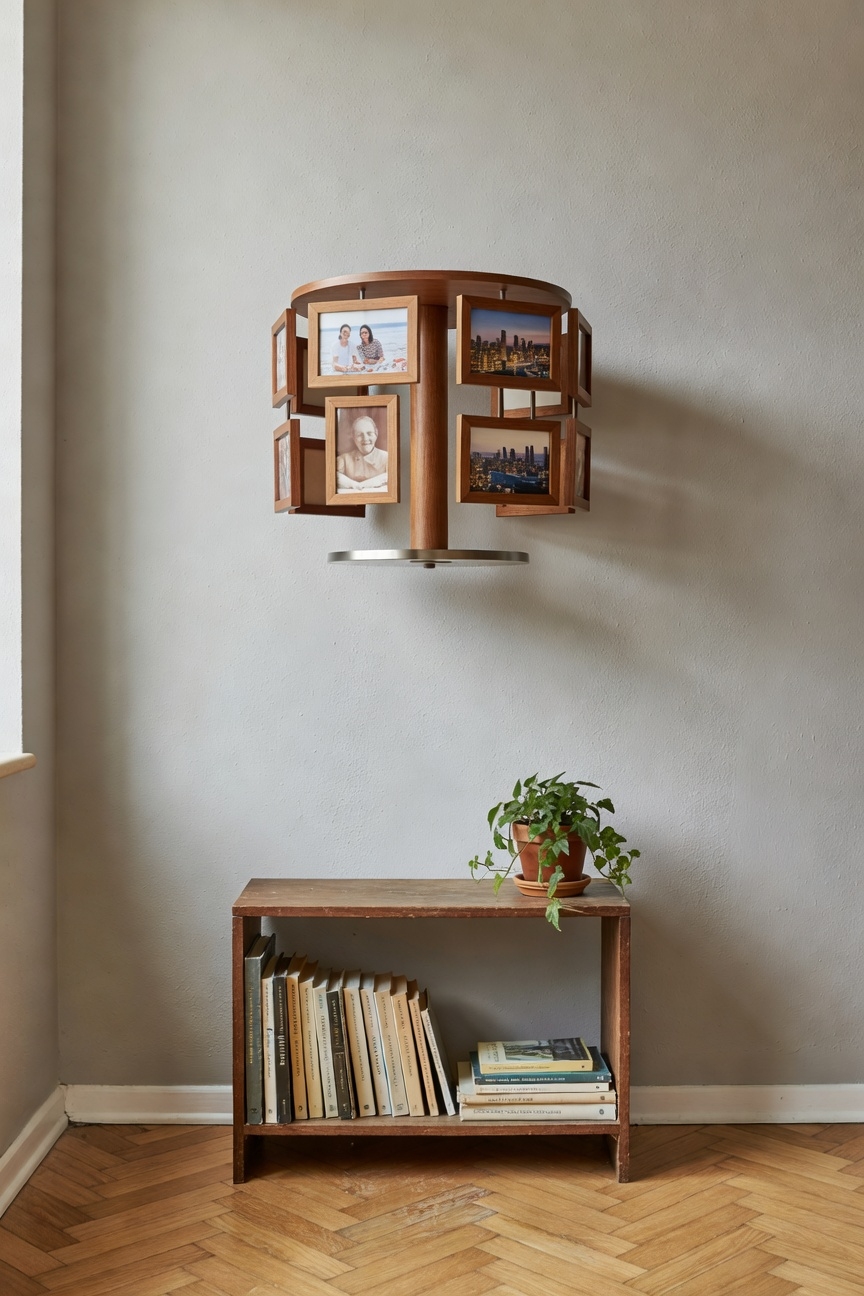
Because space is tight, a compact rotating photo carousel lets you showcase several pictures without crowding the wall. You’ll mount the 12‑inch diameter carousel on sturdy brackets, using a wood or metal frame that’s weight‑rated for safety, and the rotating display spins gently, keeping each photo rotation smooth and quiet. Enjoy fresh scenery daily, and you’ll avoid clutter and wobble completely safely.
Hide Storage Inside Frames on a Small Picture Wall
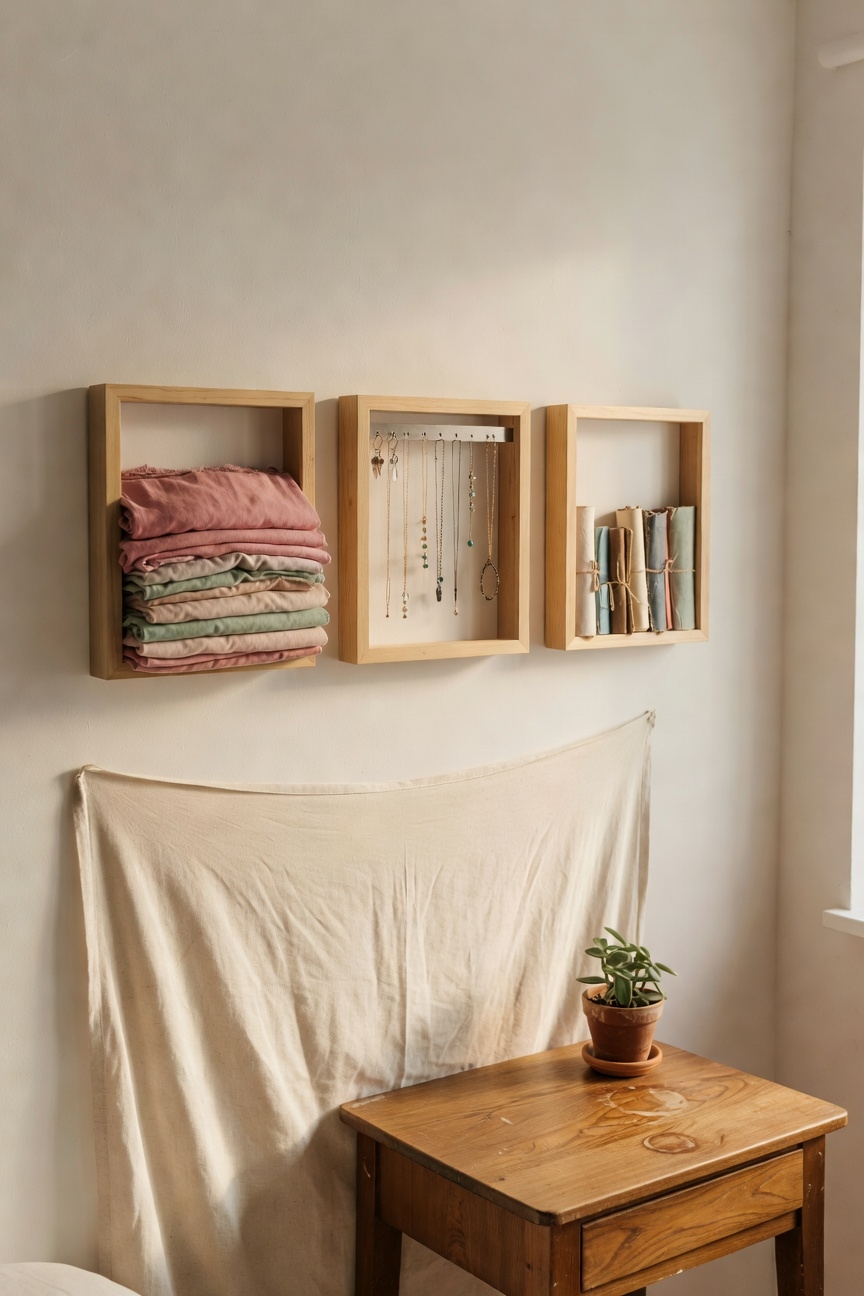
Although your wall feels cramped, a deep‑set picture frame can double as a hidden nook for tiny items. Cut a 2‑inch deep, 8‑inch wide cavity, line it with soft felt, then slide keys, batteries, or meds inside, you’re keeping them safe from children. These hidden compartments become framed storage, using pine frames and safety‑grade hinges, so walls stay tidy and completely risk‑free.
Build a DIY Clip‑Rail System for Small Walls
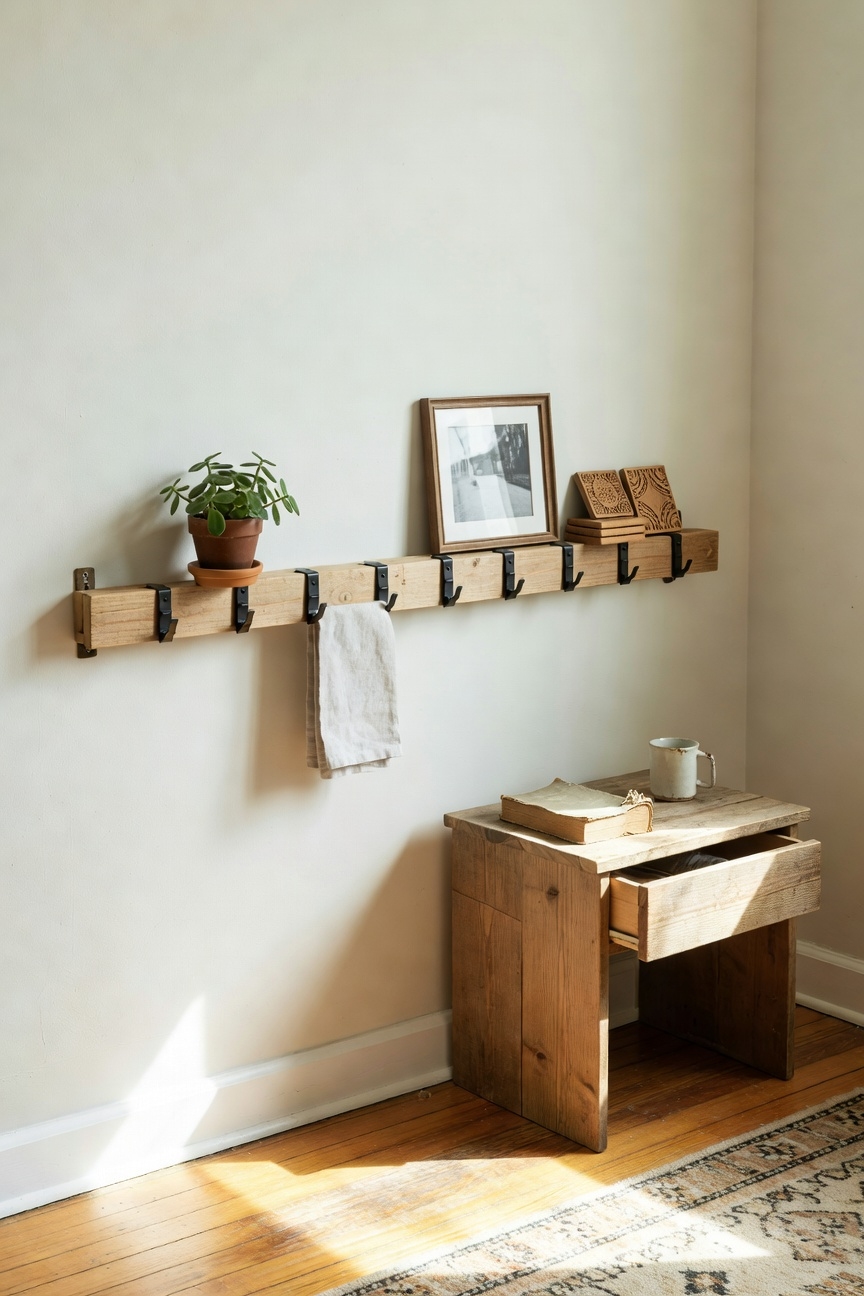
If your wall feels cramped, a simple clip‑rail can turn a narrow strip into a versatile display zone. Measure a 36‑inch length, attach sturdy wooden slats with brackets, then secure the rail using wall mounting hardware that won’t tip over, no ladder gymnastics required. Slide photo clips, add decorative accents like plants or postcards, and you’ll enjoy a safe gallery that’s to rearrange.
Choose the Right Frame for a Small Picture Wall
How do you pick a frame that makes a tiny wall look bigger without crowding it? Choose a slim, matte wood frame, 8‑inch tall, 10‑inch wide, with Color coordination to your wall’s paint, and use Frame variety by mixing a few sizes for visual interest while keeping the weight low and the edges rounded for safety. Add a strip, you’re safe today.
How to Balance Art and Function in Tight Areas?
When you squeeze a gallery into a hallway just six‑inch wide, you’ve got to think about both style and storage. Pick lightweight frames, like 1‑inch pine, and mount them with brackets that keep walls safe, wobble, and support maximizing usability. Balancing aesthetics, you can arrange three‑by‑four‑inch prints in a staggered row, leaving a two‑inch gap for cleaning and to prevent accidental bumps.
How to Keep a Small Picture Wall Clutter‑Free
After arranging those narrow prints, you’ll see the wall getting crowded, especially when gaps dip below an inch. Trim the layout by keeping at least one‑inch spacing, using lightweight frames, and anchoring them with safety‑rated hooks that won’t slip. A simple ruler, a level, and a wall‑friendly adhesive pad help maintain Decor placement and Visual harmony without heavy drilling. Enjoy the calm.
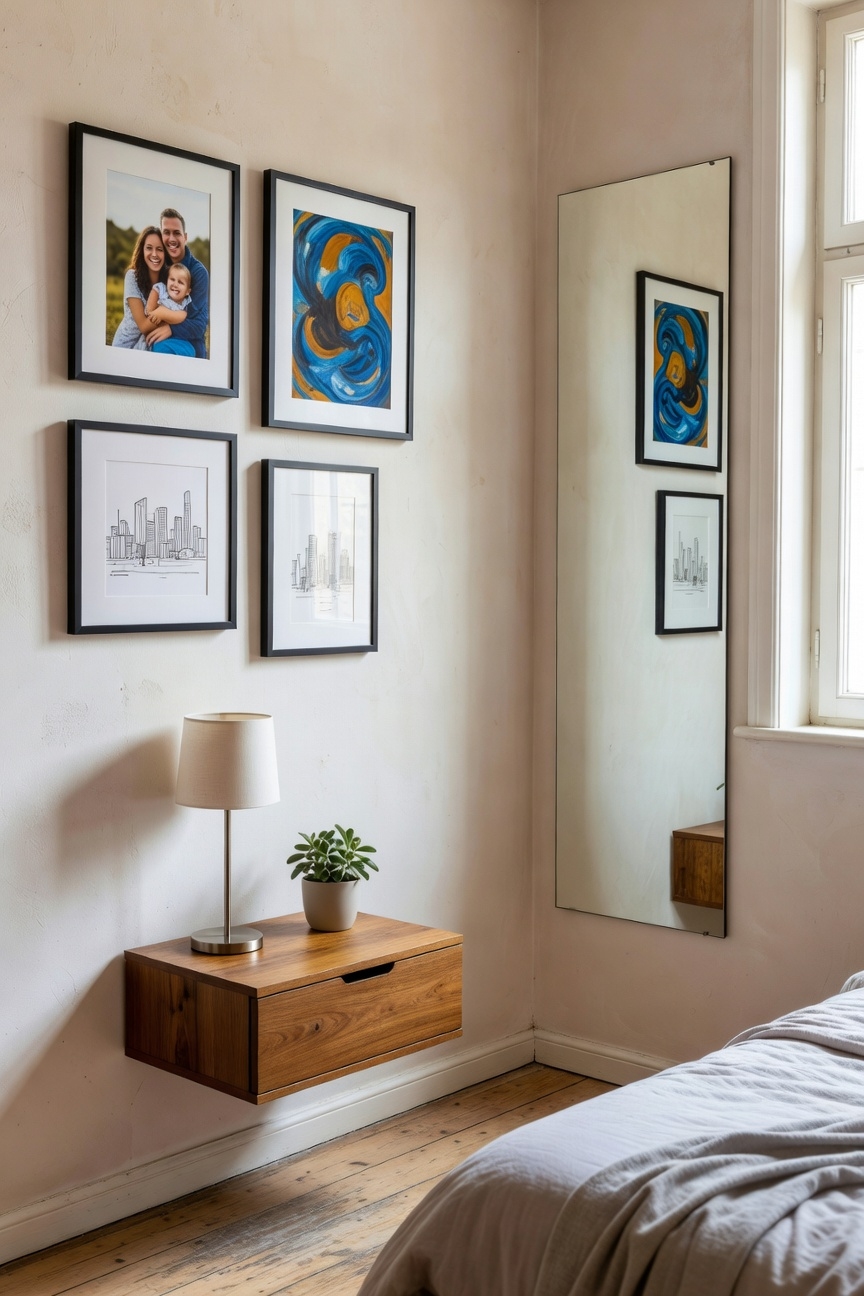
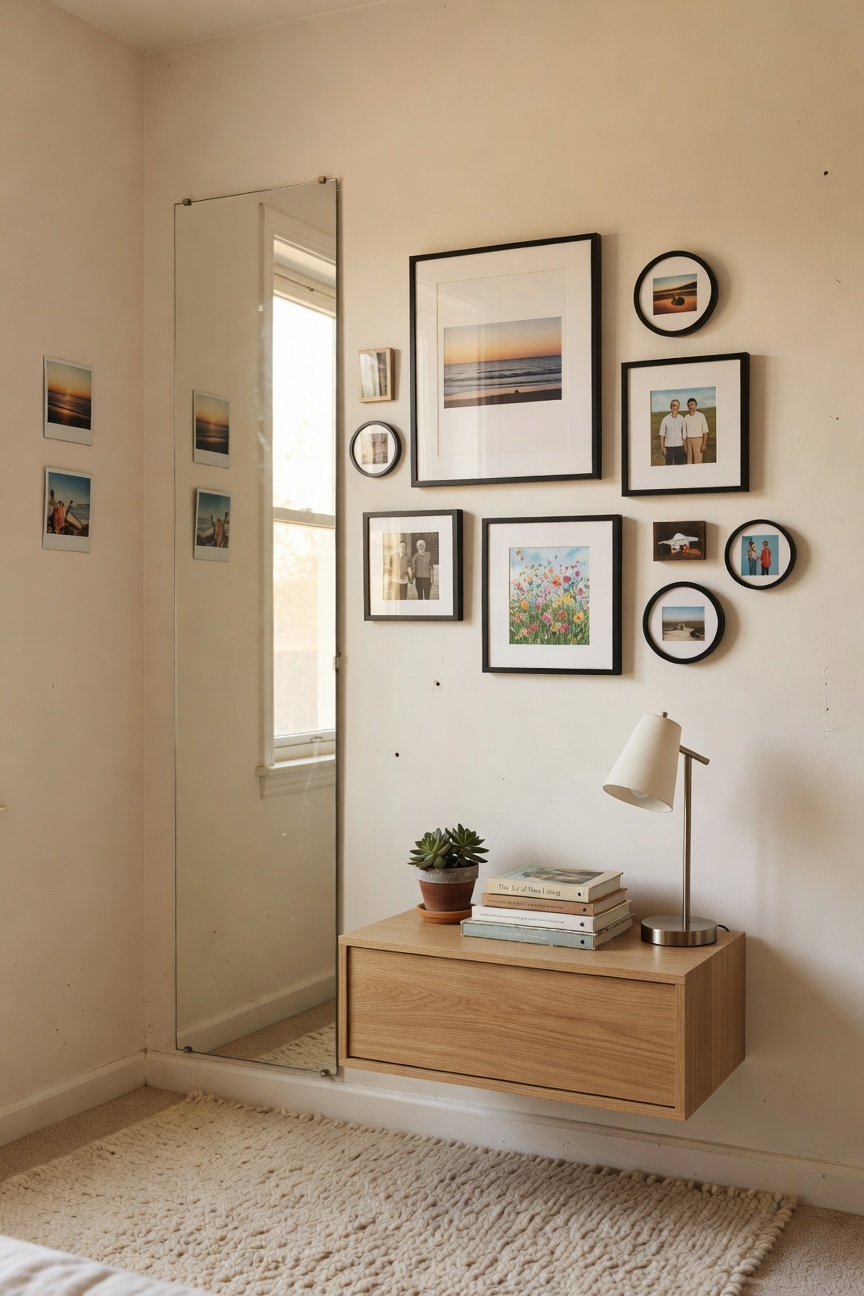
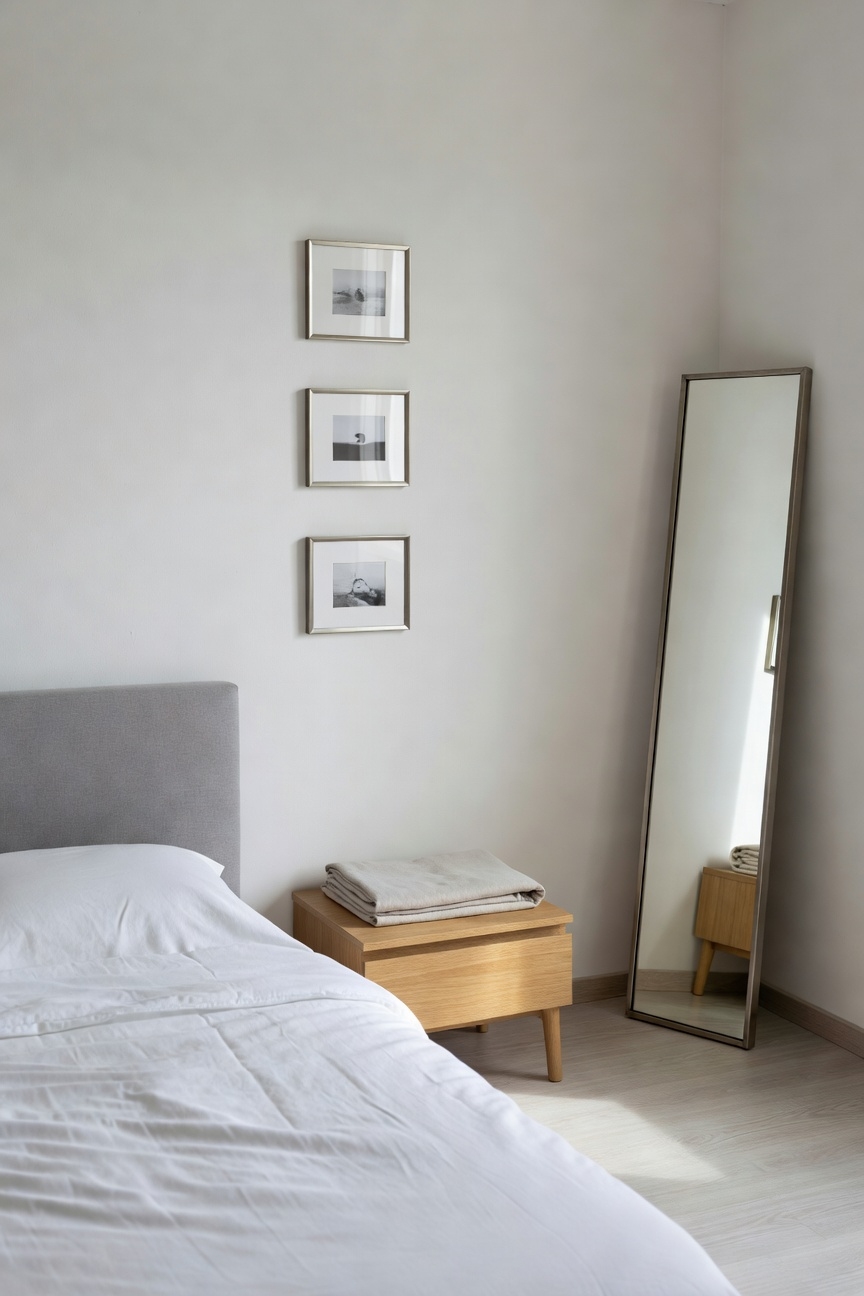
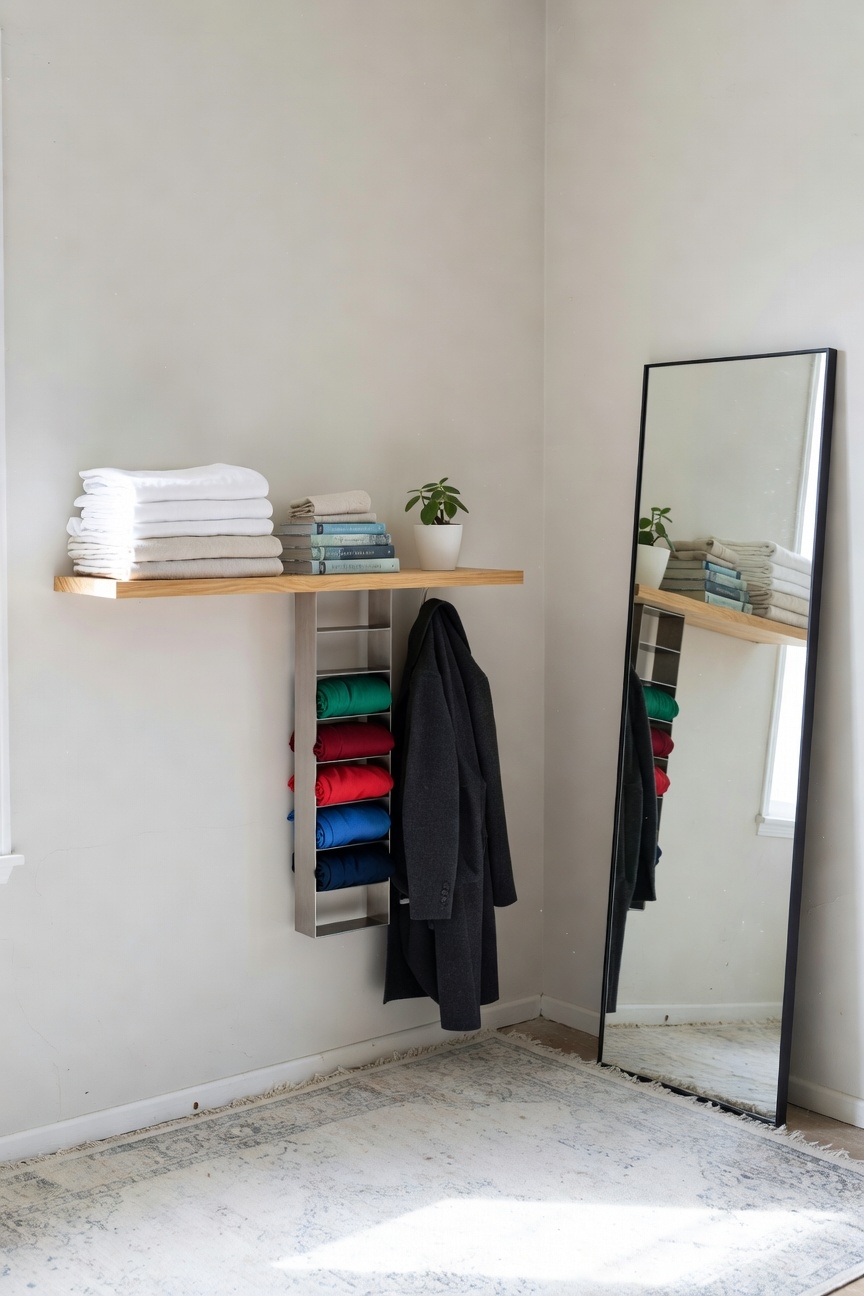
Use Mirrors to Expand a Small Picture Wall
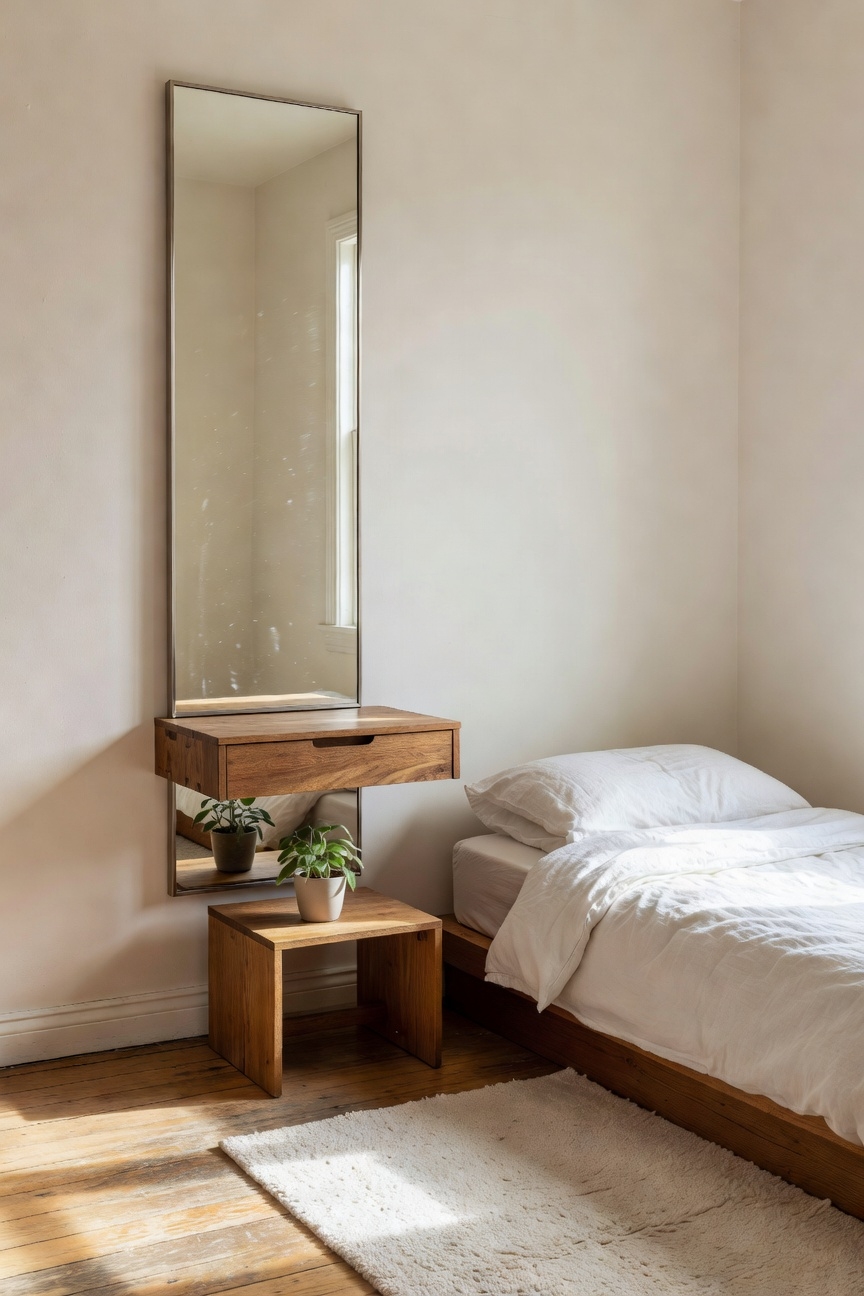
Ever wondered how a mirror can make your tiny picture wall feel bigger? Hang a 24‑inch rectangular mirror, using a sturdy, low‑profile frame, and position it opposite your photos so the reflective surfaces create mirror illusions that double the visual space, while you securely fasten the brackets to studs for safety. Add a tiny decorative clip, and enjoy a safer, brighter room.
Select Light‑Weight Materials for Easy Re‑arrangement
If you want a picture wall you can move around easily, pick options like 1‑inch pine frames, ½‑inch foam board backing, and ¼‑inch acrylic panels. These choices keep material durability high while staying light enough to lift safely, so you won’t strain your walls or back. Match frame shades and acrylic tints for color coordination, creating a look that’s easy to rearrange.
Budget‑Friendly Ways to Upgrade a Small Picture Wall
When you’re dealing with a small wall, a few tweaks can improve its look without breaking the bank, and you’ll feel like an interior guru.
Try adding a 1‑foot‑wide strip of peel‑and‑stick wall textures, like no‑hammer faux brick or woven fabric, which you can remove if you change your mind.
Secure the strip with adhesive clips, keeping everything stable during everyday use.
Final Takeaways
You’ve seen how a 4‑by‑6‑foot grid of lightweight frames can open up a hallway, and the proof is no magic, just good sense: the eye wanders, the space feels bigger, and you avoid clutter. Try a stack of three 12‑inch prints on a floating shelf; the wood stays, the layout stays flexible. If you add a 2‑foot mirror beside it, the room brightens, and you get a nice vibe without breaking the bank for you.

- 20 Home Desk Ideas Small Space That Make a Big Difference - June 30, 2026
- 23 Small Space Study Table Ideas You Need to Try - June 29, 2026
- 22 Wfh Office Ideas Small Space That Actually Work - June 29, 2026