

One loose cord can make a whole corner look messy. In a small home, every charger and lamp lead fights for the same few outlets. These cord organization ideas for small spaces give each cord a short, tidy path.
Here are 56 fixes for desks, TVs, nightstands and counters. Most cost under $25 and many need no tools at all. Start with the quick wins, then work room by room.
1. Label Every Plug With a Tape Flag

Good cord organization ideas for small spaces start at the power strip. Tape flags tell you which plug feeds which device in seconds. You stop unplugging the wrong thing by guesswork.
How to do it:
- Wrap a 2 inch strip of colored tape around each cord.
- Place each flag about 3 inches from the plug end.
- Match the flag color to one device only.
- Keep a spare roll of tape in the same drawer.
- Replace flags that start to peel or curl.
Best for: Shared strips behind TVs and desks.
Budget: Under $5
Quick tip: Use one color per room so flags stay easy to read.
2. Bundle Loose Cords With Reusable Velcro Straps
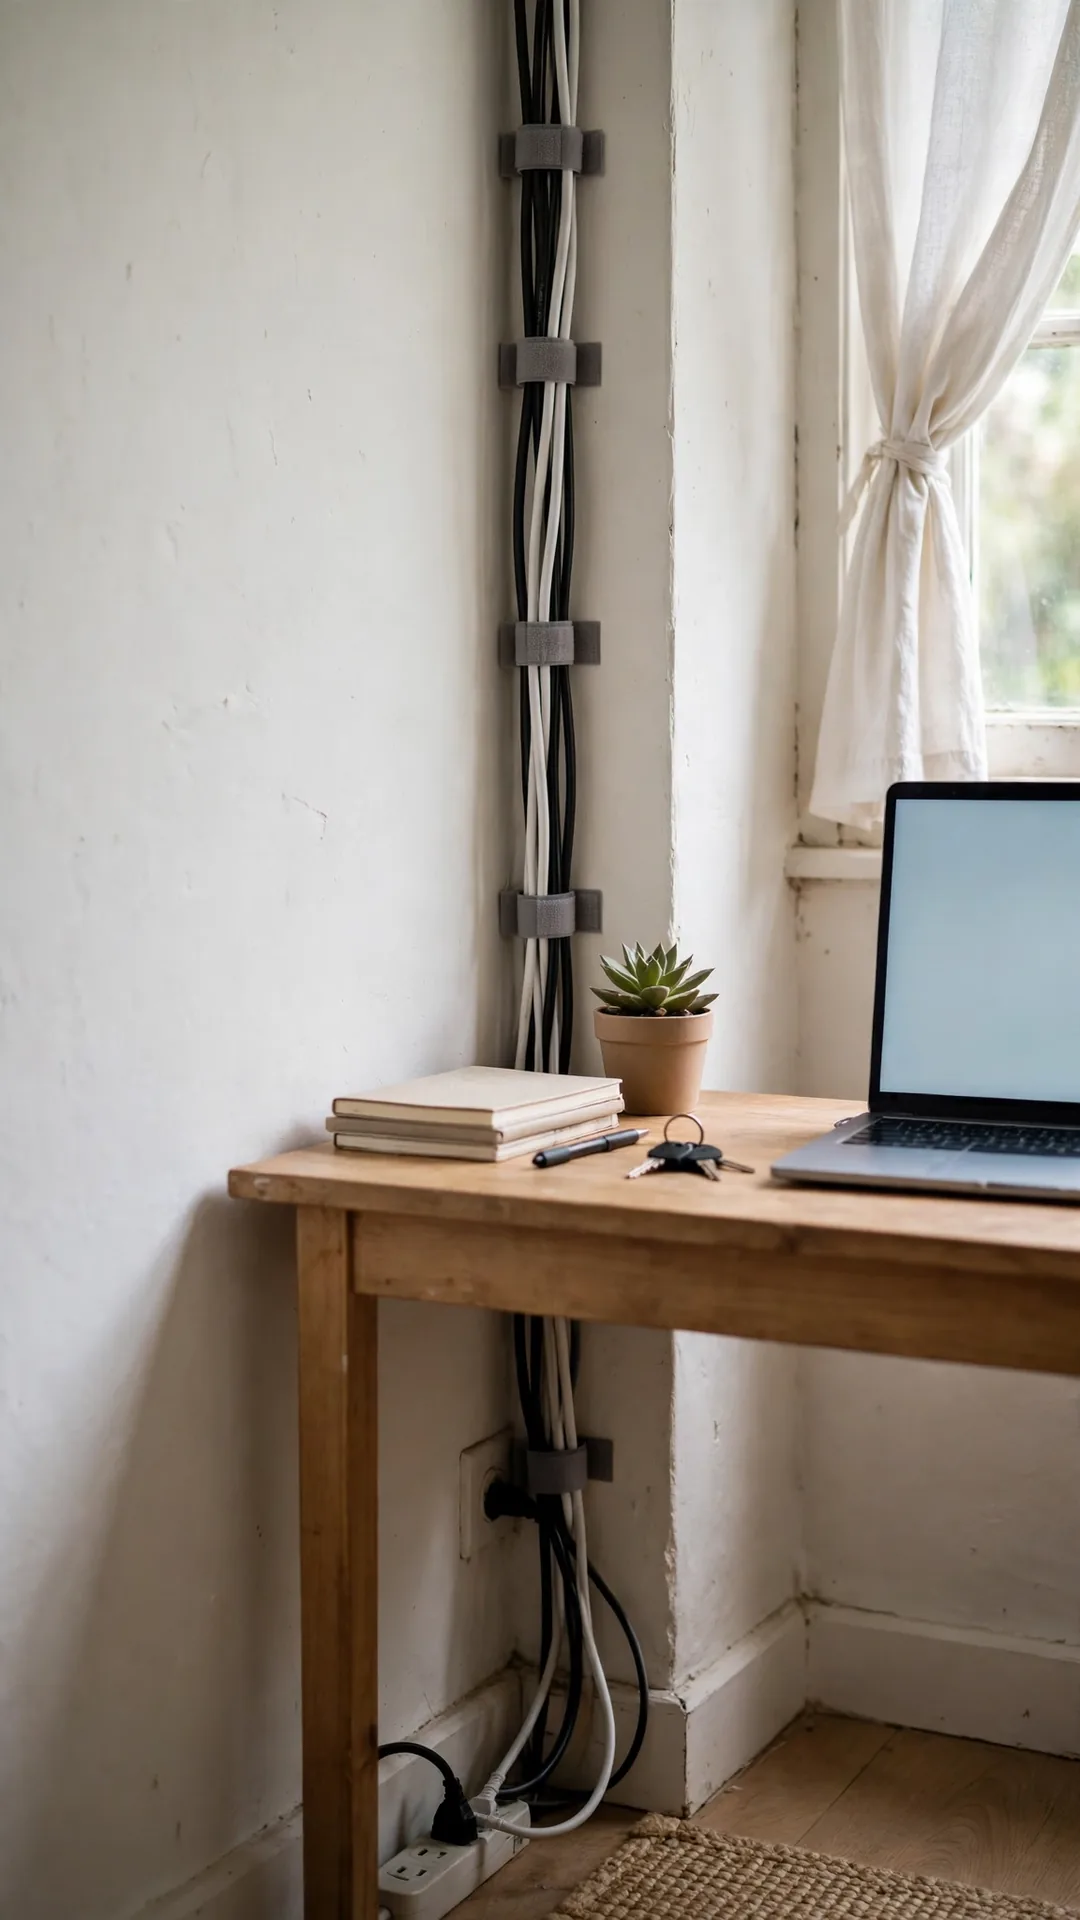
Loose cords tangle fast when they hang free behind furniture. One velcro strap turns four loose lines into one calm bundle. The bundle also lifts the cords off dusty floor corners.
How to do it:
- Gather cords that travel the same direction together.
- Wrap a strap every 12 inches along the bundle.
- Leave a little slack at each plug end.
- Skip tight wraps that pinch the cord bends.
- Swap straps when you add or remove a device.
Best for: Renters who change setups often.
Budget: $5 to $10
Quick tip: Buy straps in two colors to split power from data.
3. Coil Extra Length Into Flat Figure Eights

Long cords pool on the floor and catch chair wheels. A flat figure eight coil shortens the run without sharp kinks. The coil stores flat in a drawer or behind a console.
How to do it:
- Loop the cord in an 8 shape across your palm.
- Keep each loop about 8 inches long.
- Wrap one strap around the center crossing point.
- Plug in both ends and check the reach.
- Leave heat-producing bricks outside the coil.
Best for: Lamp and charger cords with spare length.
Budget: Free
Quick tip: Coil only the spare part, never the part in use.
4. Clip Charger Ends Along a Shelf Edge
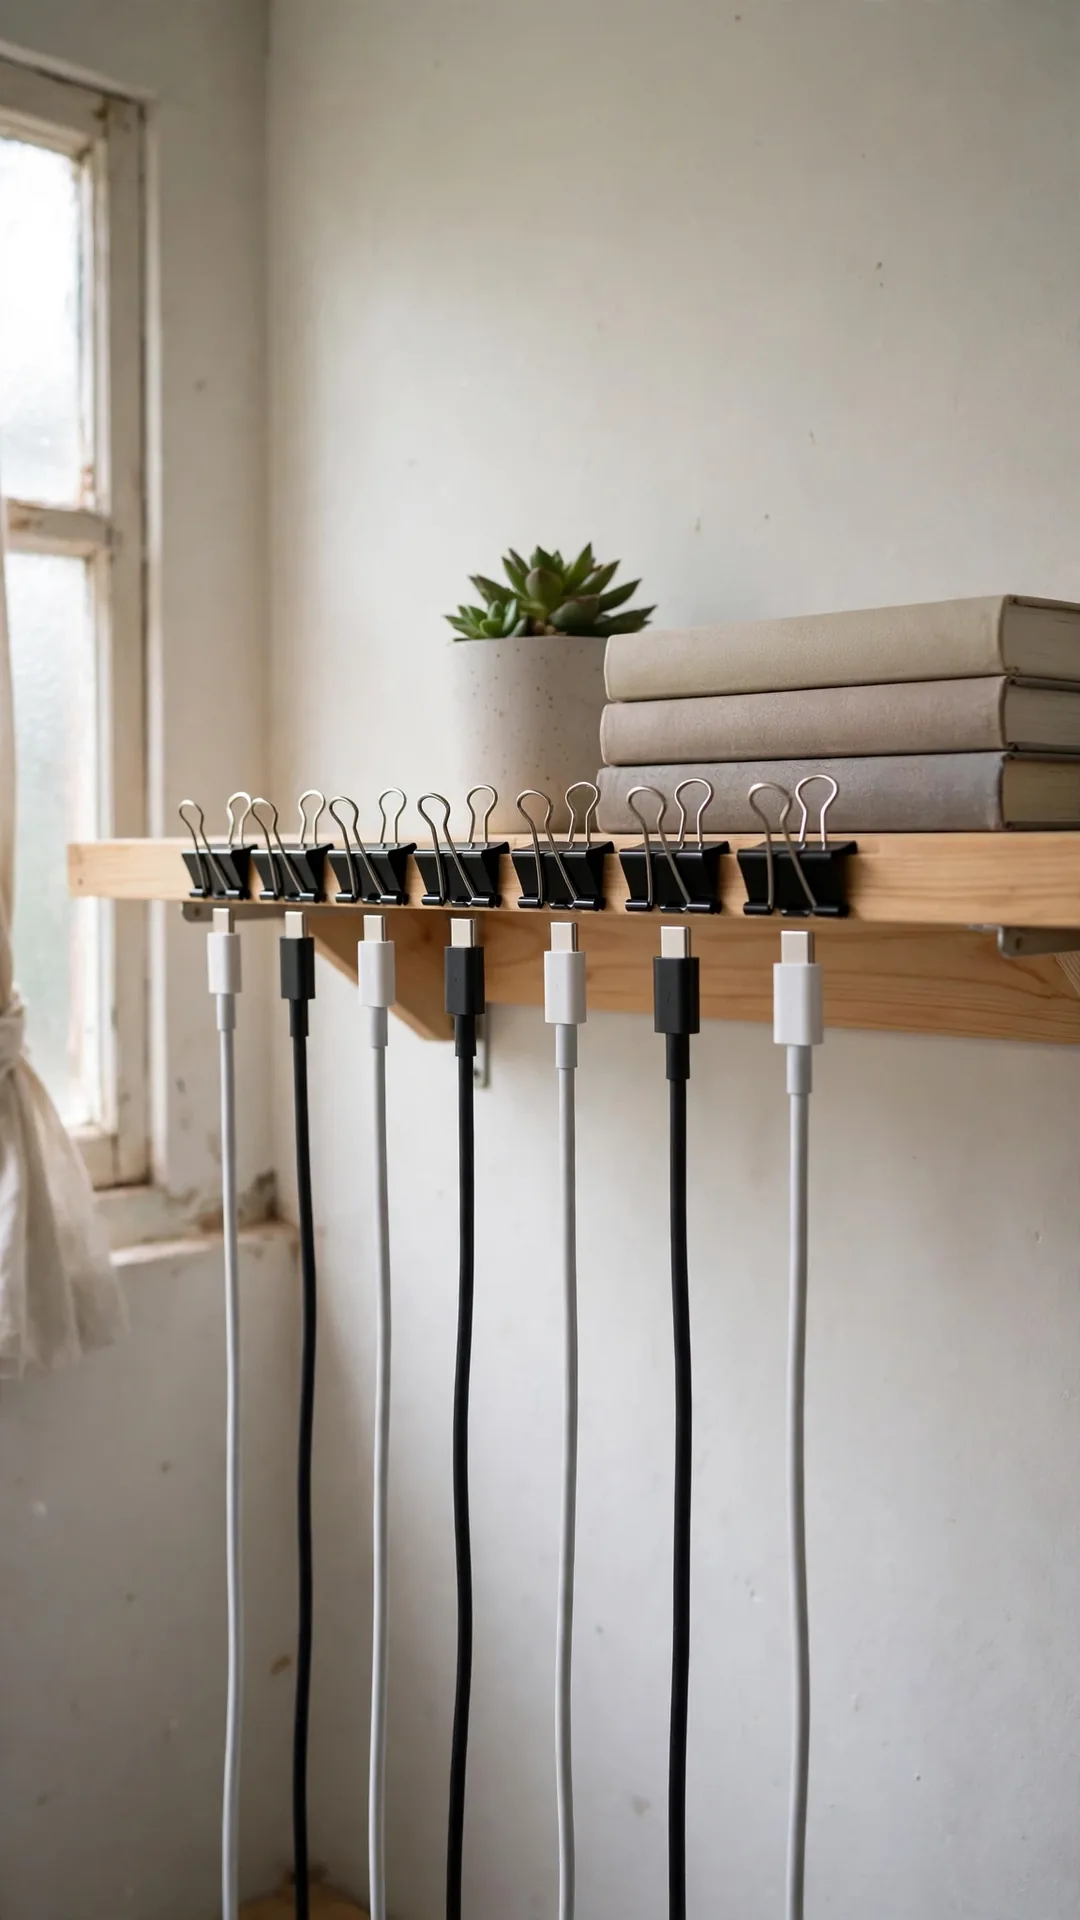
Strong cord organization ideas for small spaces use edges you already own. Binder clips grip a shelf edge and hold each charger end ready. Your cables stop sliding down behind the furniture.
How to do it:
- Clamp clips along a shelf edge 1 inch thick or less.
- Space the clips about 4 inches apart.
- Thread each cable end through the clip handles.
- Rest the handles flat so the ends stay put.
- Add one spare clip for guest chargers.
Best for: Shelves near sofas, beds and desks.
Budget: Under $5
Quick tip: Fold the handles back to lock the cables in place.
5. Hide the Power Strip Inside a Cable Box
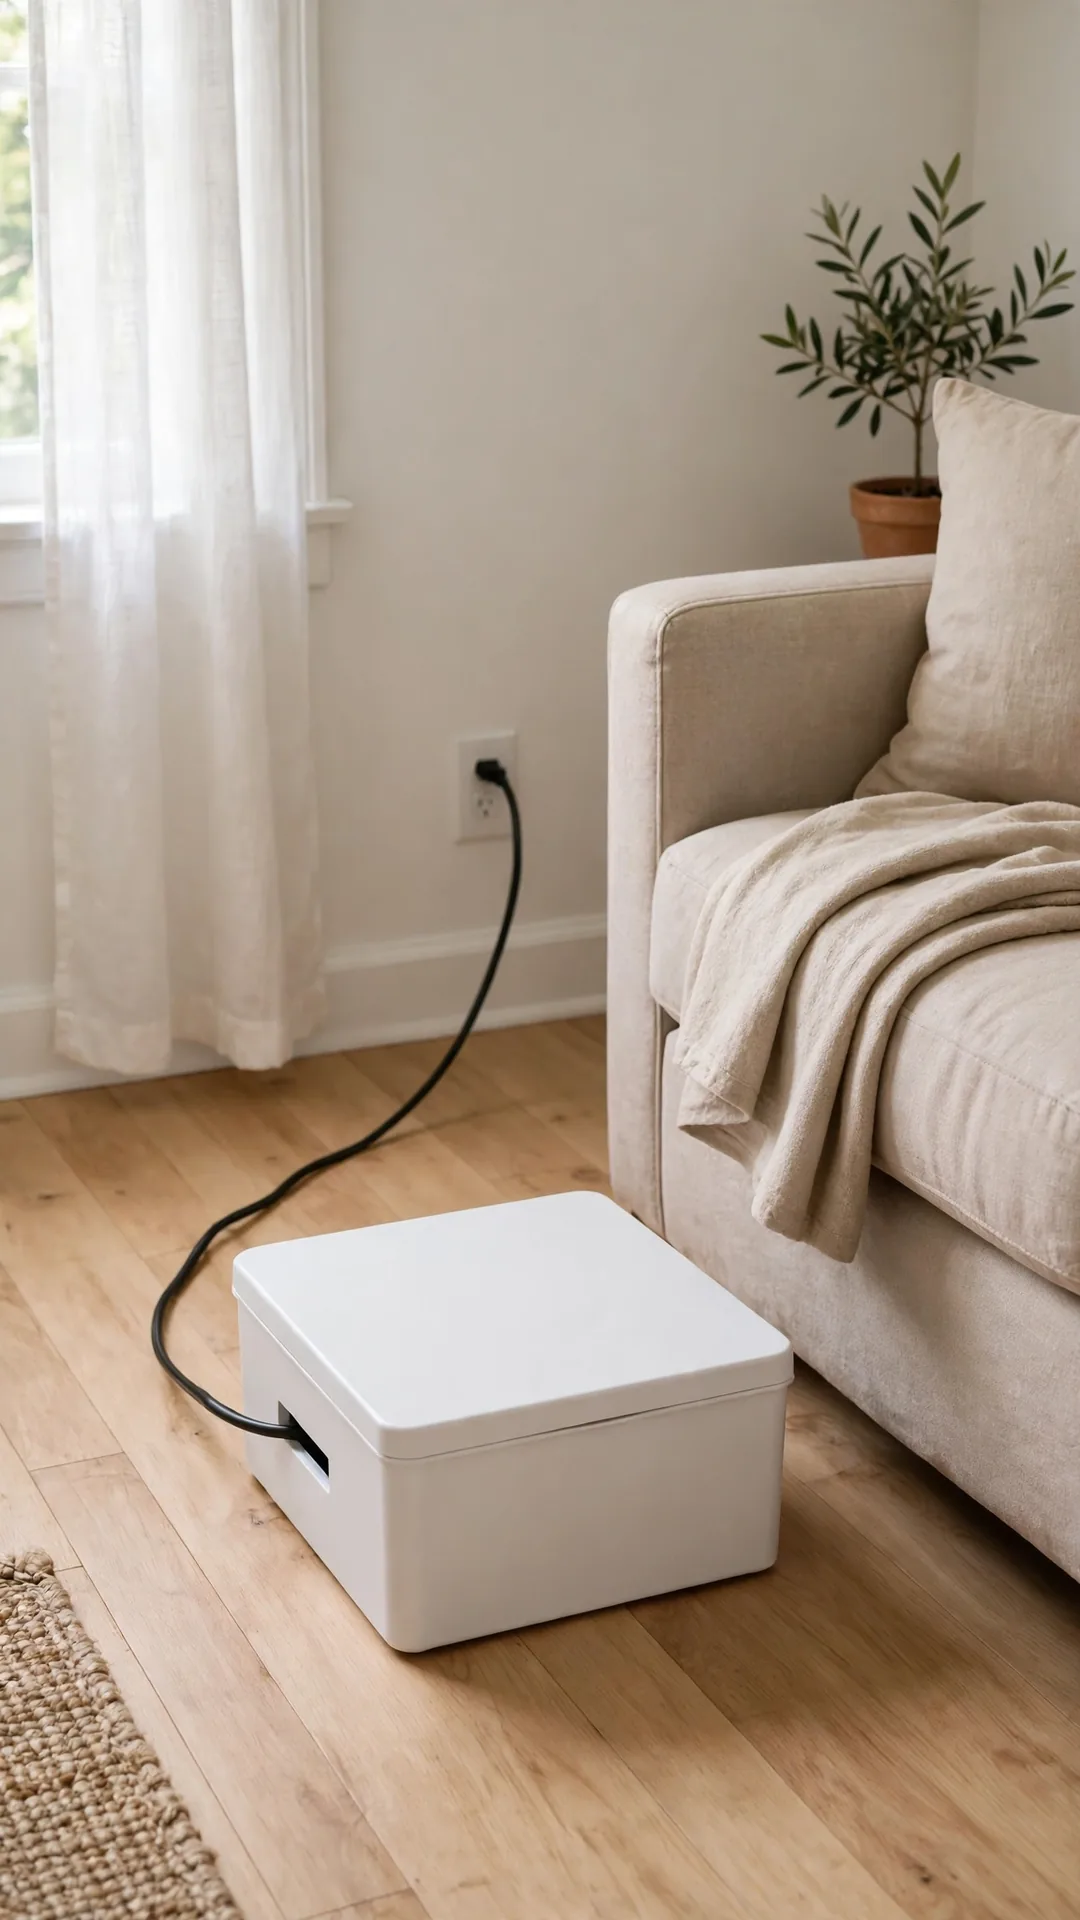
A cable box swallows the ugliest part of any setup. The strip, bricks and spare coils all sit inside one lidded box. Only one neat cord leaves the box for the wall.
How to do it:
- Pick a box about 12 to 16 inches long.
- Coil spare cord loosely inside before closing the lid.
- Keep the box vents clear for warm air flow.
- Feed device cords out through the side slots.
- Set the box on a hard floor, never on thick carpet.
Best for: Living room corners and desk floors.
Budget: $15 to $30
Quick tip: Measure your biggest brick before you buy the box.
6. Drop Floor Cords Into a Woven Basket
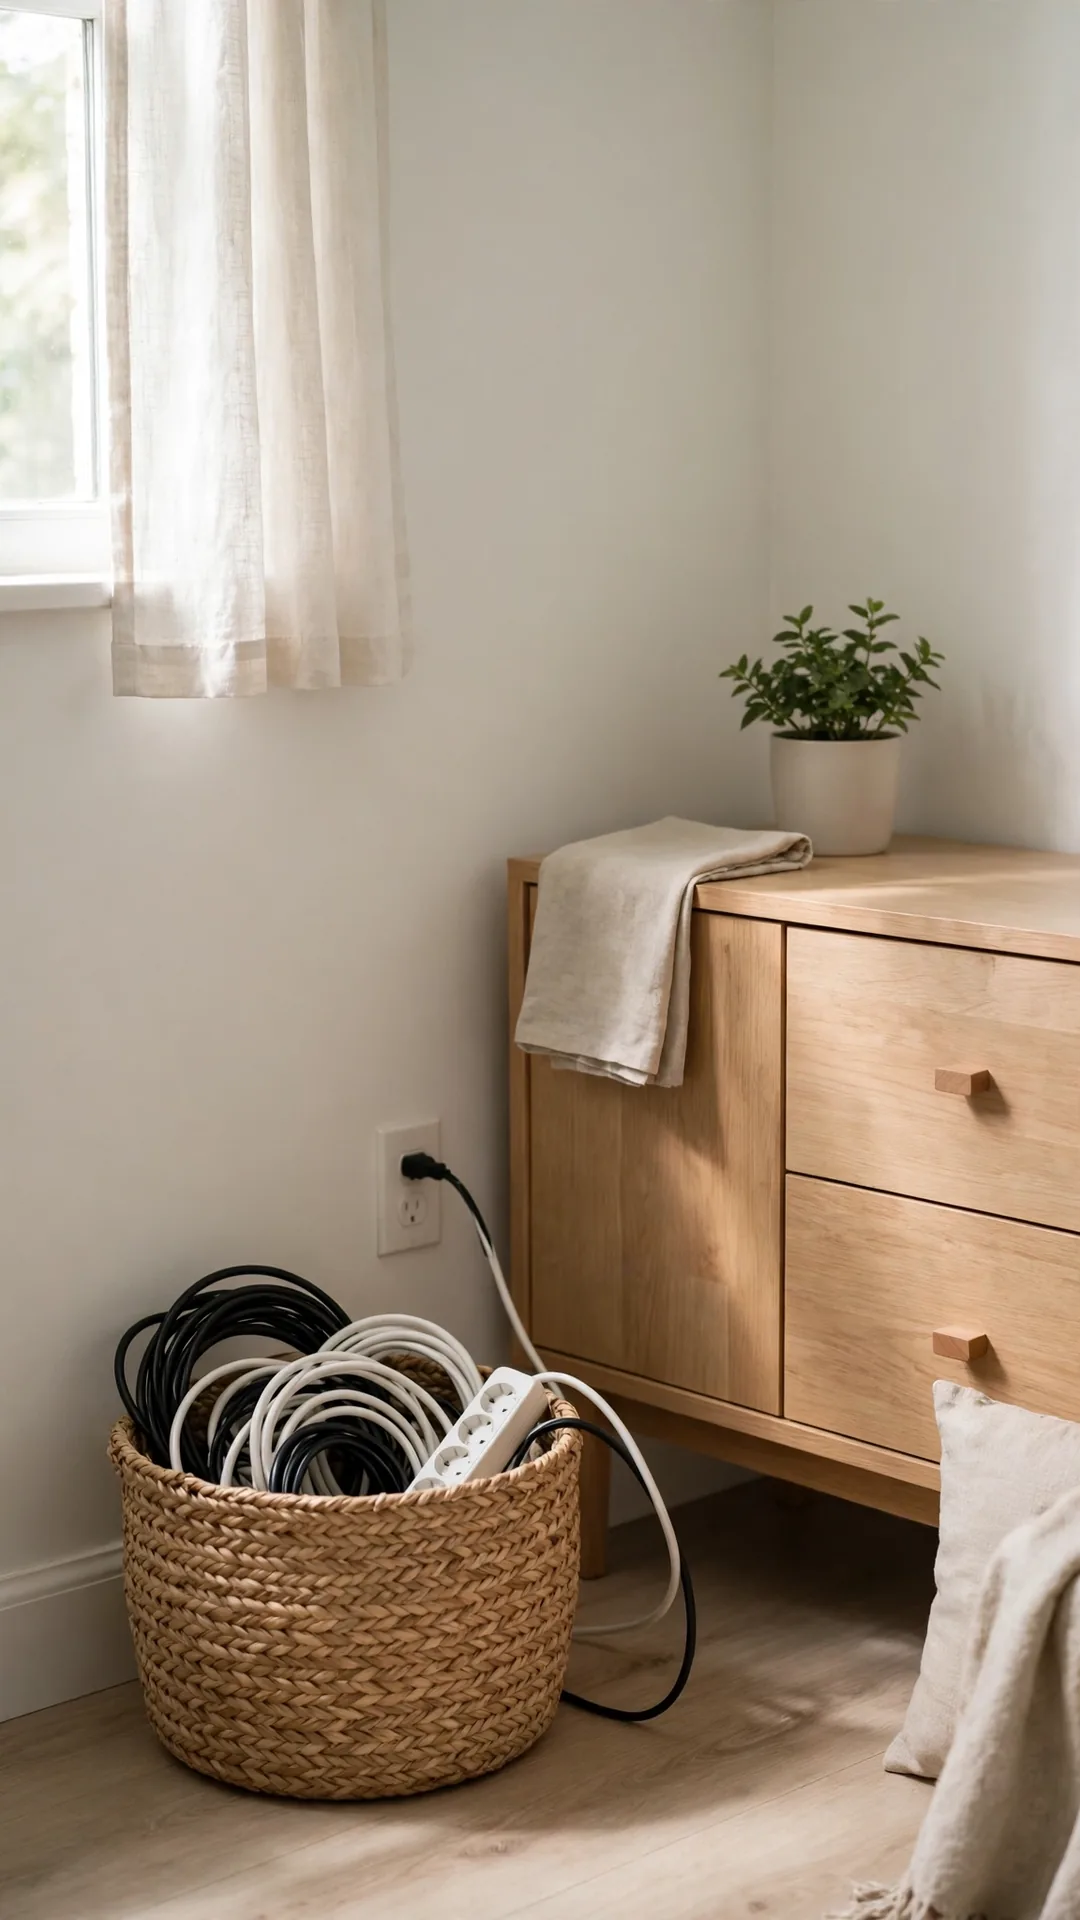
A woven basket hides cords and still matches your room decor. It works well where a plastic box would look out of place. The open weave lets warm air escape around bricks.
How to do it:
- Choose a basket about 12 inches wide with handles.
- Cut no holes if the weave has natural gaps.
- Set the strip inside with cords coiled loosely.
- Run cords out through the back side only.
- Keep the basket off damp floors and vents.
Best for: Sideboards, entry tables and reading corners.
Budget: $10 to $25
Quick tip: Pick a basket with a lid for a cleaner top line.
7. Guide Cords Under Shelves With Adhesive Clips

Adhesive clips turn the underside of a shelf into a cord path. This is one of those cord organization ideas for small spaces that costs pennies. The cord stays up high and out of sight lines.
How to do it:
- Wipe the shelf underside so the pads stick well.
- Stick one clip every 10 to 12 inches.
- Press each pad firmly for about 30 seconds.
- Snap the cord in with a gentle push.
- Leave one clip near the outlet for easy removal.
Best for: Renters and anyone avoiding screws.
Budget: $5 to $12
Quick tip: Warm the pads with your hand before sticking them down.
8. Swap Long Cords for Shorter Ones

A 6 foot cord on a 1 foot run always makes a mess. Shorter cords remove the spare loop before it starts. Measure first, then buy the shortest cord that fits.
How to do it:
- Measure the true distance from device to outlet.
- Add about 6 inches of slack, no more.
- Choose 1 foot or 3 foot cords for close setups.
- Keep the old long cord in your spare box.
- Check the plug shape still fits the outlet space.
Best for: Lamps, clocks and counter appliances.
Budget: $5 to $15
Quick tip: Right angle plugs sit flatter behind tight furniture.
9. Charge Everything From One Multi-Port Hub

Five bricks eat five outlets and sprawl across a counter. One multi-port hub feeds your phone, tablet and earbuds from one plug. The whole charging mess shrinks to one small block.
How to do it:
- Pick a hub with at least four ports.
- Use short 1 foot leads for each device.
- Set the hub on a tray to catch stray cables.
- Keep one port free for guests or new gear.
- Coil each lead loosely when a device leaves.
Best for: Entry tables and shared family charging spots.
Budget: $20 to $40
Quick tip: Give the hub its own outlet, not a crowded strip.
10. Keep Daily Chargers on a Small Tray

Simple cord organization ideas for small spaces often start with a tray. A tray gives daily chargers one fixed home by the door. You grab what you need and drop it back at night.
How to do it:
- Choose a tray about 10 by 7 inches.
- Set it within reach of one wall outlet.
- Coil the daily charger in a loose loop on top.
- Keep only two or three items on the tray.
- Move spare cords to a drawer the same day.
Best for: Studios and busy entry corners.
Budget: $8 to $20
Quick tip: A tray with raised edges stops round plugs rolling off.
11. Mount a Cable Tray Under the Desk
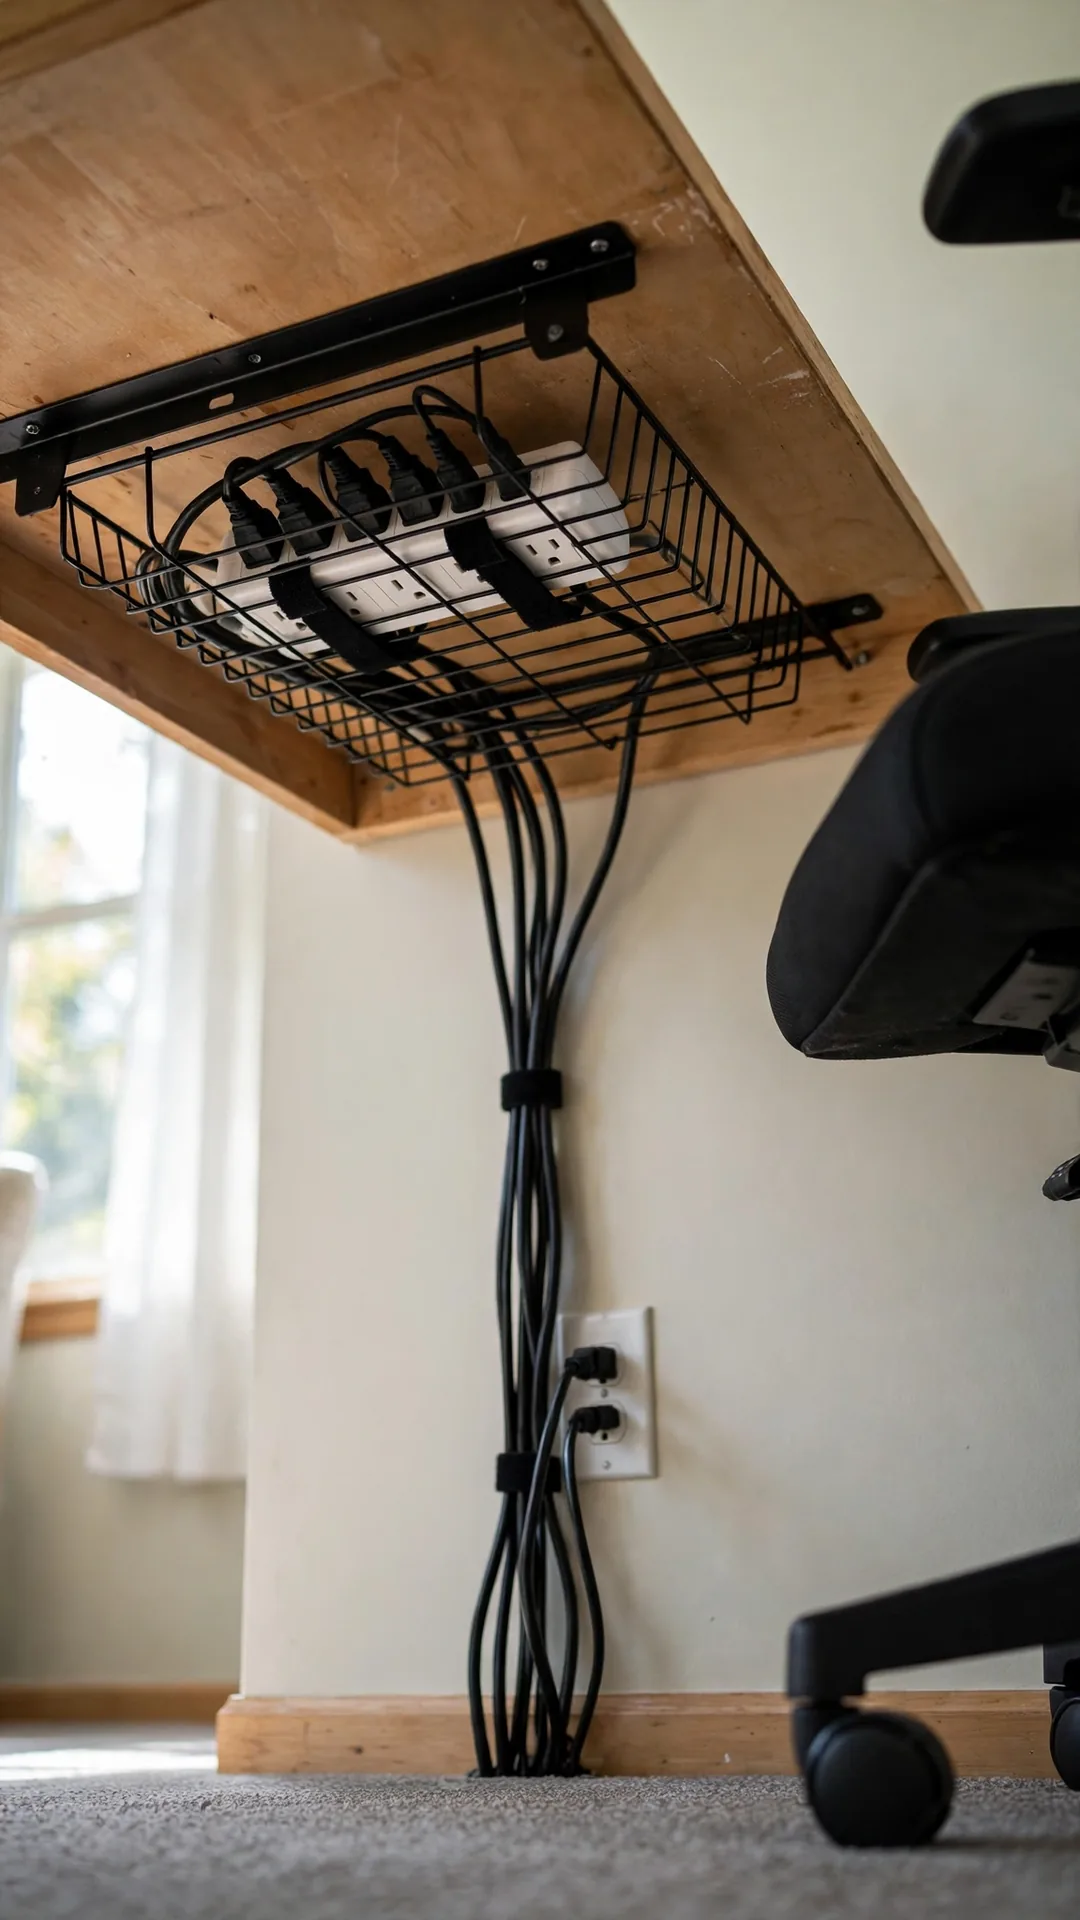
An under-desk tray lifts the strip and bricks off the floor. Your feet gain clear space and cleaning gets much easier. The tray also keeps cords away from chair wheels.
How to do it:
- Pick a tray about 24 inches long in wire mesh.
- Screw it under the back edge of the desktop.
- Set the power strip inside the tray first.
- Drop each device cord into the tray from above.
- Leave one cord only running down to the outlet.
Best for: Home offices and study desks.
Budget: $20 to $45
Quick tip: Wire mesh trays shed heat better than solid boxes.
12. Stick the Power Strip Under the Desktop

Heavy duty mounting tape can hold a strip under your desk. Short cords then rise a few inches to your laptop and lamp. Nothing dangles down to the floor at all.
How to do it:
- Clean the underside spot with a dry cloth first.
- Use tape strips rated for at least 5 pounds.
- Press the strip up firmly for one full minute.
- Wait one hour before plugging anything in.
- Add one screw mount later if the desk is yours.
Best for: Renters with smooth wooden desktops.
Budget: $8 to $18
Quick tip: Test the bond with a gentle tug before loading plugs.
13. Route Monitor Cords Down One Desk Leg

Tidy cord organization ideas for small spaces give cords one shared route. Run monitor and laptop cords down the same back leg together. From the front, the desk looks almost wireless.
How to do it:
- Pick the back leg nearest to the wall outlet.
- Bundle the cords with two velcro straps first.
- Clip the bundle to the leg every 12 inches.
- Use the inside face of the leg for cover.
- Leave slack at the top for monitor tilt.
Best for: Desks that float in the middle of rooms.
Budget: $5 to $12
Quick tip: White clips on white legs nearly vanish from view.
14. Wrap Desk Cords Into One Spiral Sleeve

A spiral sleeve wraps a group of cords into one thick line. It bends around desk corners better than stiff covers do. Pets also find a sleeved bundle far less fun.
How to do it:
- Bundle the cords loosely in your hands first.
- Start the sleeve at the strip end of the run.
- Feed cords in through the side slit as you go.
- Cut the sleeve to length with plain scissors.
- Leave 2 inches free at each device end.
Best for: Multi-monitor and gaming desk setups.
Budget: $8 to $16
Quick tip: Sleeve power and data together only on short runs.
15. Feed Cords Through a Desk Grommet Hole

Many desks hide a round hole at the back corner for a reason. A grommet sends cords straight down instead of across the top. Your work surface stays clear for books and coffee.
How to do it:
- Find or drill a hole about 2 and a half inches wide.
- Fit a plastic grommet ring into the hole.
- Drop power and data cords through from the top.
- Keep the hole at the back, away from elbows.
- Cap the hole if you ever stop using it.
Best for: Owned desks and fixed study corners.
Budget: $5 to $15
Quick tip: Sand the hole edge smooth so cords never rub raw.
16. Clip Cords Along the Back Desk Edge

Flat cord organization ideas for small spaces suit desks against walls. Small clips pin each cord along the back edge of the top. The cords stay in reach but off your work space.
How to do it:
- Stick or screw clips along the back edge.
- Space clips about 8 inches apart per cord run.
- Lay each cord flat inside the clip channel.
- Keep plug ends hanging at one fixed drop spot.
- Use black clips on dark desks for a clean match.
Best for: Narrow desks in bedrooms and dorms.
Budget: $6 to $14
Quick tip: Leave one empty clip for a borrowed charger.
17. Hide Bricks Under a Wooden Monitor Riser

A monitor riser hides a secret shelf you already need. Laptop bricks and hubs slide into the gap under the stand. Your screen also rises to a kinder eye height.
How to do it:
- Pick a riser with at least 3 inches of clearance.
- Slide the laptop brick and hub underneath.
- Route their cords out the back side only.
- Keep vents on bricks clear of the riser legs.
- Store one spare coiled lead under there too.
Best for: Laptop desks with big charger bricks.
Budget: $25 to $60
Quick tip: A riser with a drawer hides even more cord clutter.
18. Keep Spare Desk Cords in a Drawer Box

Spare cords breed tangles when they share one loose drawer. A simple box with rows keeps each coil apart and findable. The same sorted drawer thinking anchors these art organization ideas for a small space.
How to do it:
- Fit one shallow box inside your desk drawer.
- Coil each spare cord and strap it once.
- Stand the coils upright in neat rows.
- Keep rare cords at the back of the box.
- Purge dead cords when the box stops closing.
Best for: Home workers with many spare leads.
Budget: $5 to $15
Quick tip: A blank tape flag on each coil names its device.
19. Run One Lead Only From Wall to Desk

Smart cord organization ideas for small spaces cut the count, not just the mess. Feed the whole desk from one strip and one wall lead. Five dangling cords become a single calm line.
How to do it:
- Plug one strip into the nearest wall outlet.
- Mount or tray that strip at the desk itself.
- Plug every desk device into that one strip.
- Run the strip cord flat along the wall base.
- Never chain a second strip onto the first one.
Best for: Floating desks far from the wall.
Budget: $15 to $30
Quick tip: A flat plug strip cord hugs the wall much better.
20. Raise Chargers With a Small Desk Shelf

A slim shelf at the back of your desk lifts chargers up. Phones and watches charge above the mess of papers. Their short cords never cross your keyboard space.
How to do it:
- Choose a shelf about 24 inches long and 5 inches deep.
- Set it at the very back edge of the desk.
- Plug a small hub into the strip below it.
- Use 1 foot leads from hub to each device.
- Keep the shelf clear of drinks and loose papers.
Best for: Shared desks and busy study spots.
Budget: $20 to $45
Quick tip: A shelf lip at the front stops phones sliding off.
21. Run TV Cords Inside a Paintable Raceway
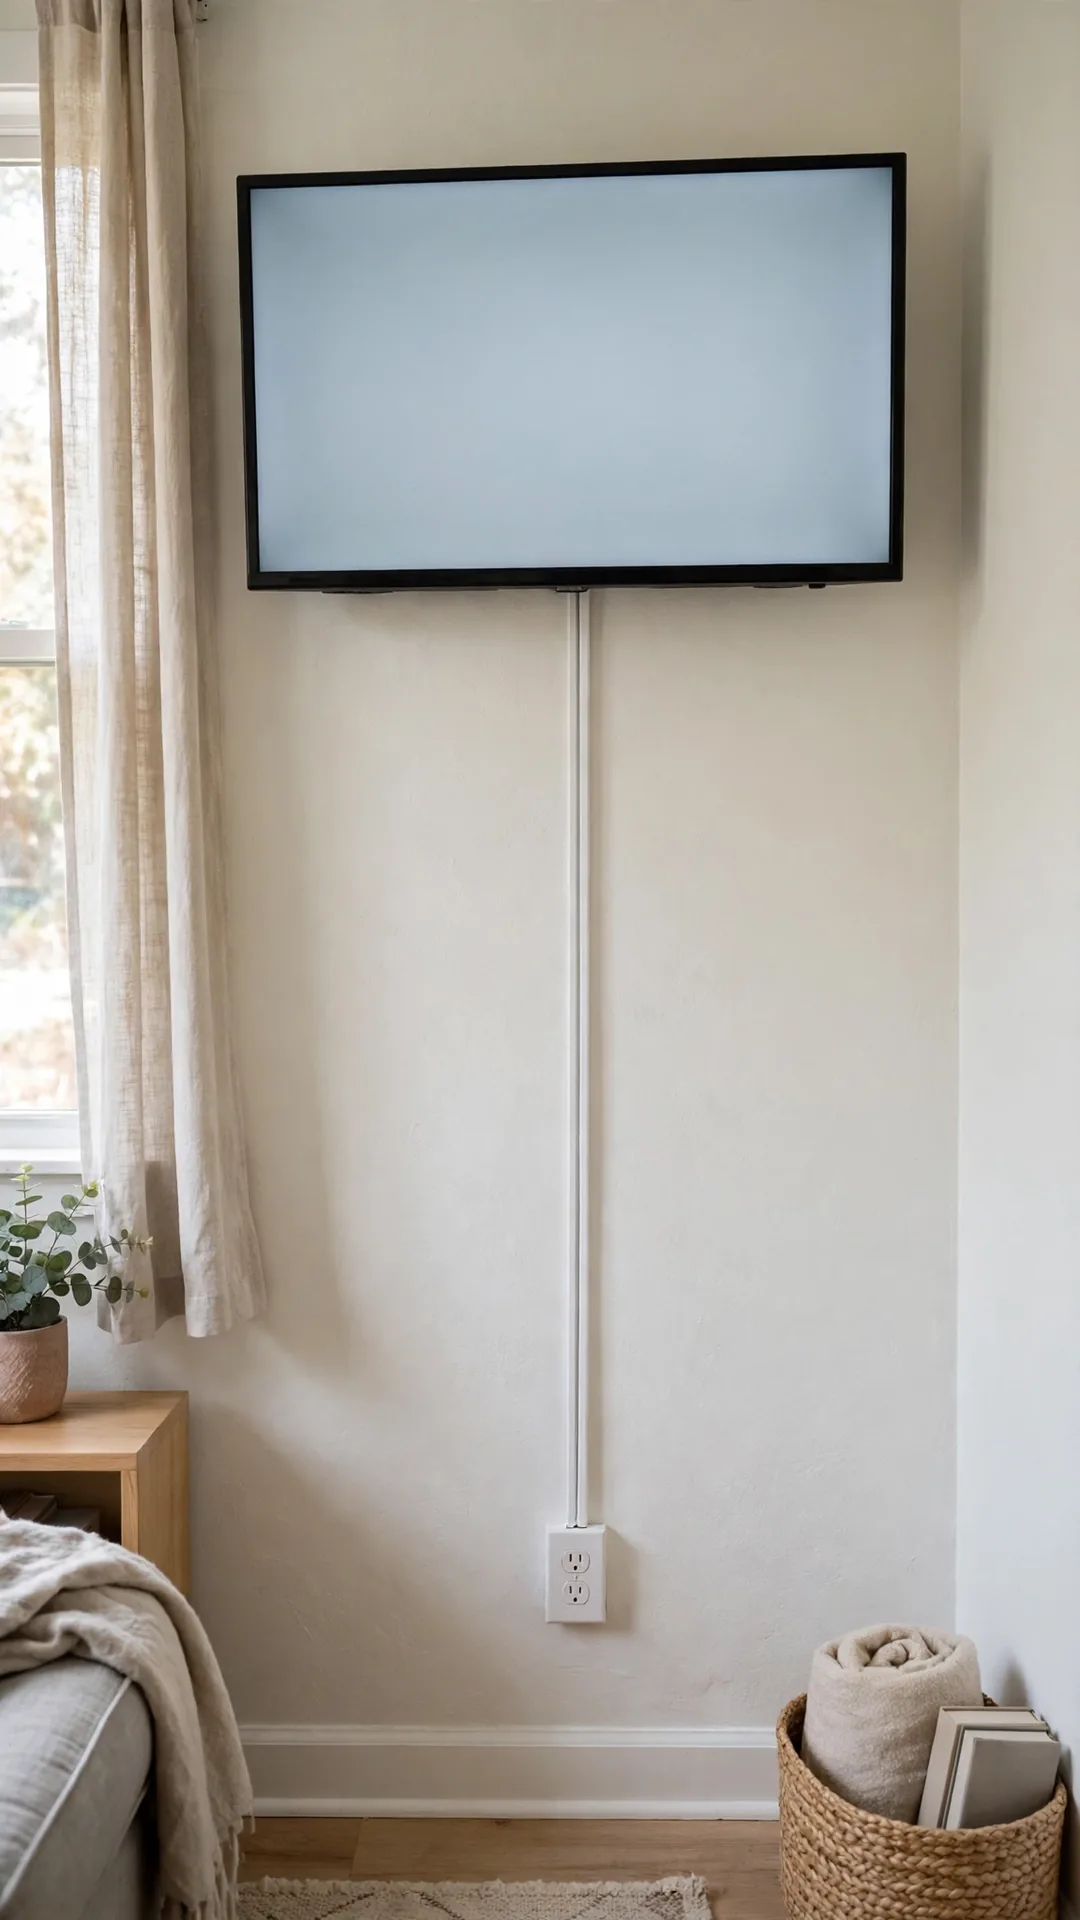
A raceway gives wall TV cords a clean, straight cover. Paint it the wall color and the run almost disappears. Houzz shares more background in its guide on how to hide wires.
How to do it:
- Measure the drop from TV to outlet in inches.
- Cut the raceway channel to that exact length.
- Stick the base with its own adhesive strips.
- Lay the cords inside and snap the cover shut.
- Paint the cover after one full day of drying.
Best for: Wall mounted TVs in rentals.
Budget: $12 to $25
Quick tip: Use corner pieces so the run turns without gaps.
22. Tuck the Strip Behind the Media Console
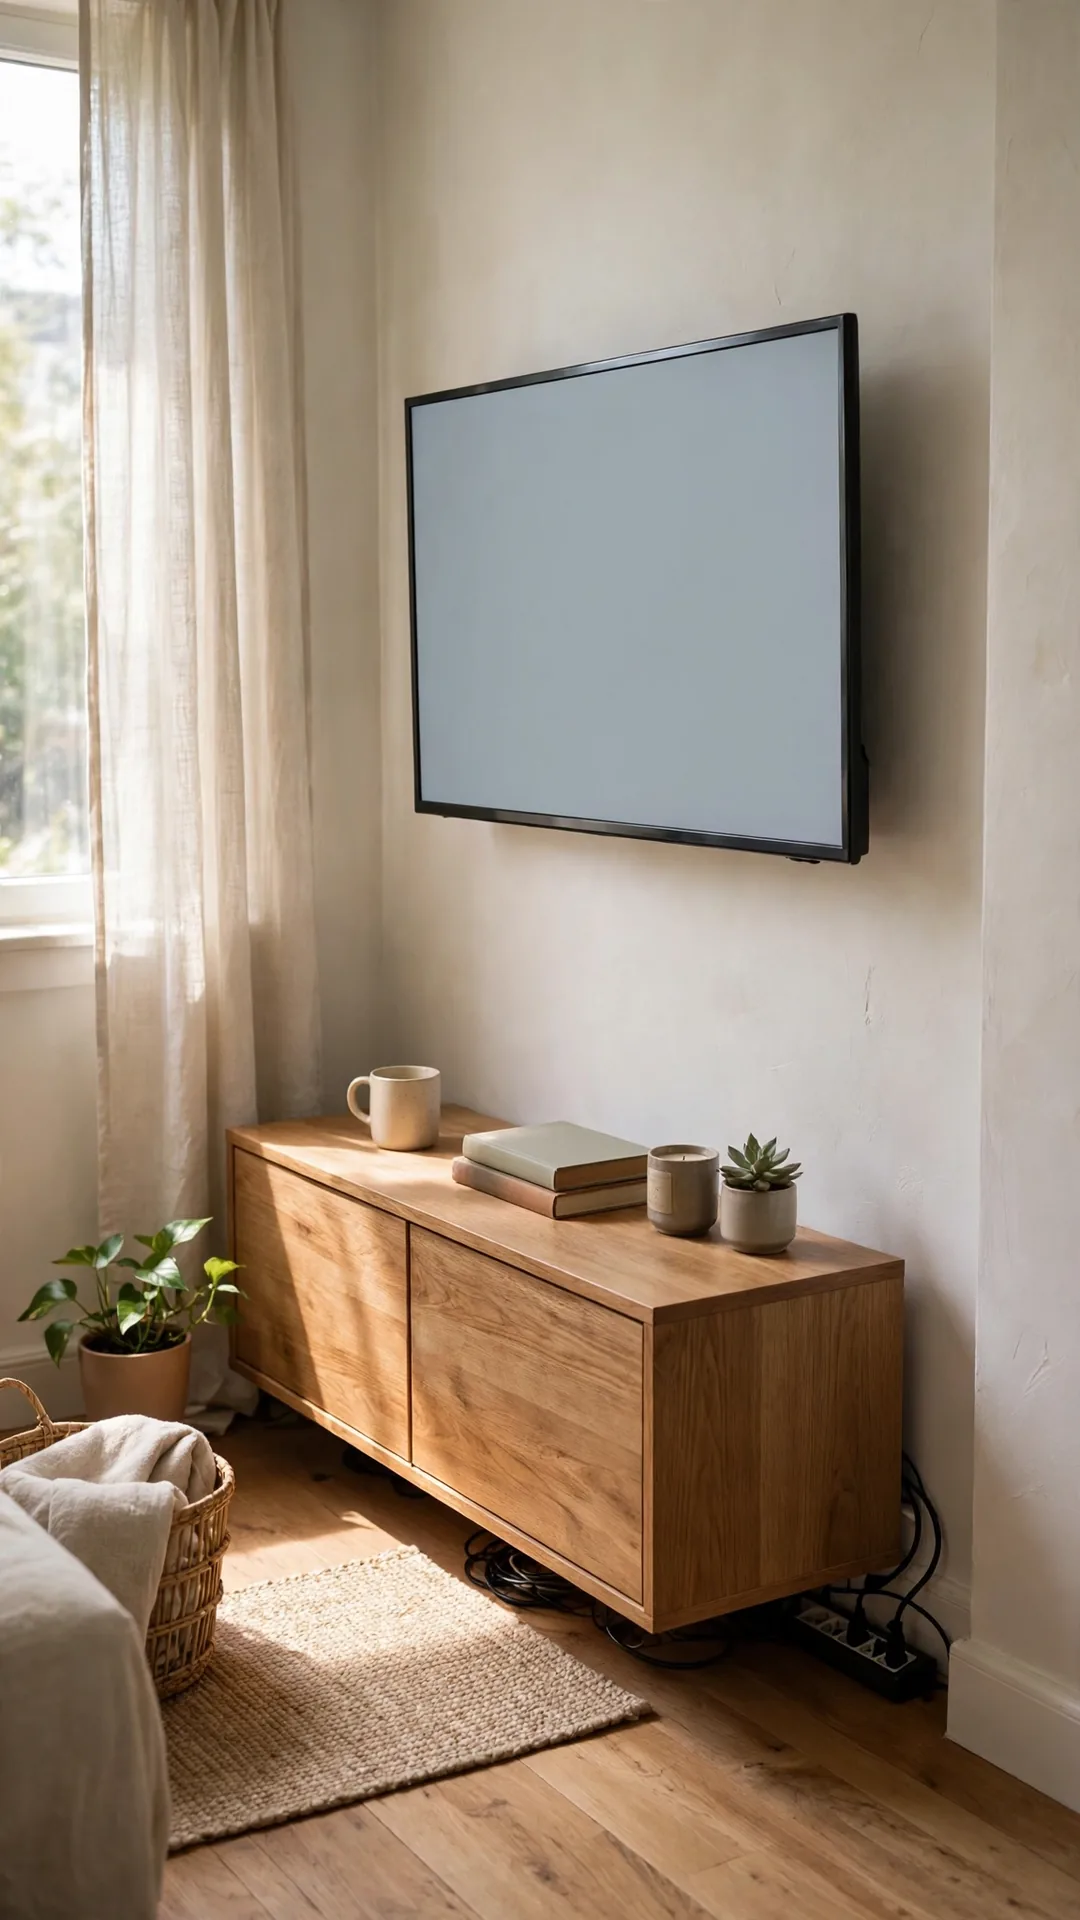
Basic cord organization ideas for small spaces still beat fancy gear. Slide the power strip behind the console where eyes never go. Every device cord then drops a few inches, hidden.
How to do it:
- Pull the console about 3 inches from the wall.
- Set the strip on the floor at the center back.
- Plug in the TV, box and sound gear first.
- Bundle spare length behind the console, not under it.
- Push the console back once everything works.
Best for: Low consoles in small living rooms.
Budget: Free
Quick tip: Leave one free socket facing up for quick swaps.
23. Bundle HDMI Leads Inside a Fabric Sleeve

Fabric sleeves zip a bunch of TV leads into one soft tube. The tube bends easily behind tight console backs. It also protects the leads from dust and scuffs.
How to do it:
- Gather the HDMI and power leads in one hand.
- Open the sleeve fully along its zip or wrap edge.
- Lay the leads inside and close the sleeve up.
- Keep the tube at about 19 inches per section.
- Leave plug ends free with 3 inches of slack.
Best for: TV walls with three or more devices.
Budget: $10 to $18
Quick tip: Gray sleeves fade into shadow behind most consoles.
24. Hide the Router Inside a Woven Basket

A router on show drags a whole corner down. An open woven basket hides the box but keeps air moving. Pick a basket with no lid for safe heat flow.
How to do it:
- Choose a basket at least 2 inches wider than the router.
- Set the router upright inside with space around it.
- Feed cords through the open weave at the back.
- Keep the basket away from heaters and sunny spots.
- Dust inside the basket once a month.
Best for: Living rooms where gear sits in view.
Budget: $10 to $22
Quick tip: Skip any closed box, since routers need steady airflow.
25. Thread Cords Through Console Back Holes
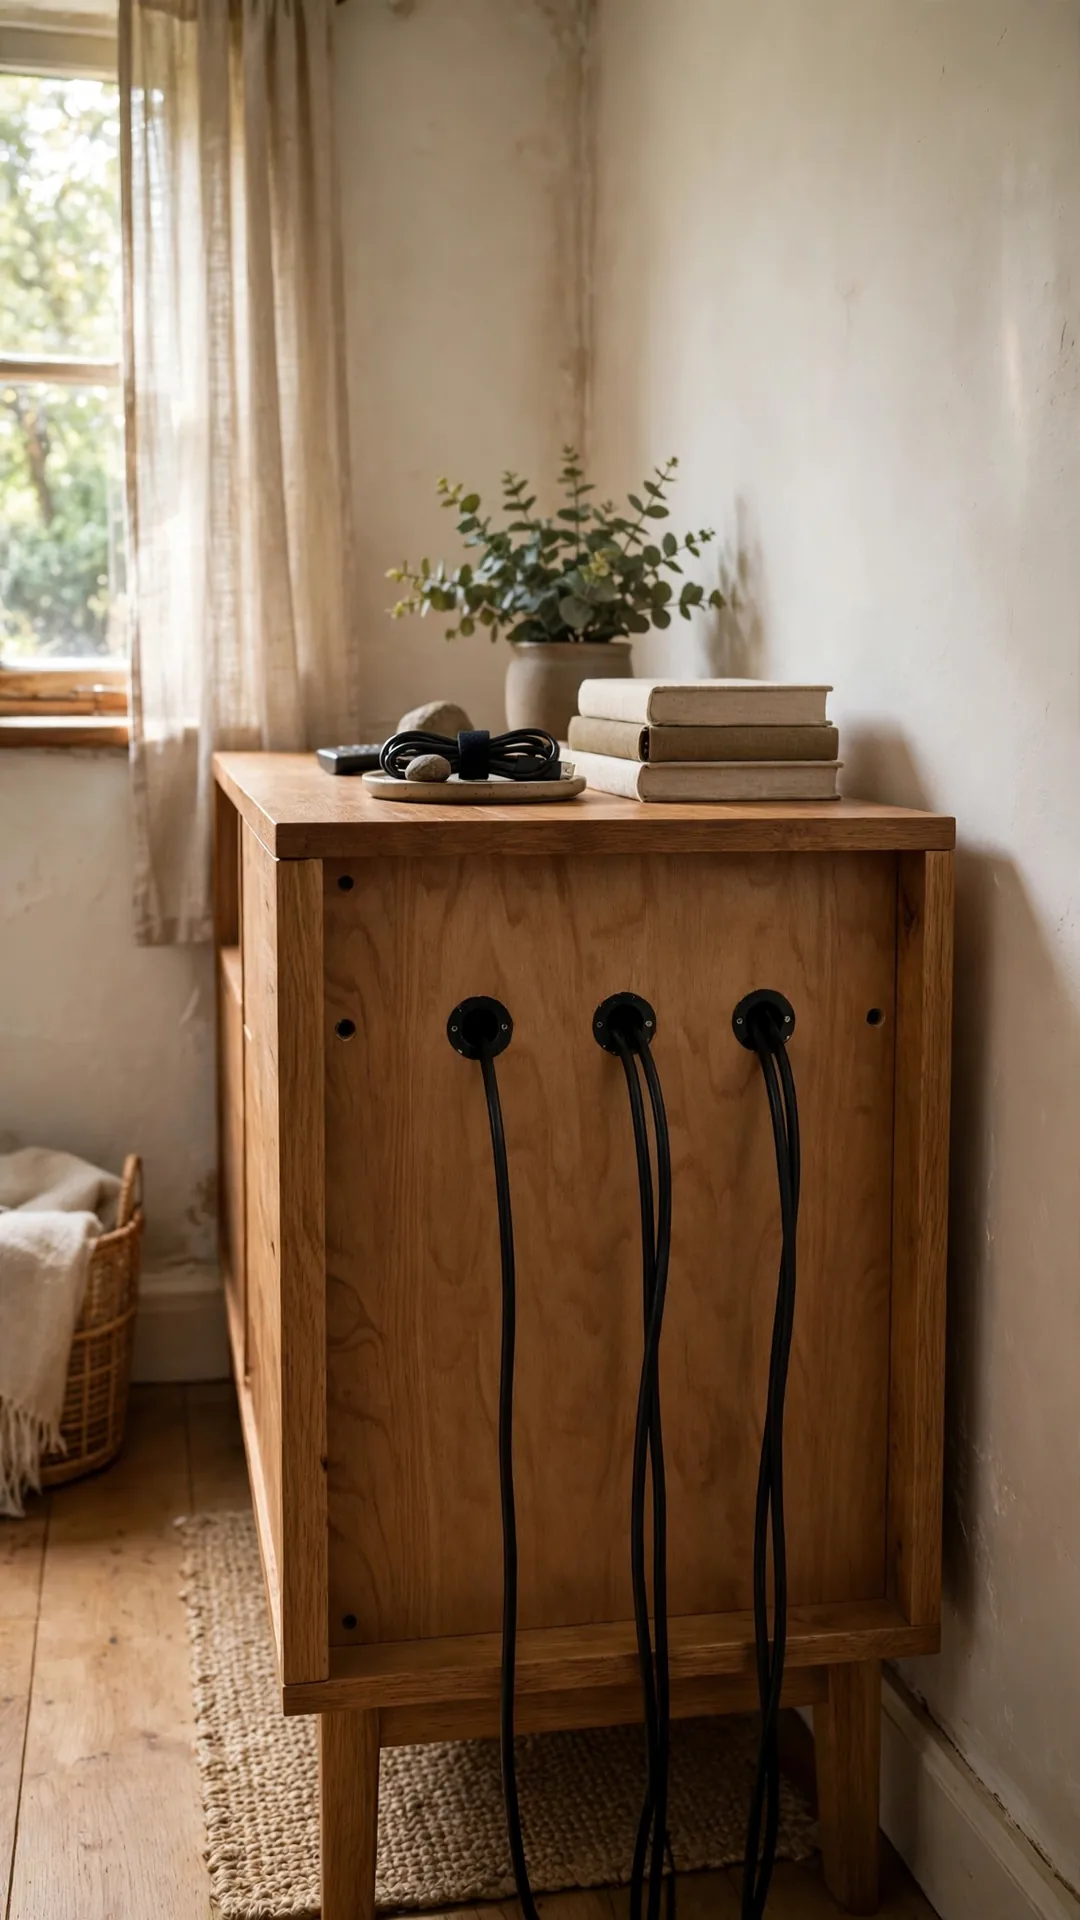
Hidden cord organization ideas for small spaces often come built in. Many consoles have round holes in the back panel for cords. Use every hole instead of draping cords over the top.
How to do it:
- Find the holes behind each shelf of the console.
- Feed each device cord through its nearest hole.
- Coil spare length inside the cabinet, not outside.
- Keep power cords apart from speaker wires inside.
- Add a stick-on grommet if an edge feels rough.
Best for: Consoles with closed backs and doors.
Budget: Free
Quick tip: Feed cords before placing heavy gear on the shelves.
26. Clip Lamp Cords Down the Table Legs

A lamp cord that swings free makes a side table look unfinished. Two small clips pin the cord straight down the back leg. The cord then runs flat along the floor edge.
How to do it:
- Turn the table so one leg hides the outlet side.
- Clip the cord at the top and bottom of that leg.
- Keep the cord on the wall-facing side of the leg.
- Add a third clip if the cord still bows out.
- Use clear clips on light wood for a soft match.
Best for: Reading corners and sofa side tables.
Budget: Under $8
Quick tip: Start clipping at the lamp, not at the plug.
27. Run Speaker Wire Flat Along the Baseboard
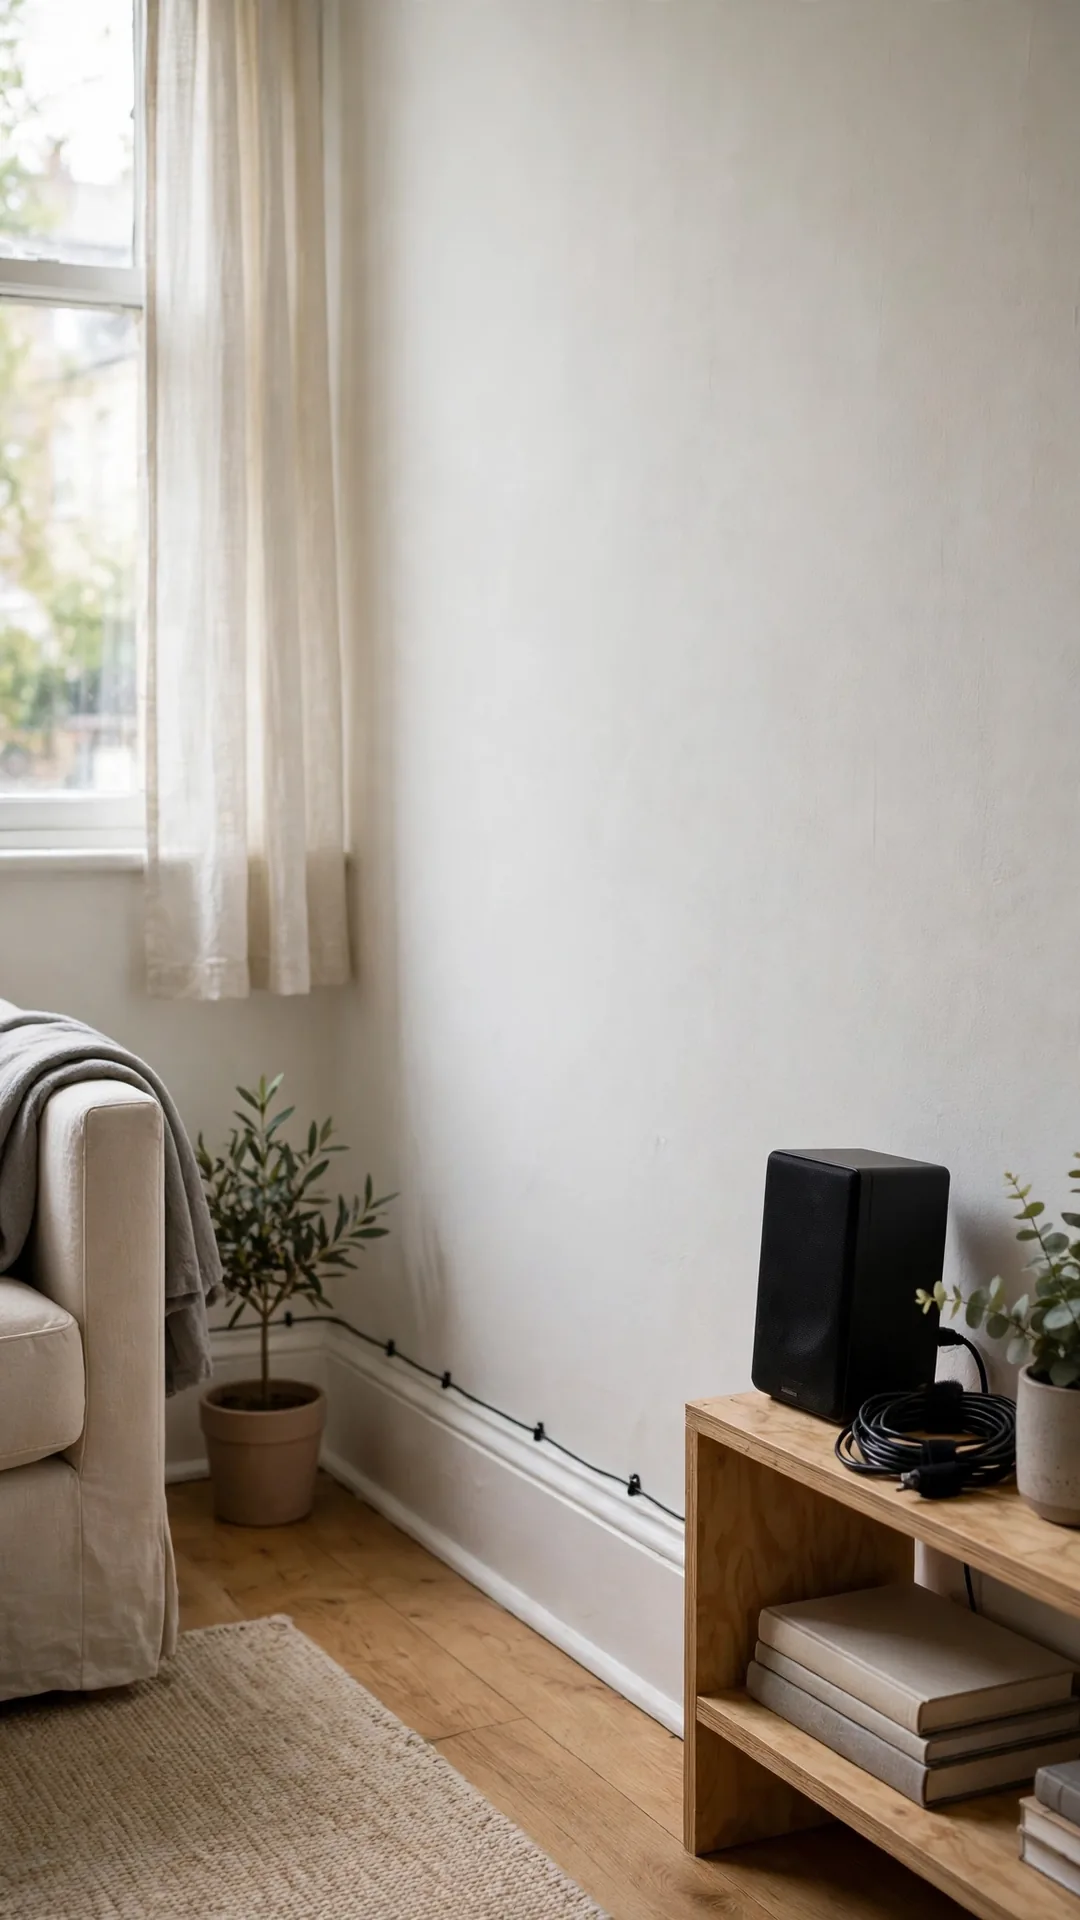
Thin speaker wire nearly vanishes when it hugs the baseboard. Flat wire paints well and stays out of walk paths. Your rear speakers get sound without a cord crossing the room.
How to do it:
- Measure the wall run and add 1 foot of spare.
- Pin the wire with small clips every 18 inches.
- Keep the wire on the baseboard face, not the floor.
- Cross doorways over the frame, never underfoot.
- Paint the wire only after a sound check passes.
Best for: Small surround setups and stereo pairs.
Budget: $10 to $20
Quick tip: Leave a small loop behind each speaker for moves.
28. Plug Streaming Sticks Straight Into the TV
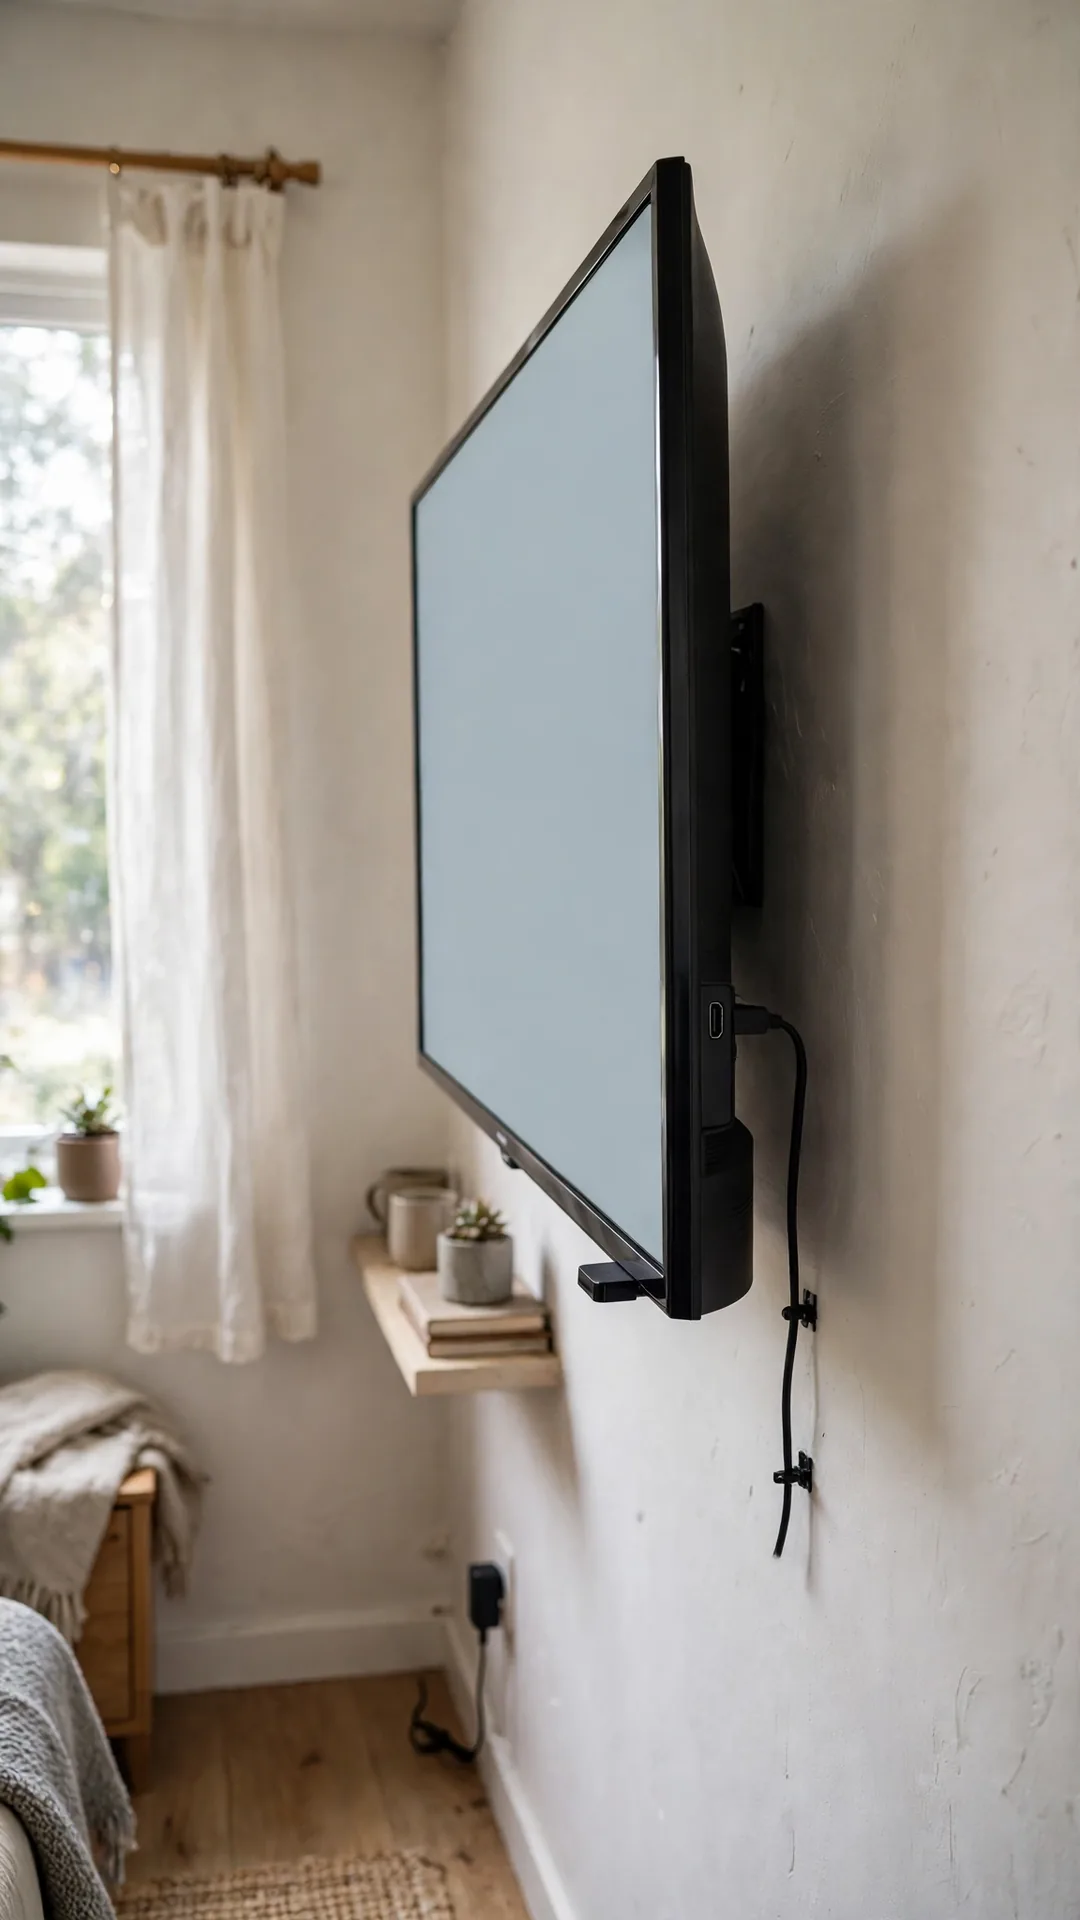
A streaming stick removes a box, a brick and one whole cord. It plugs straight into the TV port and hides behind the screen. Houzz covers more options in its piece on how to hide TV cables.
How to do it:
- Plug the stick into a side facing HDMI port.
- Power it from the TV USB port if yours offers one.
- Use the short extender if the fit feels tight.
- Keep the remote sensor area clear of the stick.
- Remove the old streaming box and its cords fully.
Best for: Wall TVs with crowded consoles.
Budget: $30 to $50
Quick tip: A USB powered stick turns off with the TV.
29. Coil Controller Leads Inside the Console Drawer
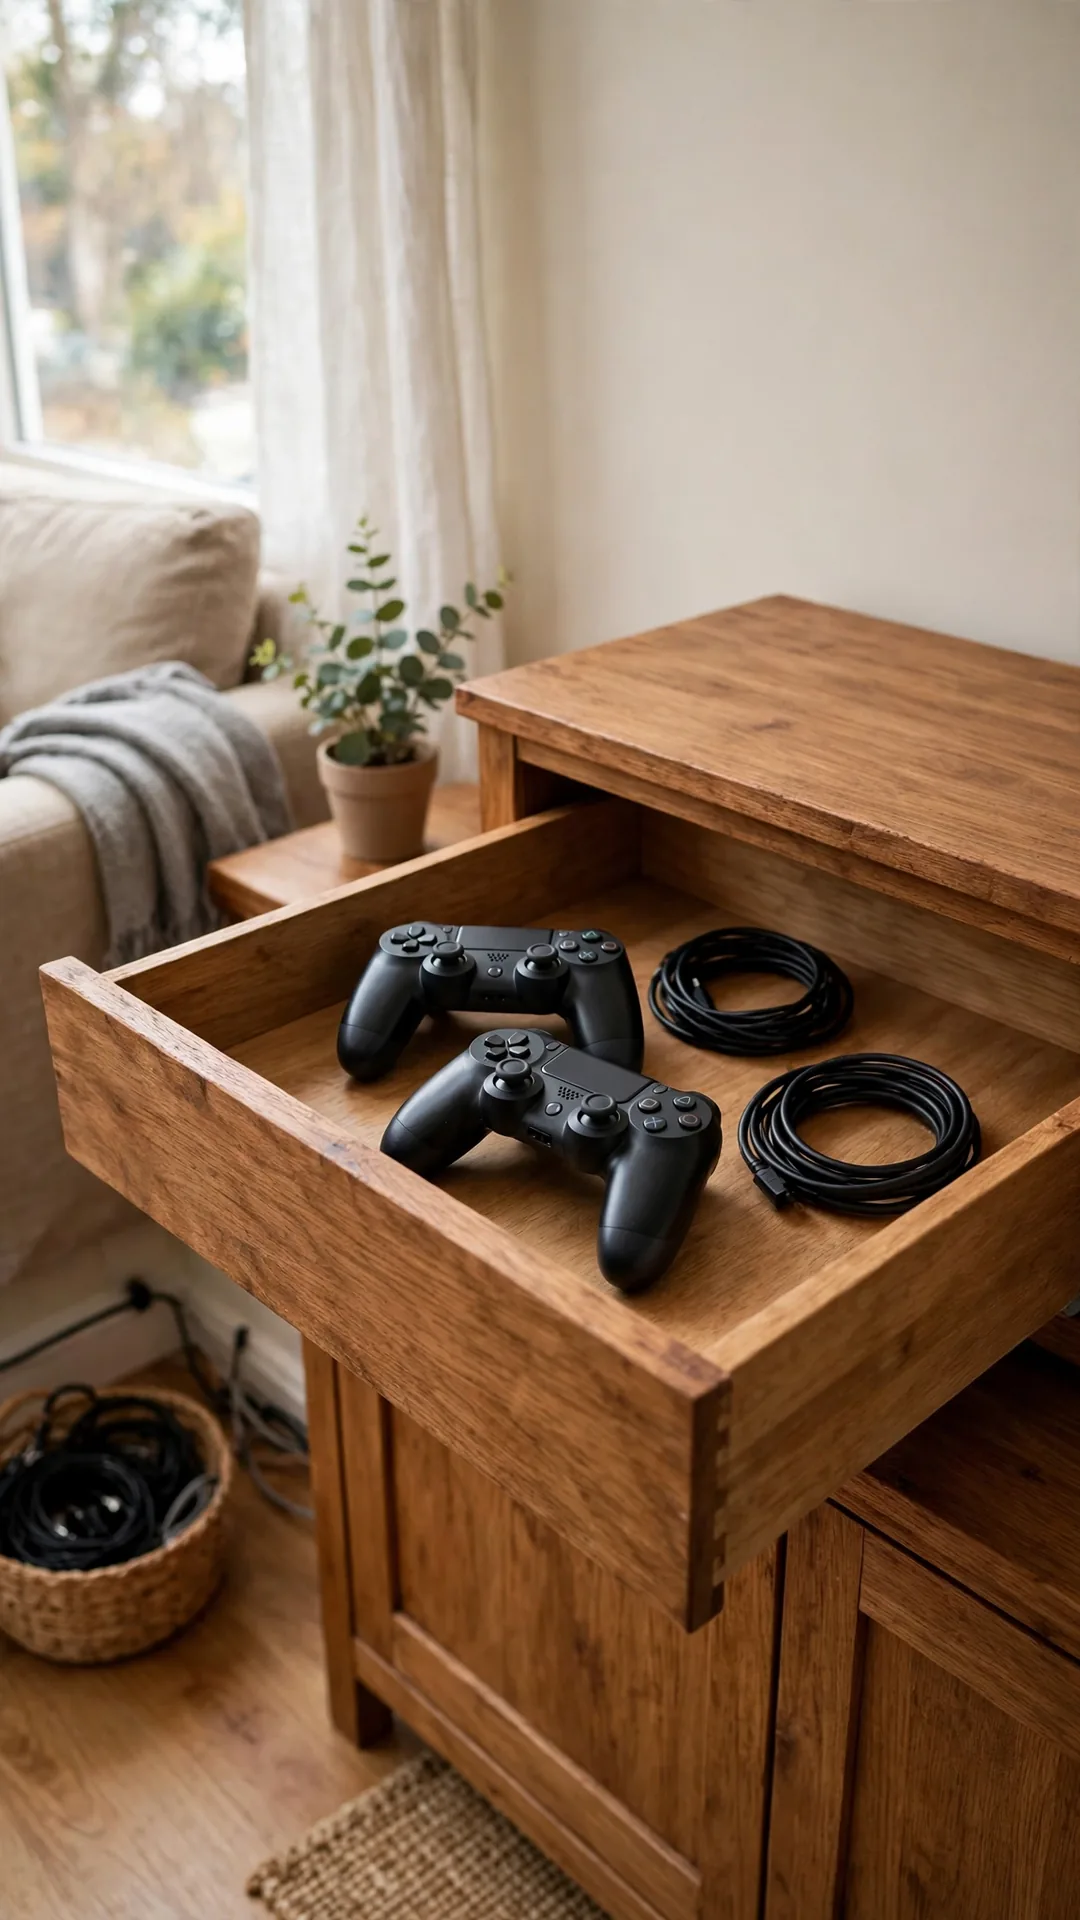
Game leads spill out of consoles and tangle with remotes. A shallow drawer keeps each lead coiled beside its controller. Close the drawer and the whole gaming mess vanishes.
How to do it:
- Coil each lead into a loop about 5 inches wide.
- Strap each loop once so it holds its shape.
- Lay controllers on one side, leads on the other.
- Keep charging leads plugged through the drawer back gap.
- Leave the drawer cracked open while charging for air.
Best for: Small living rooms with daily gaming.
Budget: Free
Quick tip: One lead per controller stops the drawer tangling again.
30. Mount the Strip on the Console Back
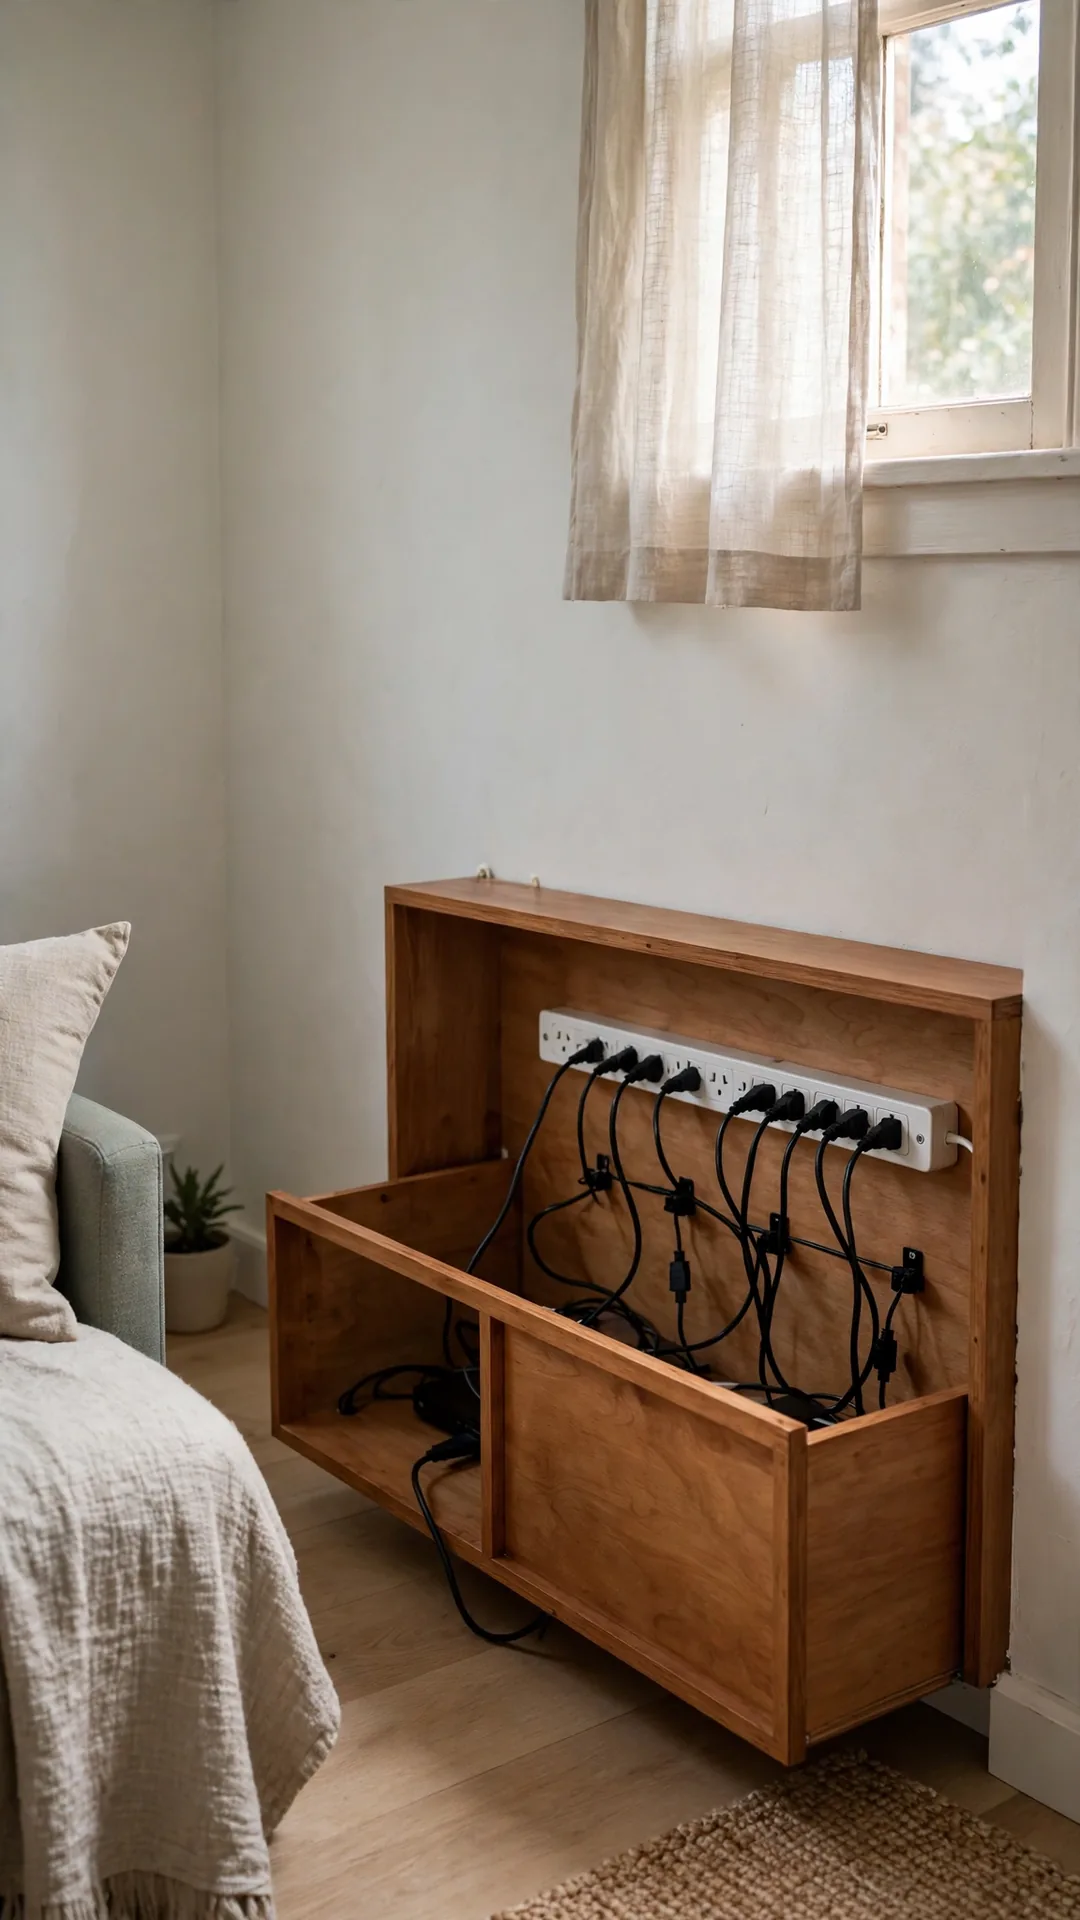
Mounting the strip on the console back lifts it off the floor. Short device cords plug in without long drops or loops. Dust and vacuum heads also stop hitting the plugs.
How to do it:
- Use the screw slots on the back of the strip.
- Fix the strip flat to the console back panel.
- Place it near the center for even cord reach.
- Plug in the largest brick first, at one end.
- Bundle any spare length with a single strap.
Best for: Owned consoles and heavy TV setups.
Budget: $5 to $12
Quick tip: Mark the switch end so you can reach it blind.
31. Build a Charging Drawer in the Nightstand

A charging drawer hides nightstand cords in one clean move. Calm cord organization ideas for small spaces like this suit tiny bedrooms. Phones charge inside while the top stays free for a book.
How to do it:
- Pick the top drawer of the nightstand.
- Feed a strip cord through a gap at the drawer back.
- Set a slim strip flat inside the drawer.
- Use short leads so the drawer still closes fully.
- Keep the drawer open a crack on warm nights.
Best for: Tiny bedrooms with cluttered nightstands.
Budget: $15 to $30
Quick tip: Line the drawer base with felt to mute phone buzzes.
32. Clip the Phone Cord to the Nightstand Edge

A phone cord slides behind the nightstand every single night. One small clip on the edge holds the end in reach. You stop fishing around in the dark gap.
How to do it:
- Stick a cable clip at the back edge of the top.
- Thread the phone cord through the clip loop.
- Leave about 8 inches of cord free above the top.
- Set the charging brick on the floor below, hidden.
- Test the reach from your pillow before bed.
Best for: Anyone who charges a phone overnight.
Budget: Under $6
Quick tip: A weighted cord holder works if clips will not stick.
33. Run the Clock Cord Behind the Headboard
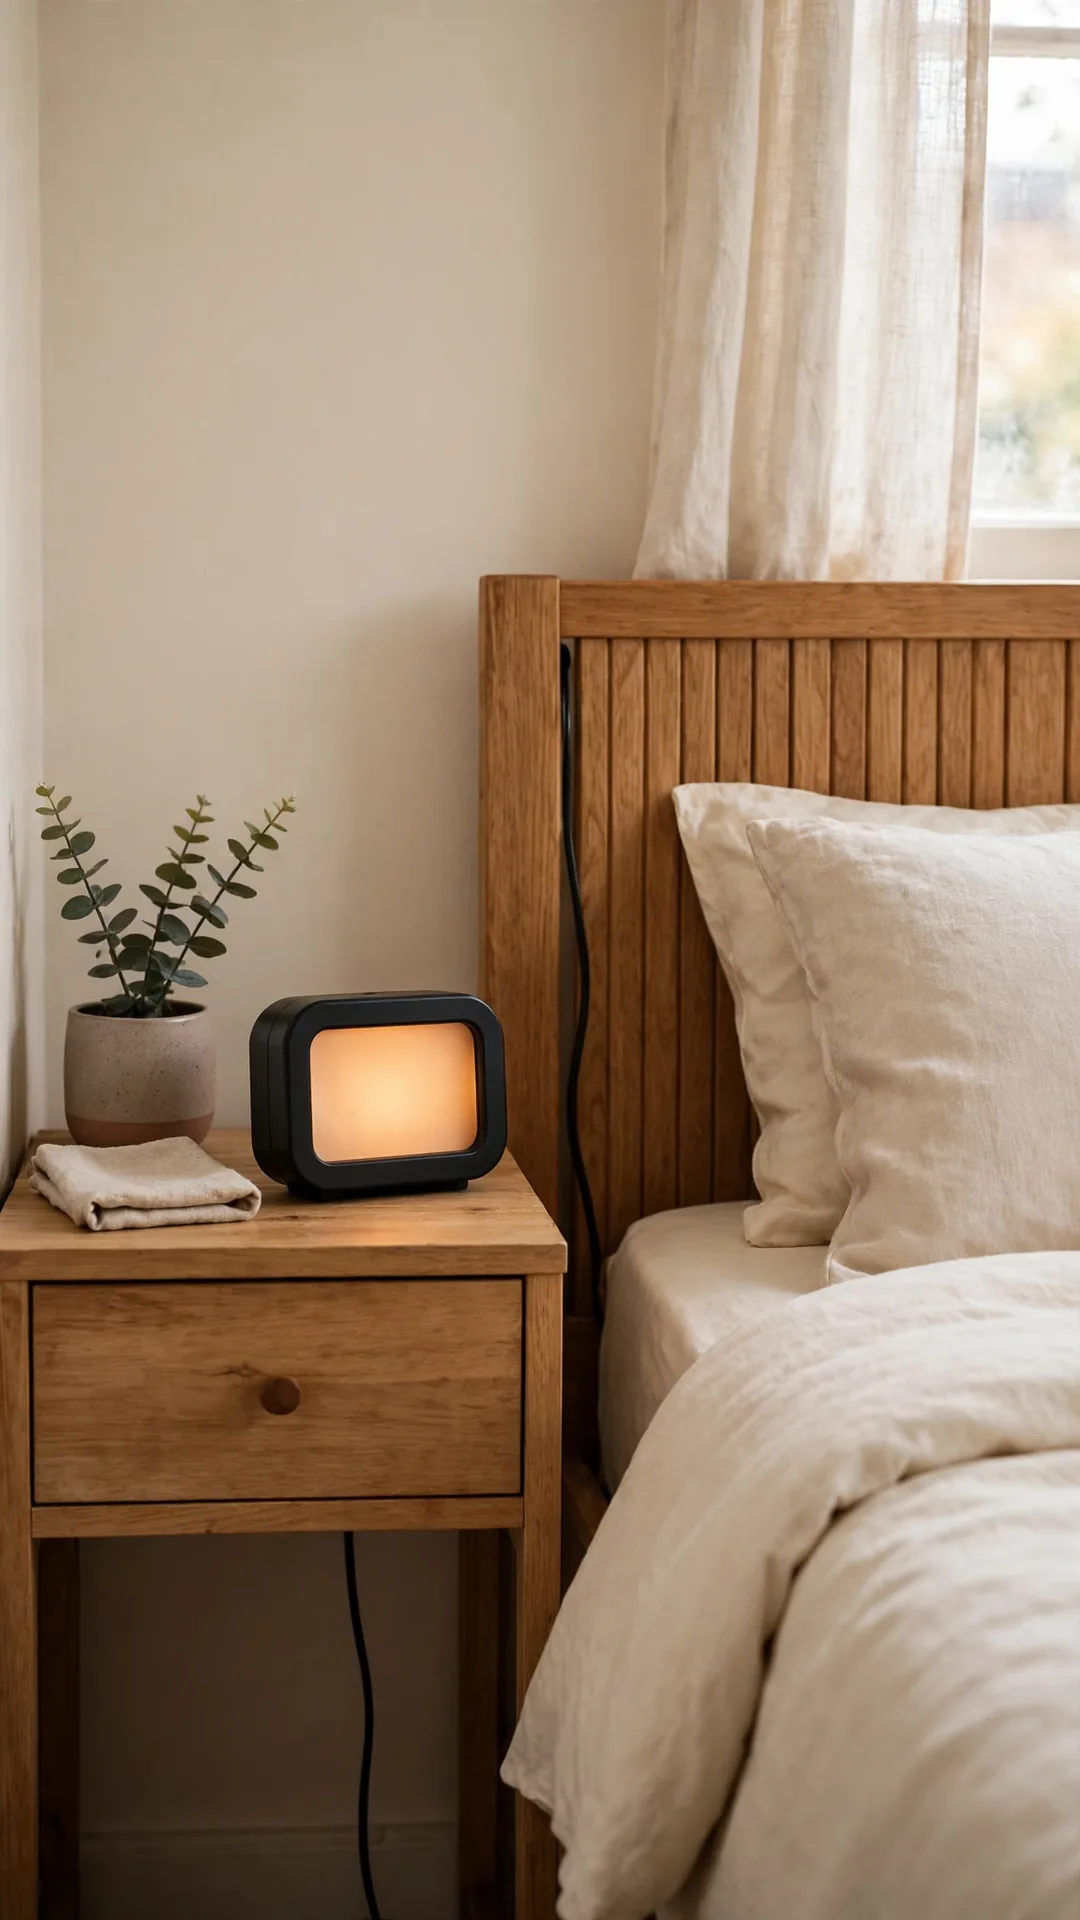
An alarm clock cord looks best when it drops straight down. Slide it behind the headboard and it leaves the nightstand clean. The clock face becomes the only thing you see.
How to do it:
- Pull the bed about 4 inches from the wall.
- Drop the clock cord straight down behind the headboard.
- Plug it into the lowest free outlet there.
- Clip the cord once to the headboard back leg.
- Push the bed back with the cord kept loose.
Best for: Small bedrooms with one bedside outlet.
Budget: Free
Quick tip: Never pinch the cord between bed frame and wall.
34. Hang a Bedside Caddy for Night Chargers
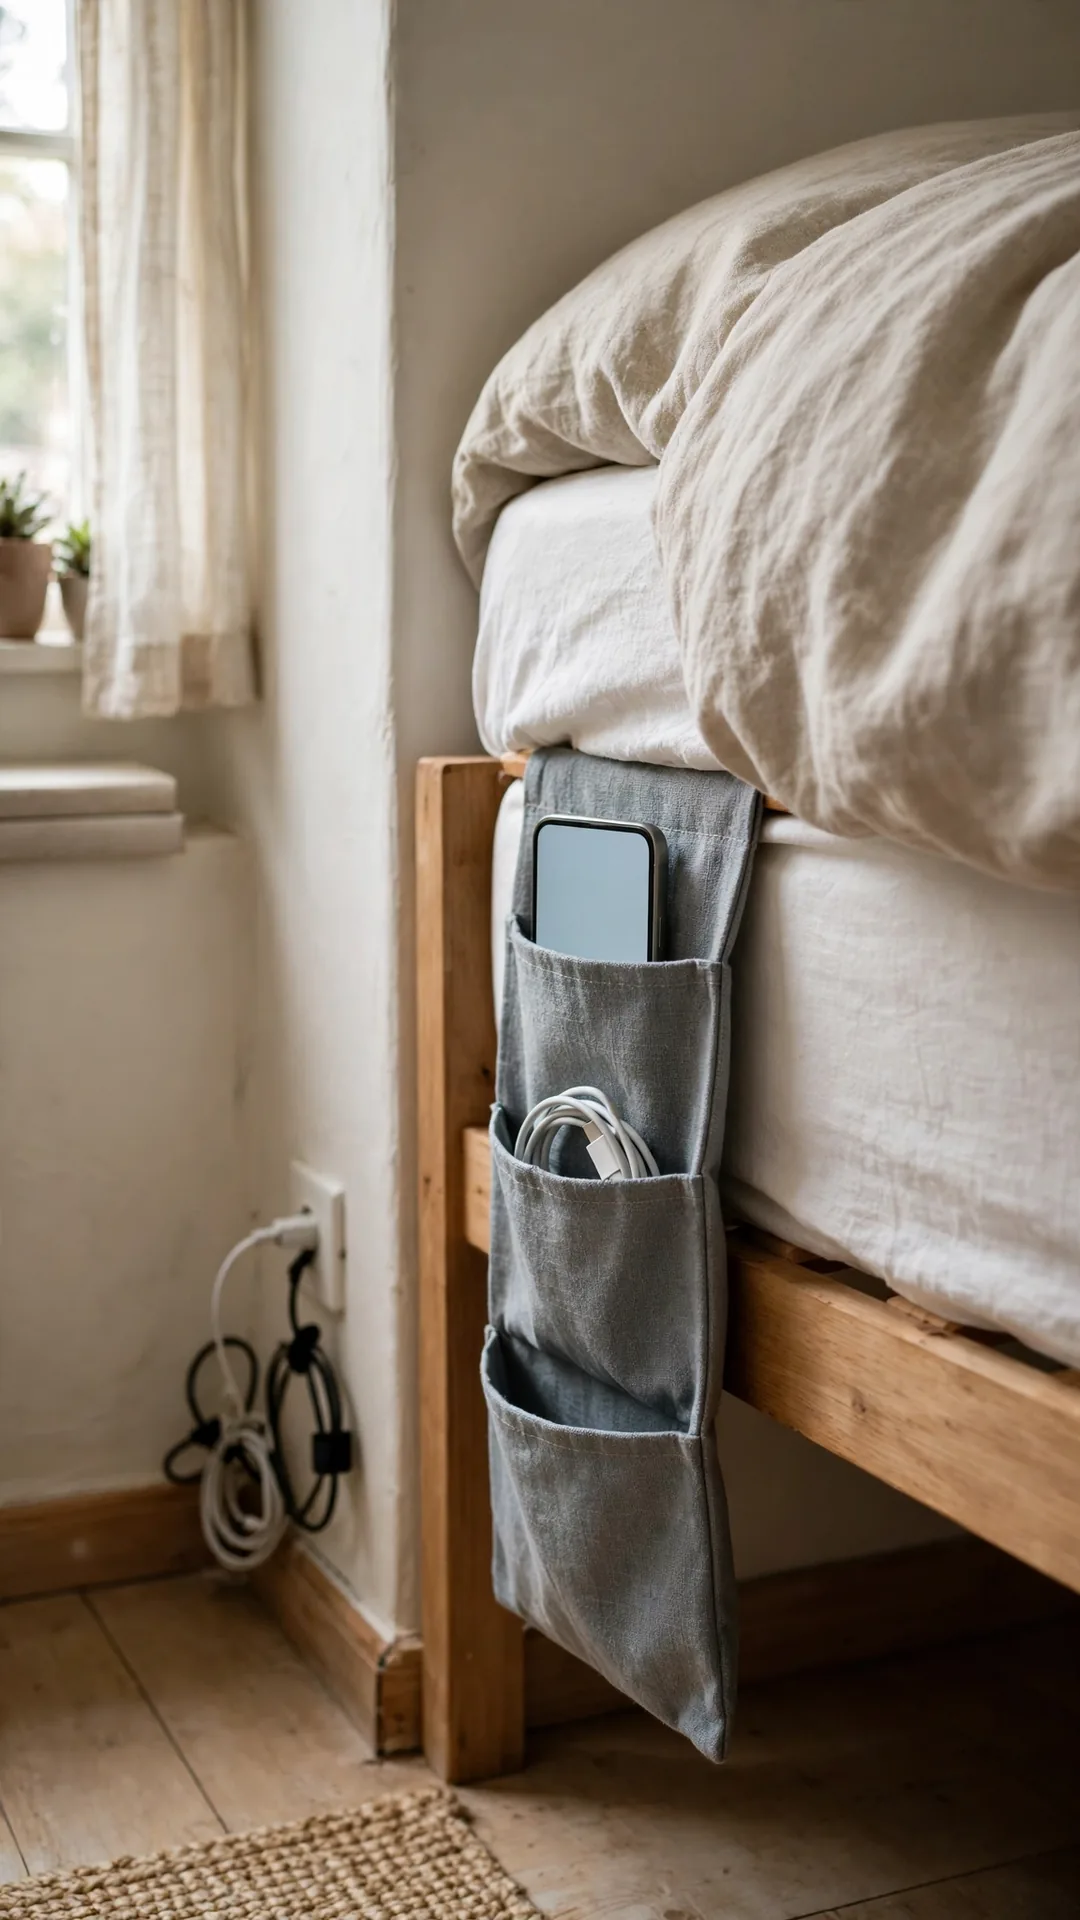
Handy cord organization ideas for small spaces help rooms with no nightstand. A fabric caddy hangs from the mattress edge and holds your phone. Its cord runs down inside the caddy pocket, hidden.
How to do it:
- Slide the caddy flap flat under the mattress.
- Hang it on the side you use most.
- Drop the phone and cord into the wide pocket.
- Run the cord down behind the caddy to the outlet.
- Keep heavy power bricks out of the pockets.
Best for: Dorms, guest beds and tiny bedrooms.
Budget: $12 to $22
Quick tip: Pick a caddy with two pockets to split phone and book.
35. Charge Phones Inside a Lidded Dresser Box

A lidded box on the dresser turns charging into decor. Phones rest on top while cords hide inside the box. The dresser top looks calm again by morning.
How to do it:
- Choose a box about 10 inches long with a back slot.
- Set a small hub or strip inside the box.
- Feed each phone cord out through the top edge.
- Rest phones flat on the closed lid to charge.
- Keep the box away from perfume and water cups.
Best for: Dressers that double as charging spots.
Budget: $15 to $30
Quick tip: Felt pads under phones stop them sliding on the lid.
36. Clip a Reading Lamp Cord to the Shelf

A shelf lamp cord usually dangles right across your books. Clips along the shelf underside give it a straight hidden path. The cord then drops once, neatly, at the wall edge.
How to do it:
- Set the lamp near the back of the shelf.
- Clip the cord along the underside every 8 inches.
- Drop the cord down the wall at the shelf end.
- Use clips that match the shelf color below.
- Leave slack so the lamp head still tilts freely.
Best for: Reading nooks and shelf heavy bedrooms.
Budget: $5 to $10
Quick tip: Run the cord behind books for the first few inches.
37. Share One Strip Between Two Nightstands
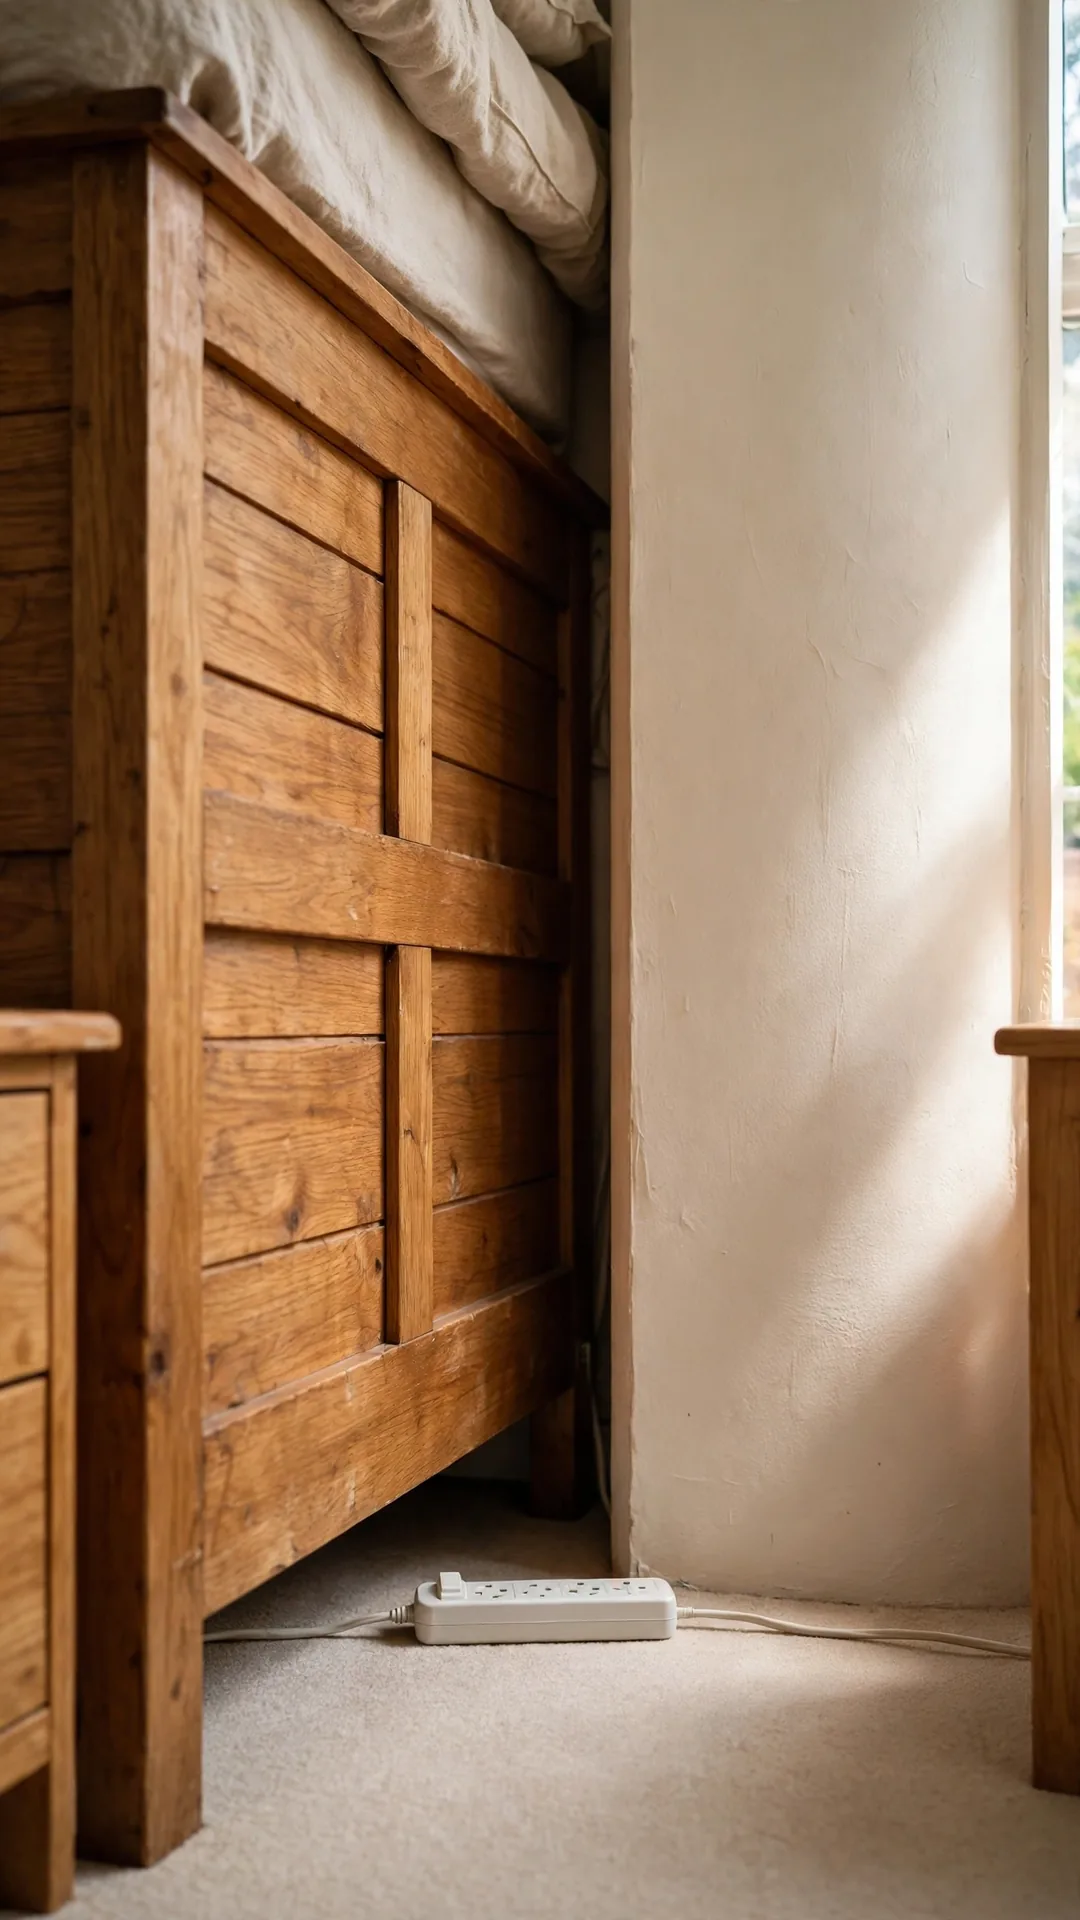
Clever cord organization ideas for small spaces share one strip between two sides. One strip behind the bed feeds both nightstands at once. Each side gets a short cord and no floor tangle.
How to do it:
- Set one strip at the center behind the headboard.
- Run one short cord up to each nightstand.
- Clip each cord to its own nightstand back.
- Keep the strip switch within reach of one side.
- Never cover the strip with bedding or rugs.
Best for: Couples in small primary bedrooms.
Budget: $12 to $25
Quick tip: Label each side cord so swaps stay painless.
38. Keep Guest Chargers in a Drawer Pouch

Guests always forget chargers, and loose spares tangle fast. A soft pouch keeps two guest chargers coiled and ready. The drawer stays neat between visits too.
How to do it:
- Pick a pouch about 8 by 5 inches with a zip.
- Coil one phone lead and one tablet lead inside.
- Add one spare wall plug in the side pocket.
- Lay the pouch flat at the front of the drawer.
- Wash or shake out the pouch between guest stays.
Best for: Guest rooms and sofa bed setups.
Budget: $6 to $14
Quick tip: A bright pouch color makes it easy for guests to spot.
39. Stick Appliance Cords Under the Cabinets
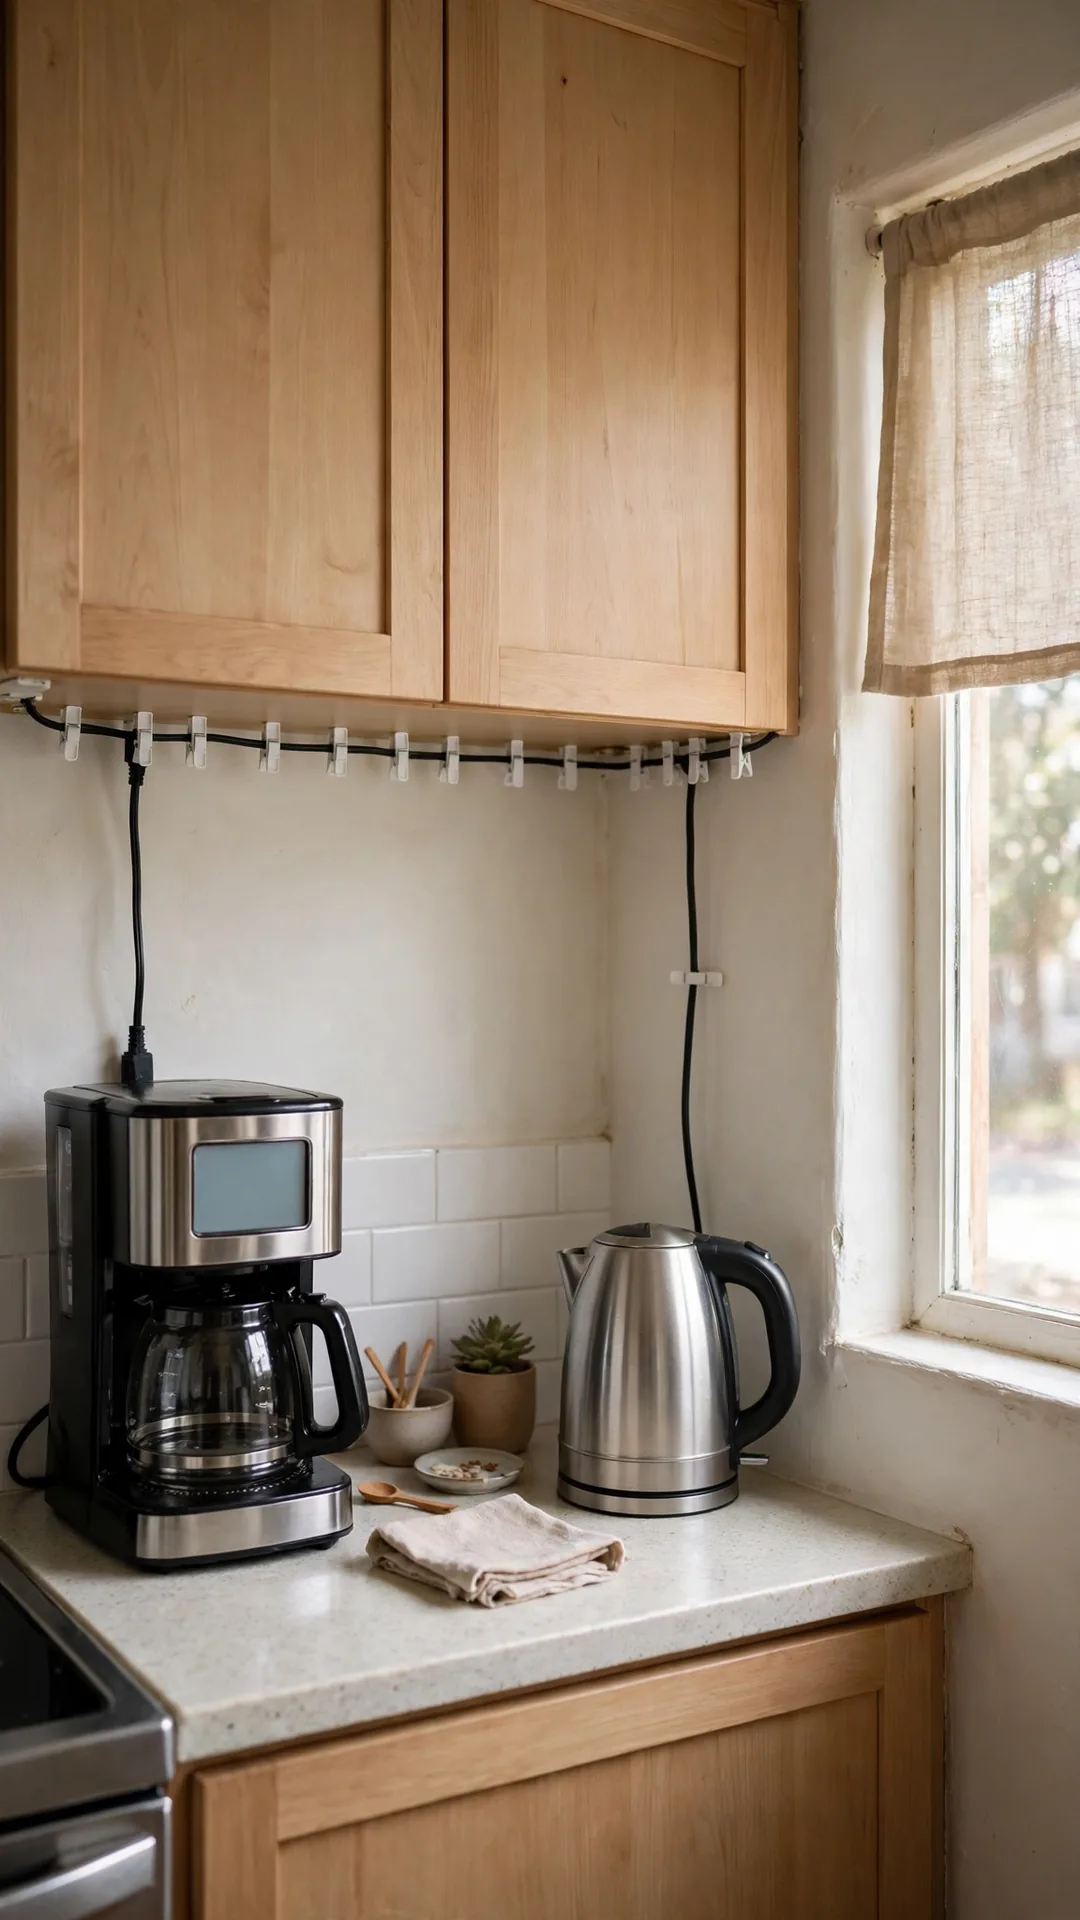
Counter cords droop into sinks and across work space. Adhesive clips under the wall cabinets hold each cord up and back. Your counters stay clear for actual cooking.
How to do it:
- Wipe the cabinet underside so pads grip well.
- Stick two clips per appliance cord run.
- Press the cord in with the plug end near the outlet.
- Keep cords clear of steam paths from kettles.
- Leave enough slack to pull appliances forward safely.
Best for: Small kitchens with few counter outlets.
Budget: $5 to $12
Quick tip: White clips vanish under most light colored cabinets.
40. Wind Mixer Cords Around the Rear Hooks

Many mixers hide cord hooks at the back. Neat cord organization ideas for small spaces use built-in help like this. Wind the cord there and the counter run disappears.
How to do it:
- Unplug the mixer before you start winding.
- Loop the cord around the rear hooks in wide turns.
- Keep the plug clipped at the top hook end.
- Push the mixer back until it nearly touches the wall.
- Unwind only the length you need for each use.
Best for: Bakers in compact kitchens.
Budget: Free
Quick tip: Check other appliances too, since many hide similar hooks.
41. Charge Devices Inside a Small Counter Box
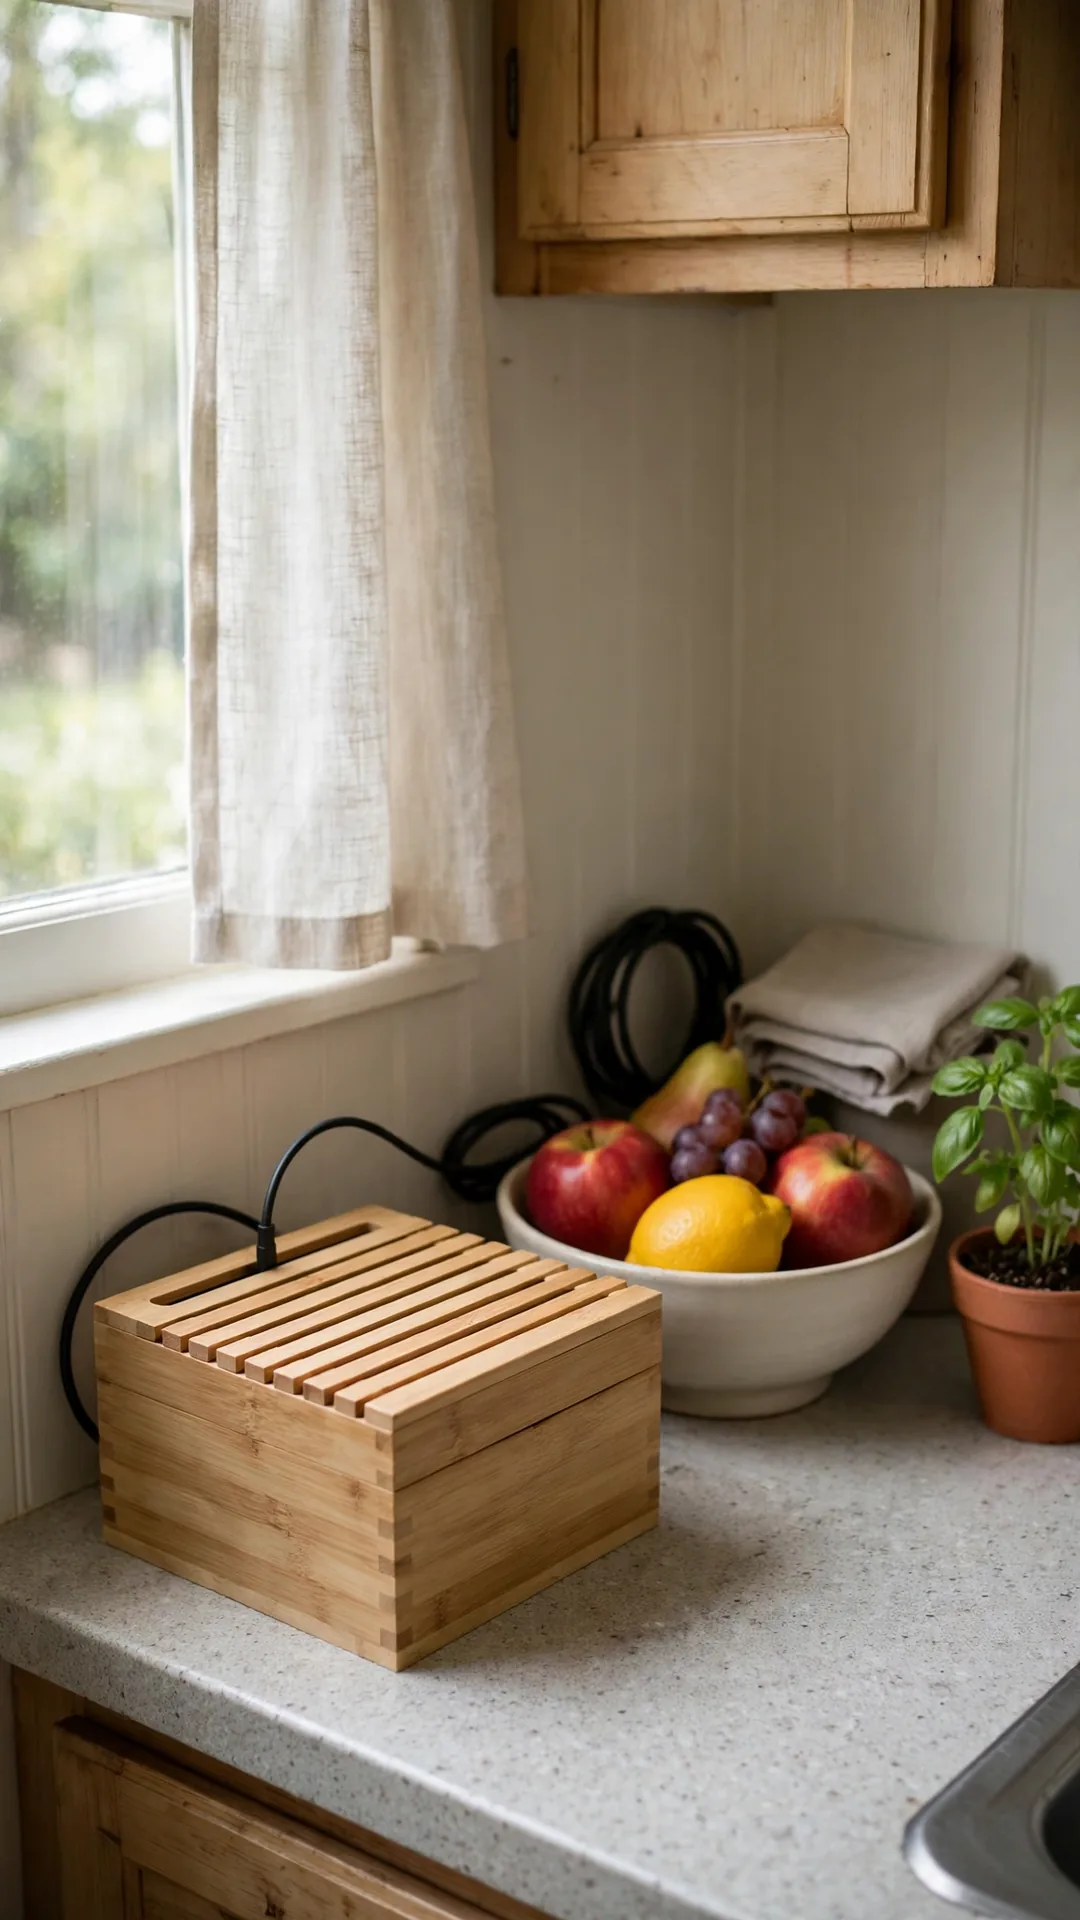
Kitchen charging turns counters into cord piles fast. A small bamboo box hides the hub while devices rest on top. The box wipes clean if cooking splashes land nearby.
How to do it:
- Set the box near the outlet, away from the sink.
- Place a small hub inside with short leads.
- Feed leads out through the back opening only.
- Rest one tablet or phone on the lid at a time.
- Keep the box at least 12 inches from the stove.
Best for: Kitchens where recipes live on tablets.
Budget: $15 to $28
Quick tip: Bamboo and wood boxes blend with most kitchen tools.
42. Turn One Cabinet Into a Charging Cabinet

One cabinet can swallow the whole family charging pile. A strip on a shelf powers devices behind a closed door. Counter space comes back for food prep instead.
How to do it:
- Pick a cabinet near an outlet with a back gap.
- Set a slim strip on the lowest shelf.
- Feed its cord out at the back bottom corner.
- Stand devices upright with short leads inside.
- Leave the door open while many devices charge.
Best for: Busy family kitchens with daily charging.
Budget: $15 to $30
Quick tip: A shelf liner stops devices sliding when doors close.
43. Shorten Counter Leads With Cord Winders

Stick-on winders give kettle and toaster leads a home. Small cord organization ideas for small spaces like this cost very little. Wind the spare length once and the counter run shrinks.
How to do it:
- Stick one round winder on the back of each appliance.
- Wind the spare cord around it in loose loops.
- Leave about 12 inches of cord free to the plug.
- Keep winders clear of hot appliance sides.
- Unwind fully before any deep clean of the counter.
Best for: Daily appliances that never move far.
Budget: $6 to $12
Quick tip: Bobbin style winders also work for hair tool cords.
44. Hang a Narrow Charging Shelf by the Outlet
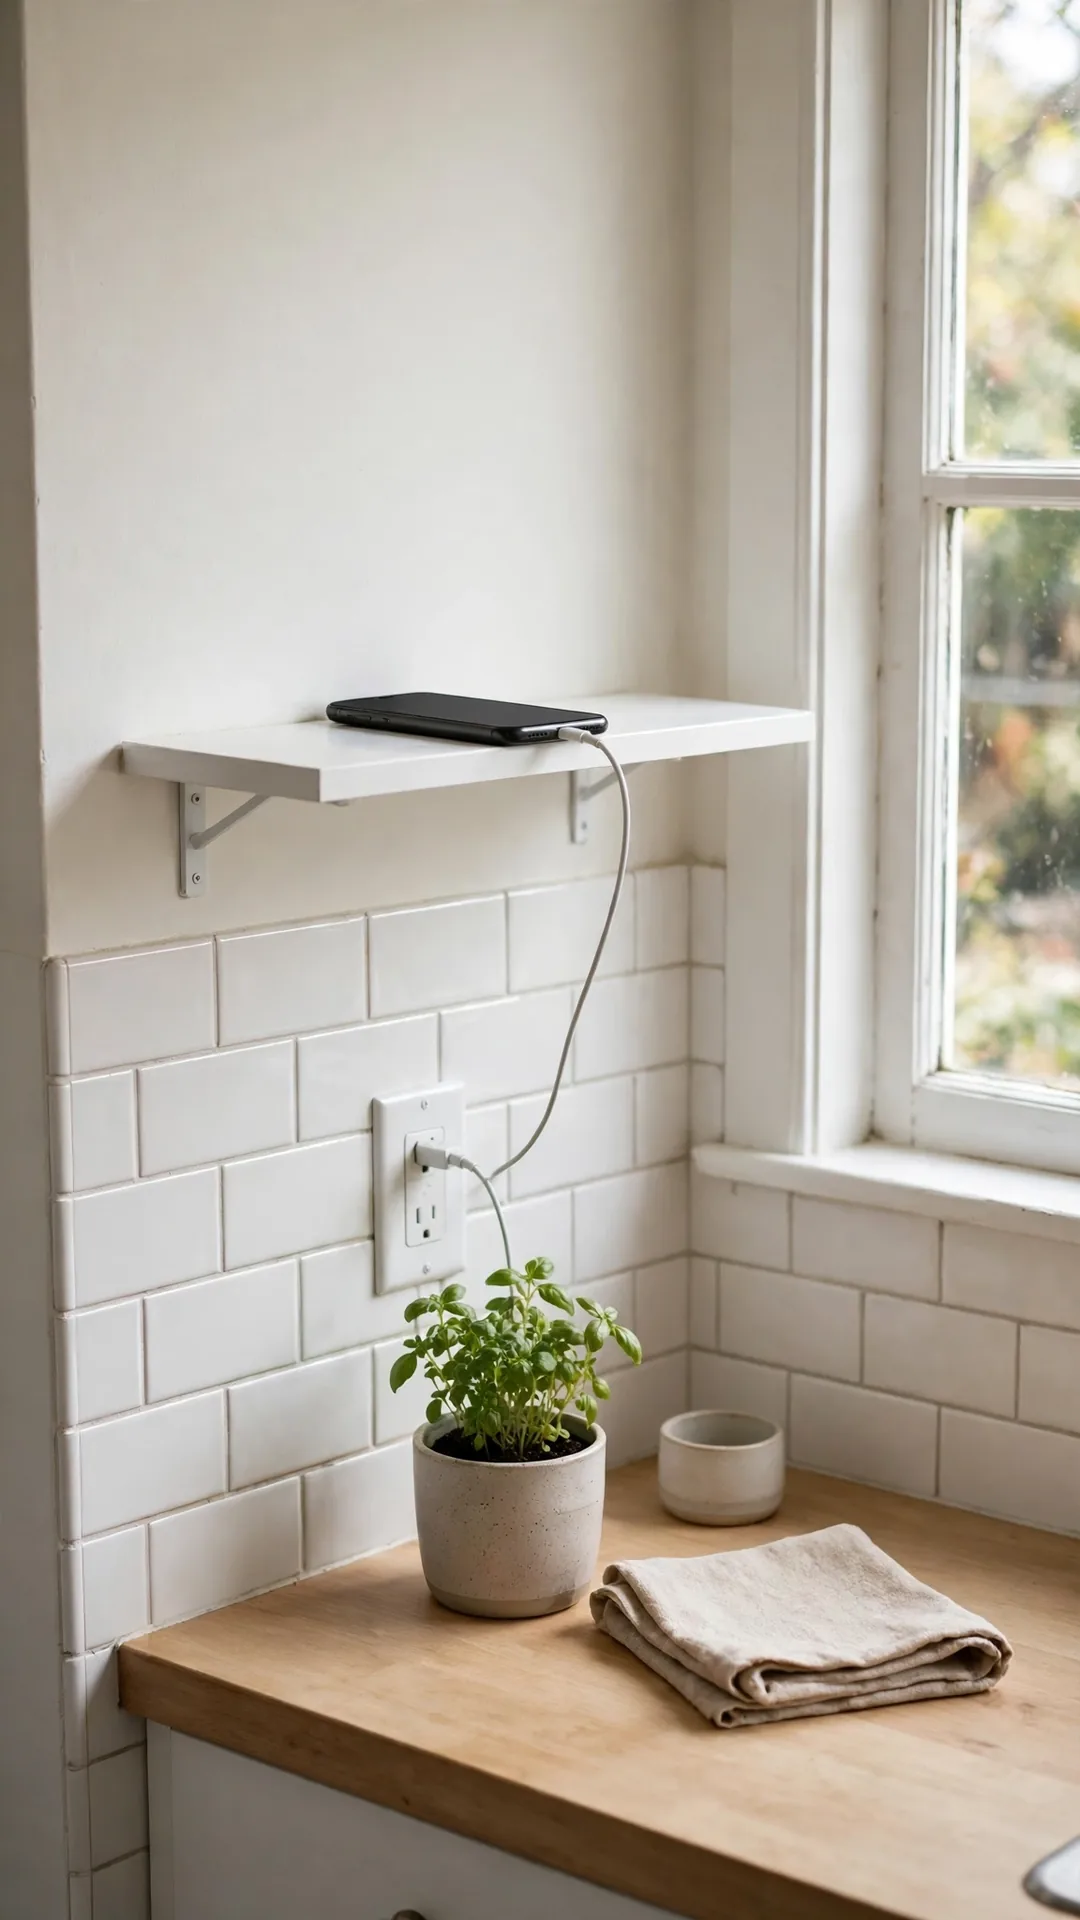
A narrow shelf beside the outlet gives phones a safe parking spot. The phone stays off wet counters and away from knives. Its cord drops just a few inches, straight down.
How to do it:
- Mount a shelf about 8 inches wide beside the outlet.
- Keep it at least 6 inches from any sink edge.
- Use a 1 foot charging lead for the short drop.
- Add a small lip or rail at the shelf front.
- Wipe the shelf weekly, since kitchen dust is sticky.
Best for: Recipe phones and small kitchen screens.
Budget: $12 to $24
Quick tip: A shelf with a cord slot keeps the lead centered.
45. Roll Spare Cords Inside Cardboard Tubes

Cardboard tubes turn one junk box into a sorted cord file. Each spare cord gets its own tube and stays untangled. The trick pairs well with broader small apartment storage ideas that save space.
How to do it:
- Save tubes about 4 inches long from paper rolls.
- Coil each spare cord to fit inside one tube.
- Stand the filled tubes upright in a shoe box.
- Write the device name on each tube in pencil.
- Keep the box in a dry closet or drawer.
Best for: Renters with a growing spare cord pile.
Budget: Free
Quick tip: One tube per cord, never two, or tangles return.
46. File Spare Cords in Clear Zip Pouches

Clear pouches let you see every spare cord at a glance. They make strong cord organization ideas for small spaces with deep drawers. Each pouch holds one cord, its plug and nothing else.
How to do it:
- Use pouches about 7 by 5 inches with firm zips.
- Coil one cord and its plug inside each pouch.
- Stand pouches upright in a shallow drawer like files.
- Group pouches by room or by device type.
- Add a blank label card inside the front pouch face.
Best for: Craft rooms, offices and family tech drawers.
Budget: $8 to $15
Quick tip: Freeze the pouch order by room so family can help.
47. Hang Spare Leads Inside the Closet Door

The inside of a closet door is free vertical storage. Hooks there hold spare leads in plain sight and off shelves. It suits the same thinking behind closet organization ideas for a small space.
How to do it:
- Stick or screw four hooks in a row on the door inside.
- Hang one coiled lead per hook, strapped once.
- Keep the heaviest leads on the lowest hooks.
- Leave clear space so the door still closes fully.
- Check the hooks monthly, since doors swing daily.
Best for: Hall closets and bedroom wardrobes.
Budget: $6 to $14
Quick tip: Clear hooks keep the door looking calm when open.
48. Pack Travel Cords in One Hard Case

One hard case ends the charger hunt before every trip. Elastic loops hold each cord and plug in its own spot. Between trips the case can live inside your suitcase, as these luggage storage ideas for small apartments show.
How to do it:
- Pick a hard case about 9 by 6 inches.
- Loop each travel cord under its own elastic strap.
- Keep wall plugs in the zip mesh pocket.
- Add one spare lead for the trip home.
- Store the packed case in the same place every time.
Best for: Frequent travelers in small homes.
Budget: $12 to $25
Quick tip: Leave the case packed between trips to save time.
49. Keep Earbuds Coiled Inside a Small Tin
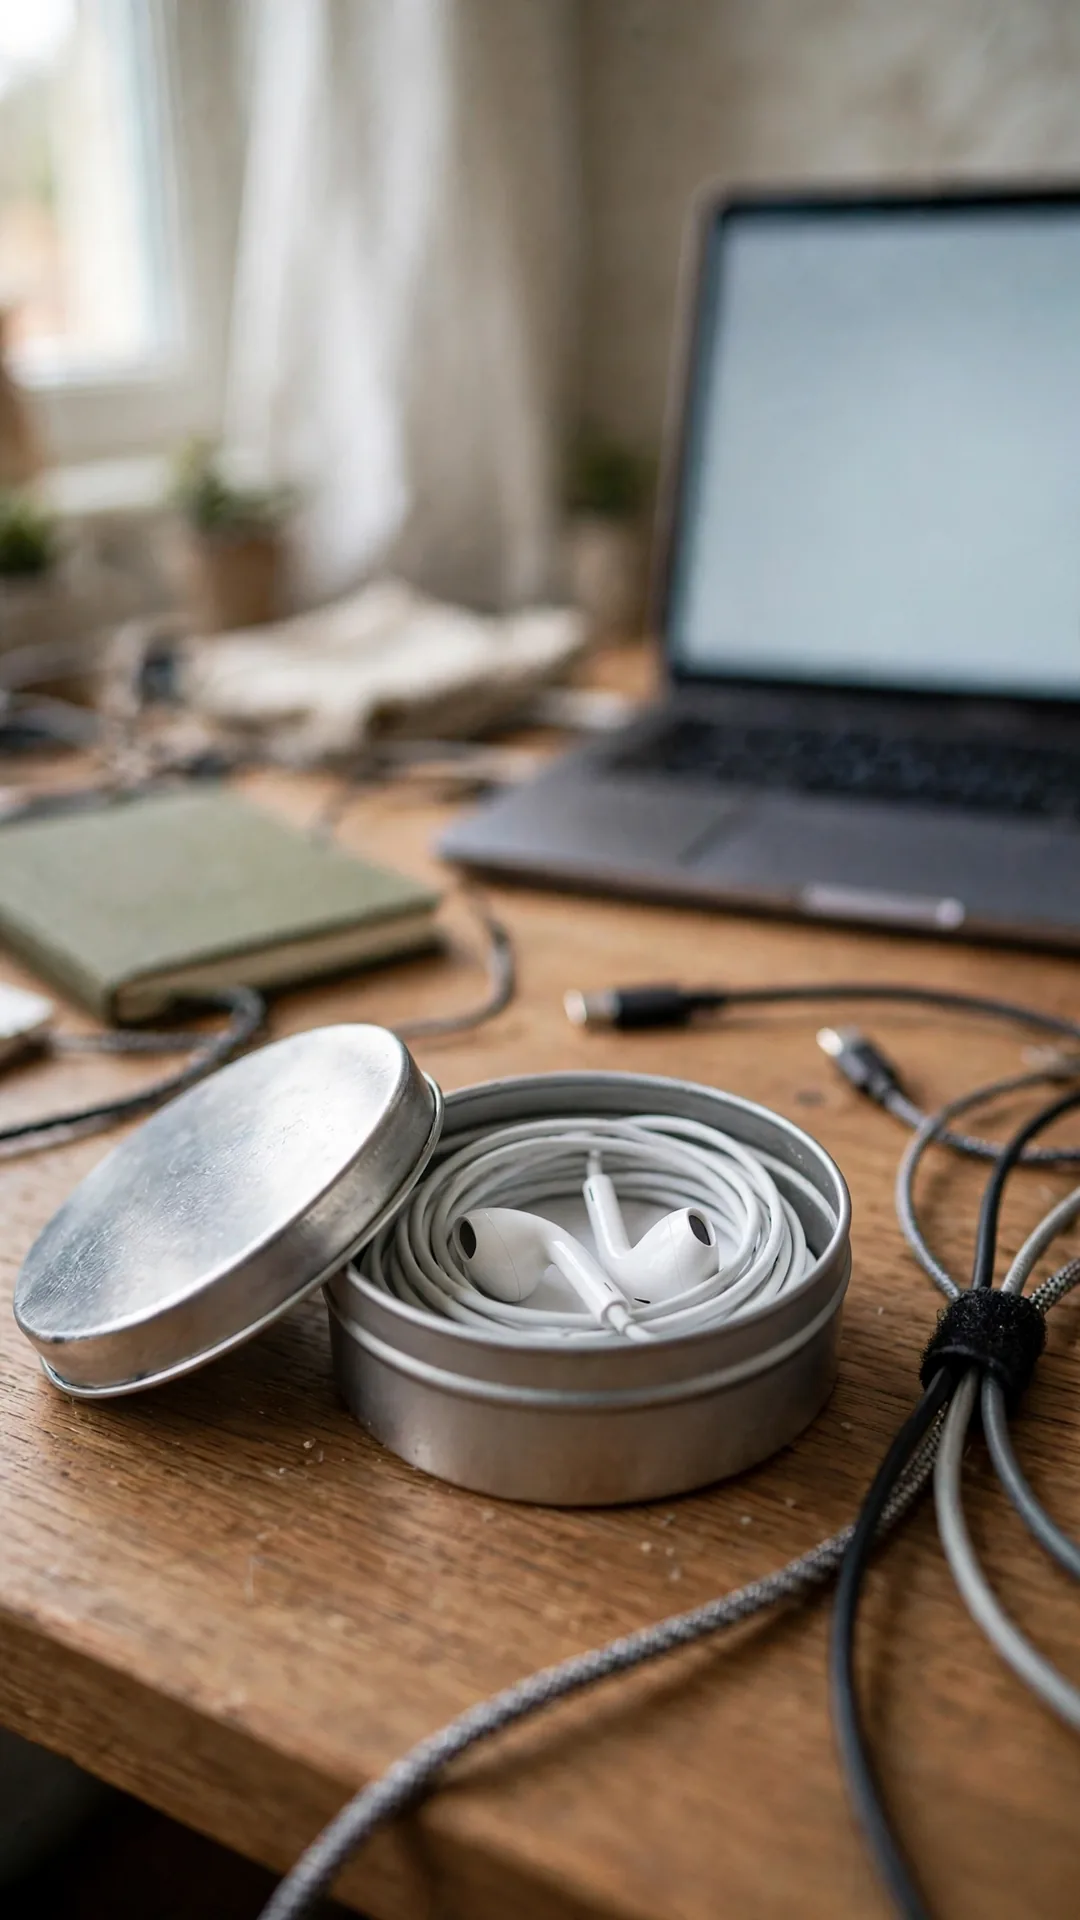
Earbud cords knot in every bag and pocket they meet. A small tin gives them a hard, safe home. The lid keeps the coil neat between uses.
How to do it:
- Pick a clean tin about 3 inches wide.
- Coil the earbuds loosely around two fingers.
- Lay the coil flat inside the tin base.
- Rest the earbuds on top of the coil.
- Keep the tin in one fixed bag pocket.
Best for: Daily commuters and gym bags.
Budget: Under $5
Quick tip: A mint tin works well and costs almost nothing.
50. Keep One Small Box for Dead Cords
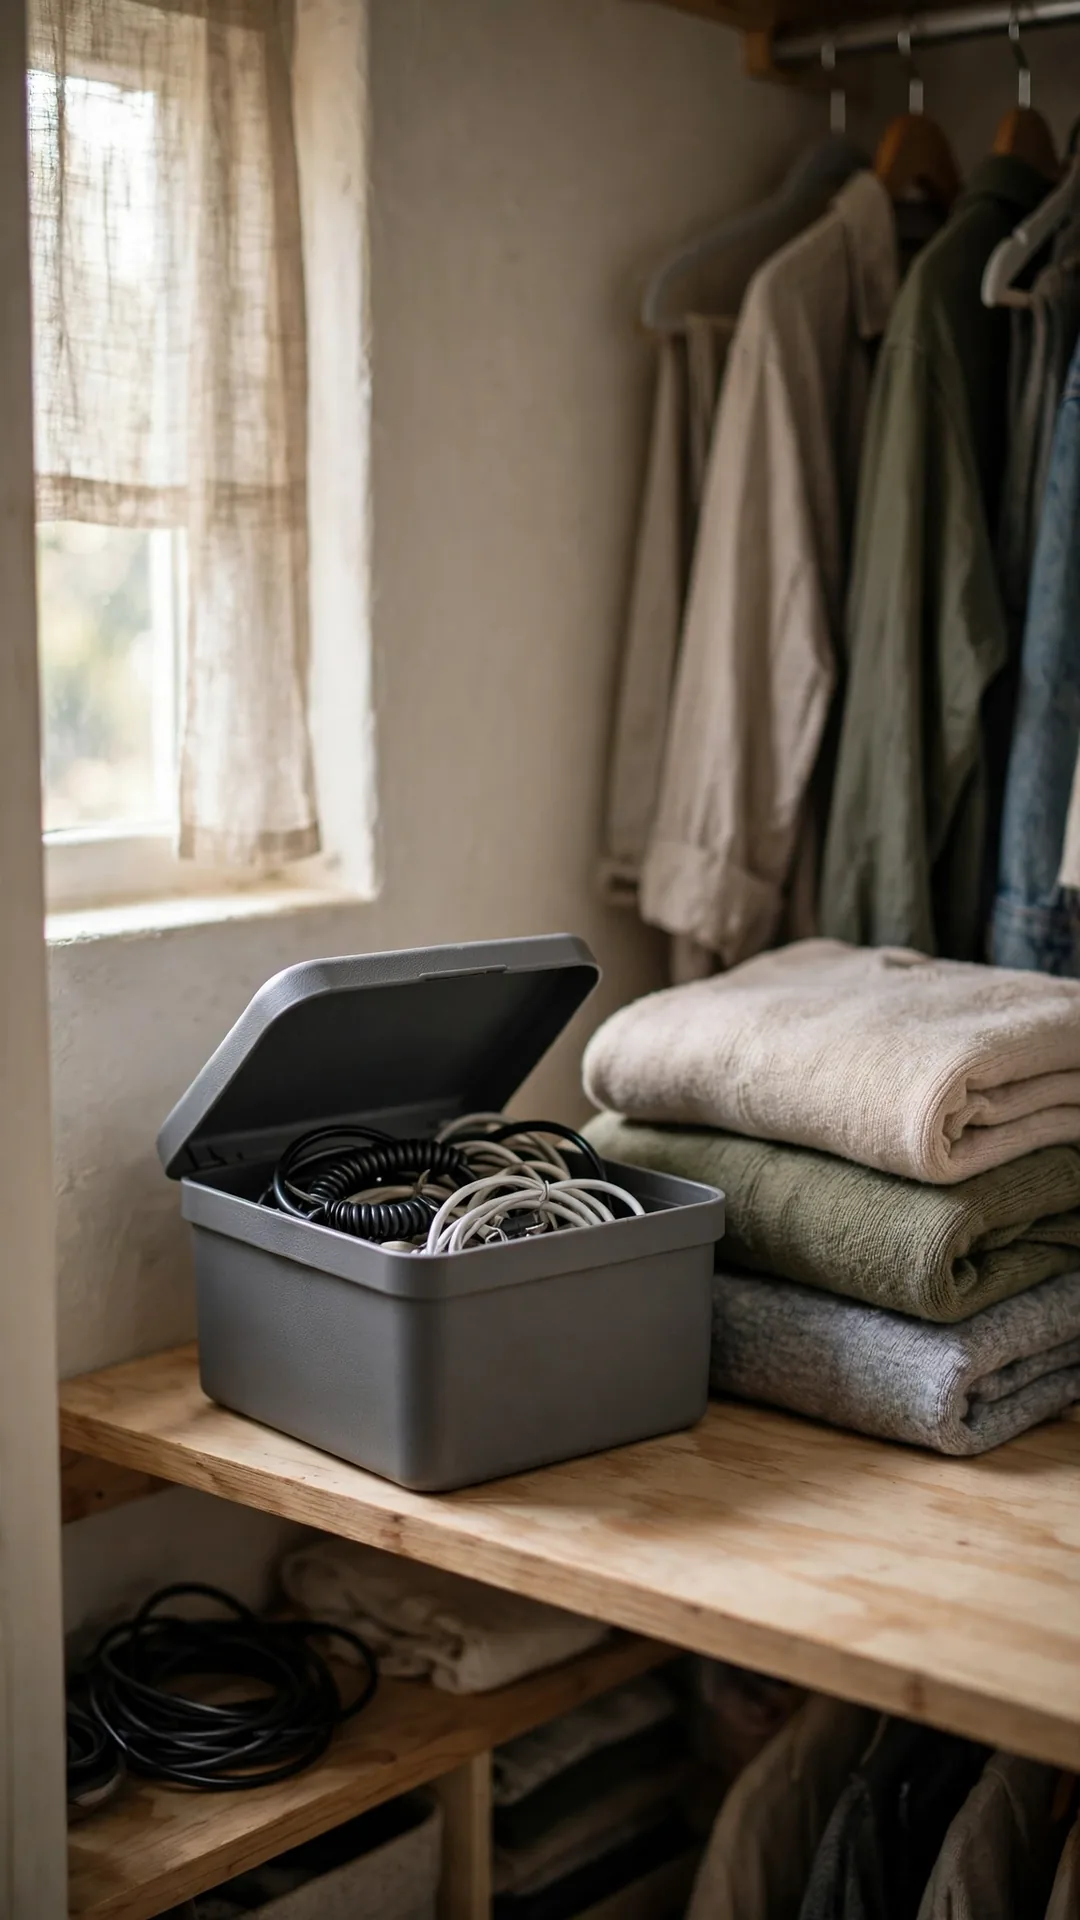
Old cords pile up because nobody wants to toss the wrong one. Honest cord organization ideas for small spaces include a clear exit plan. Test each spare, then drop dead ones in one small box.
How to do it:
- Set one lidded box about 10 inches long on a shelf.
- Test every doubtful cord against a working device.
- Coil dead cords loosely before dropping them in.
- Keep working spares in your main storage instead.
- Empty the box at a recycling point when full.
Best for: Anyone with a decade of mystery cords.
Budget: Free
Quick tip: Cut suspect charger cords so nobody reuses a frayed one.
51. Cover Floor Crossings With a Low Profile Cover

Some cords must cross a walk path to reach an outlet. A low rubber cover keeps the run flat and trip safe. Feet and chair wheels roll over it without snagging.
How to do it:
- Measure the crossing and cut the cover to fit.
- Lay the cord inside the channel underneath.
- Press the cover flat so both edges sit flush.
- Keep the run as short and straight as you can.
- Check the edges weekly for curling or lifts.
Best for: Sofas floated in the middle of rooms.
Budget: $10 to $20
Quick tip: Pick a cover color close to your floor tone.
52. Clip Cords Along the Top of Baseboards
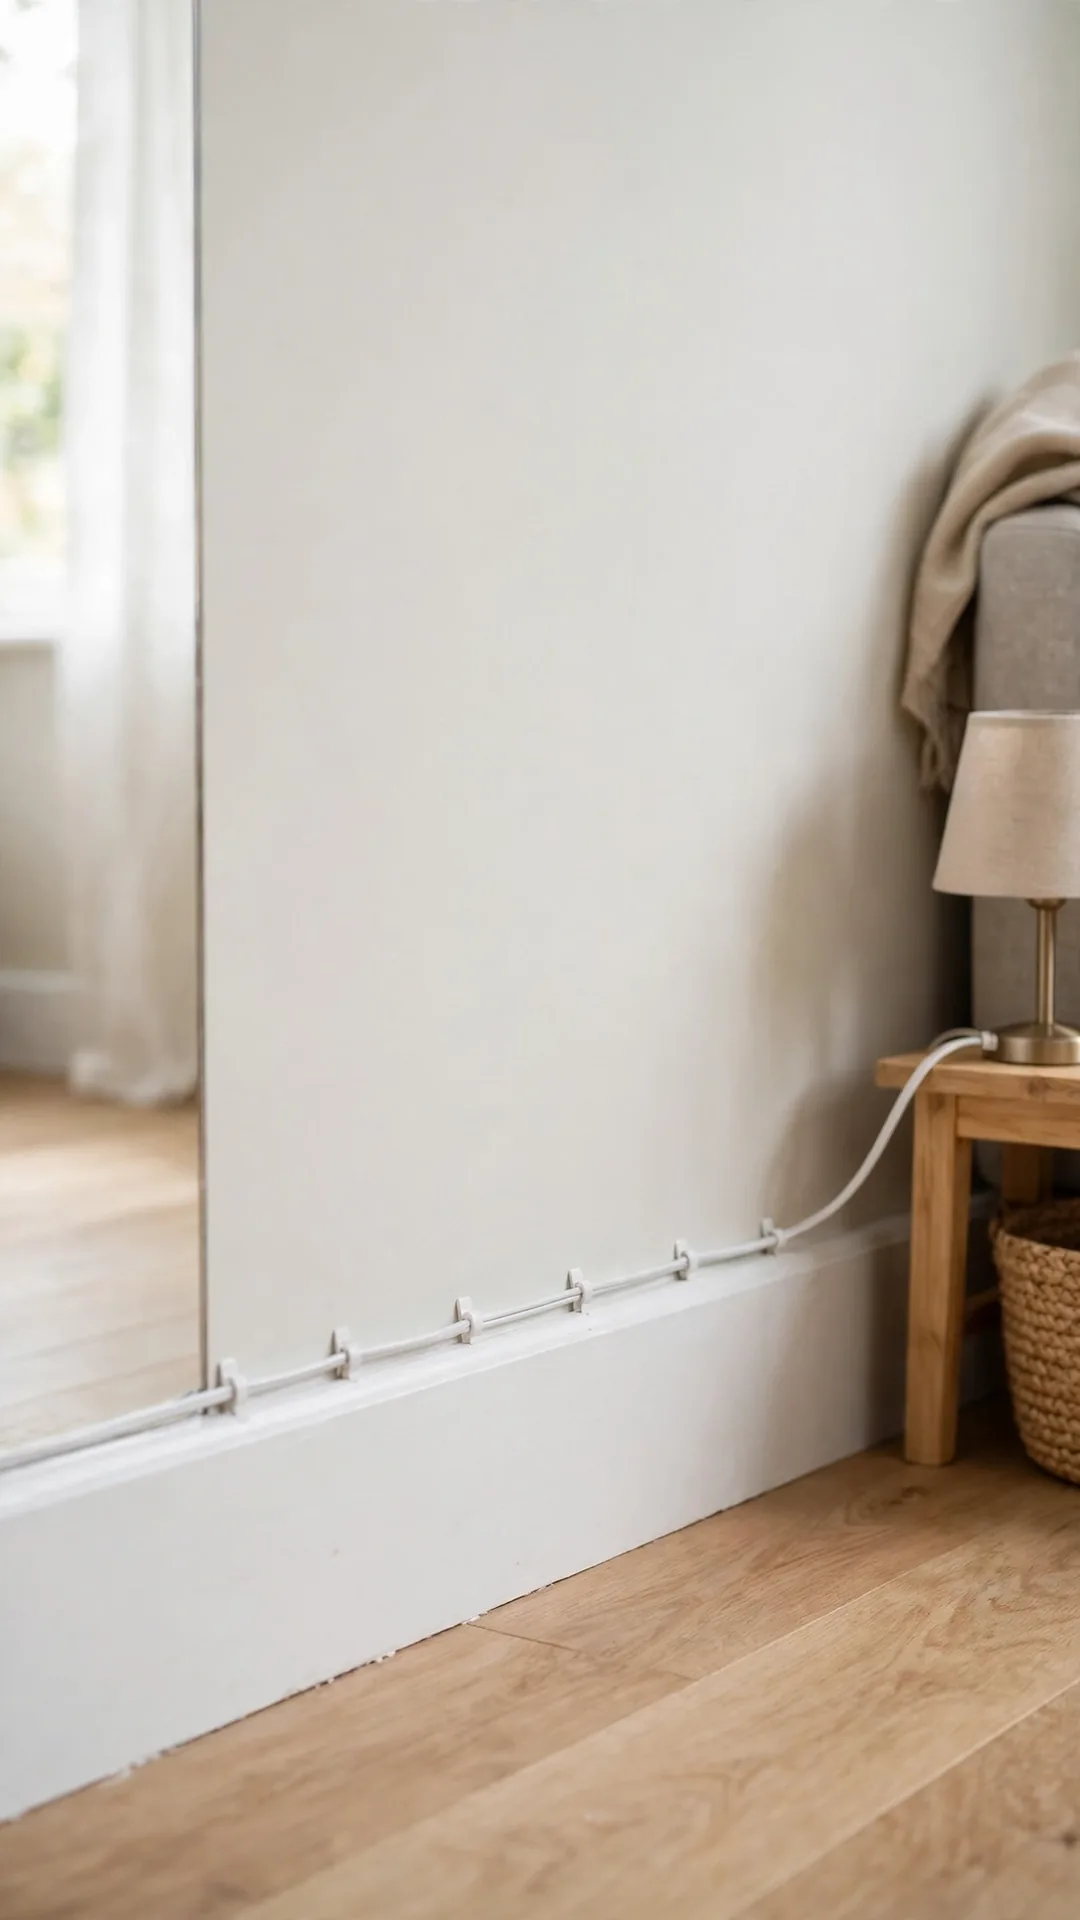
A cord along the baseboard top reads as part of the trim. Small white clips hold it in a straight, quiet line. The floor stays clear for mops and robot vacuums.
How to do it:
- Run the cord along the top edge of the baseboard.
- Clip it in place every 12 to 18 inches.
- Use white clips on white trim for a soft blend.
- Turn corners with two clips close together.
- Keep the line clear of heating vents and registers.
Best for: Long wall runs in living rooms and halls.
Budget: $6 to $12
Quick tip: Paint clips before fitting them for a perfect match.
53. Lift Sofa Cords Up With Adhesive Hooks
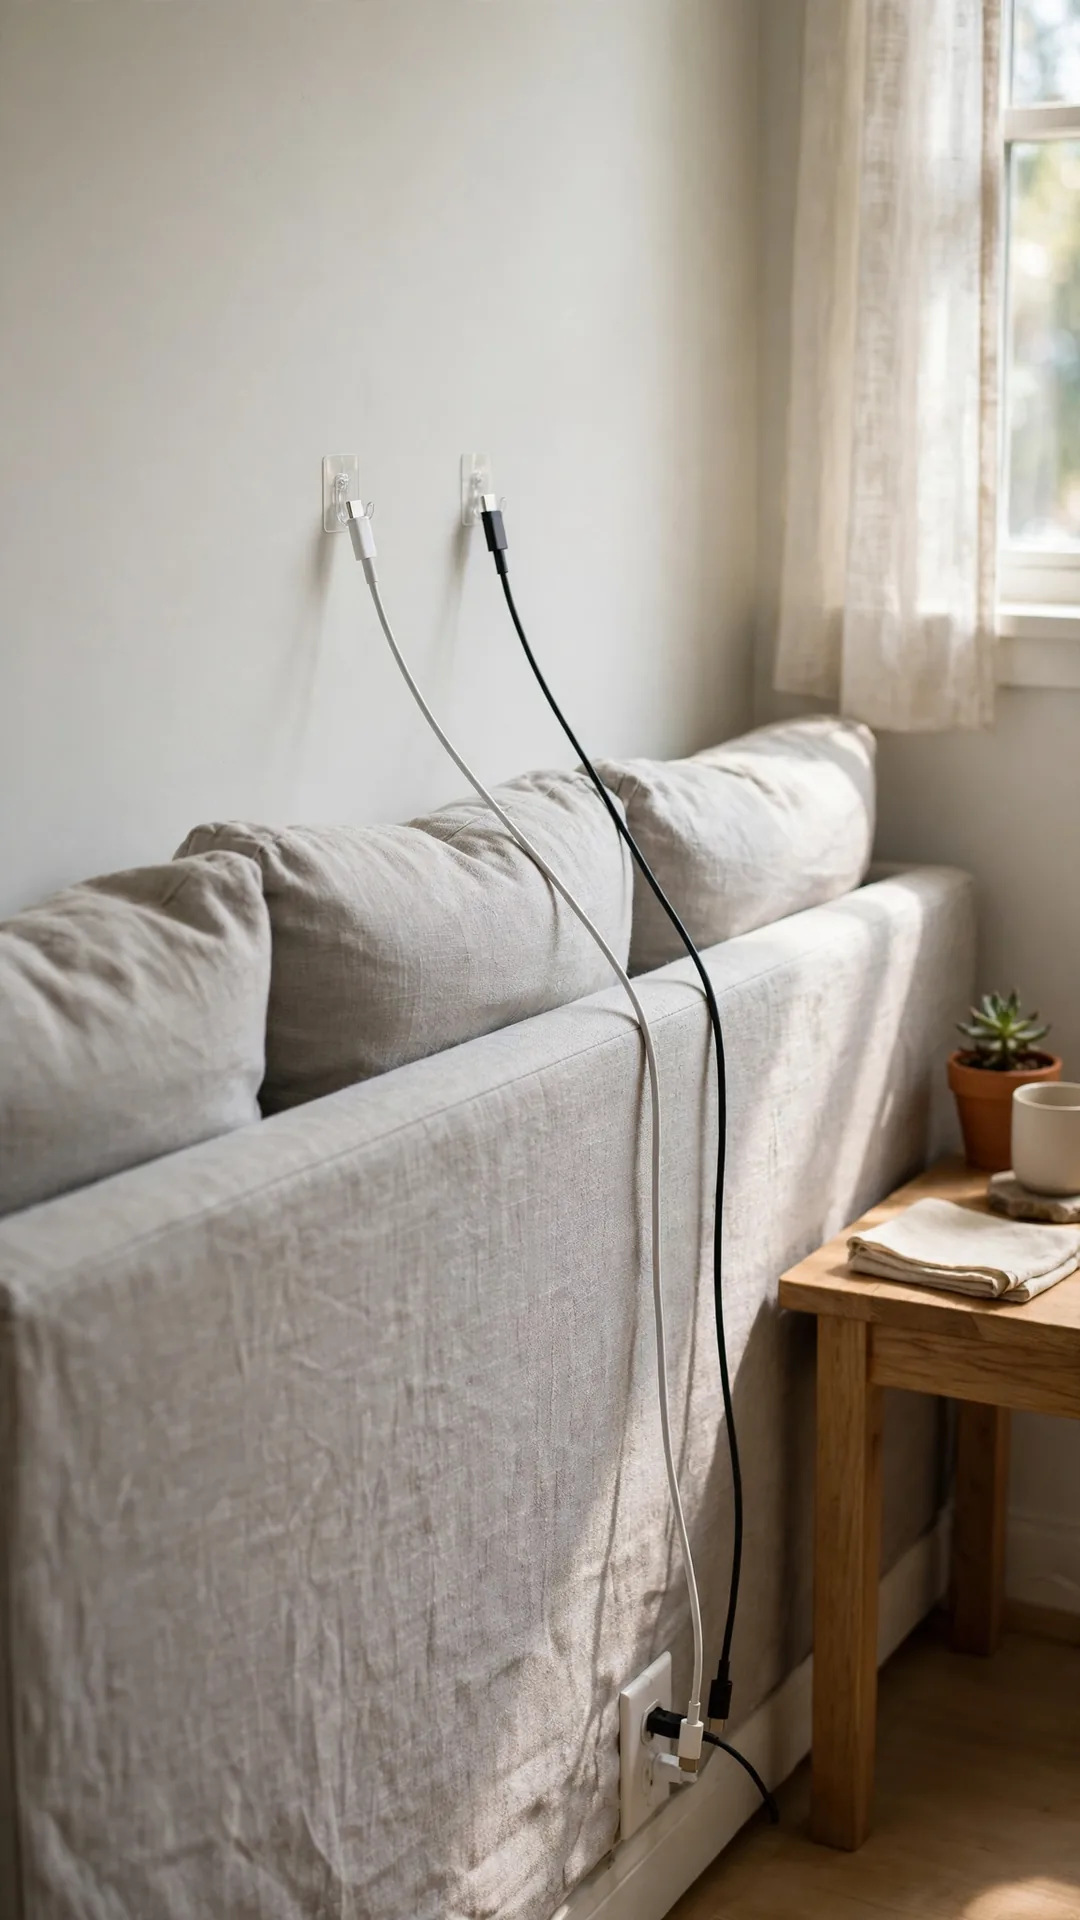
Floor cord nests behind sofas collect dust and look rough. Clear hooks on the wall lift the whole run off the floor. In homes with crawling babies, pair this habit with small nursery closet organization ideas.
How to do it:
- Stick three clear hooks behind the sofa at cord height.
- Rest the bundled cords across the hooks in a line.
- Keep plugs hanging at one end for easy reach.
- Leave slack so the bundle never pulls on plugs.
- Wipe the wall spots well before sticking hooks down.
Best for: Renters and homes with curious pets.
Budget: $5 to $10
Quick tip: Hooks rated for 2 pounds hold most cord bundles safely.
54. Run a Flat Cord Under a Washable Rug

Flat cords under rugs hide runs to floated furniture. Safe cord organization ideas for small spaces keep the cord truly flat. Use only cords made flat for floor use.
How to do it:
- Choose a cord sold as flat for under rug use.
- Run it straight, with no coils or overlaps.
- Keep the run away from the busiest foot traffic line.
- Use a rug with a firm, flat backing.
- Lift the rug monthly to check the cord condition.
Best for: Lamp runs to chairs away from walls.
Budget: $10 to $18
Quick tip: Never hide a normal round cord under any rug.
55. Add an Outlet Shelf for Wall Chargers
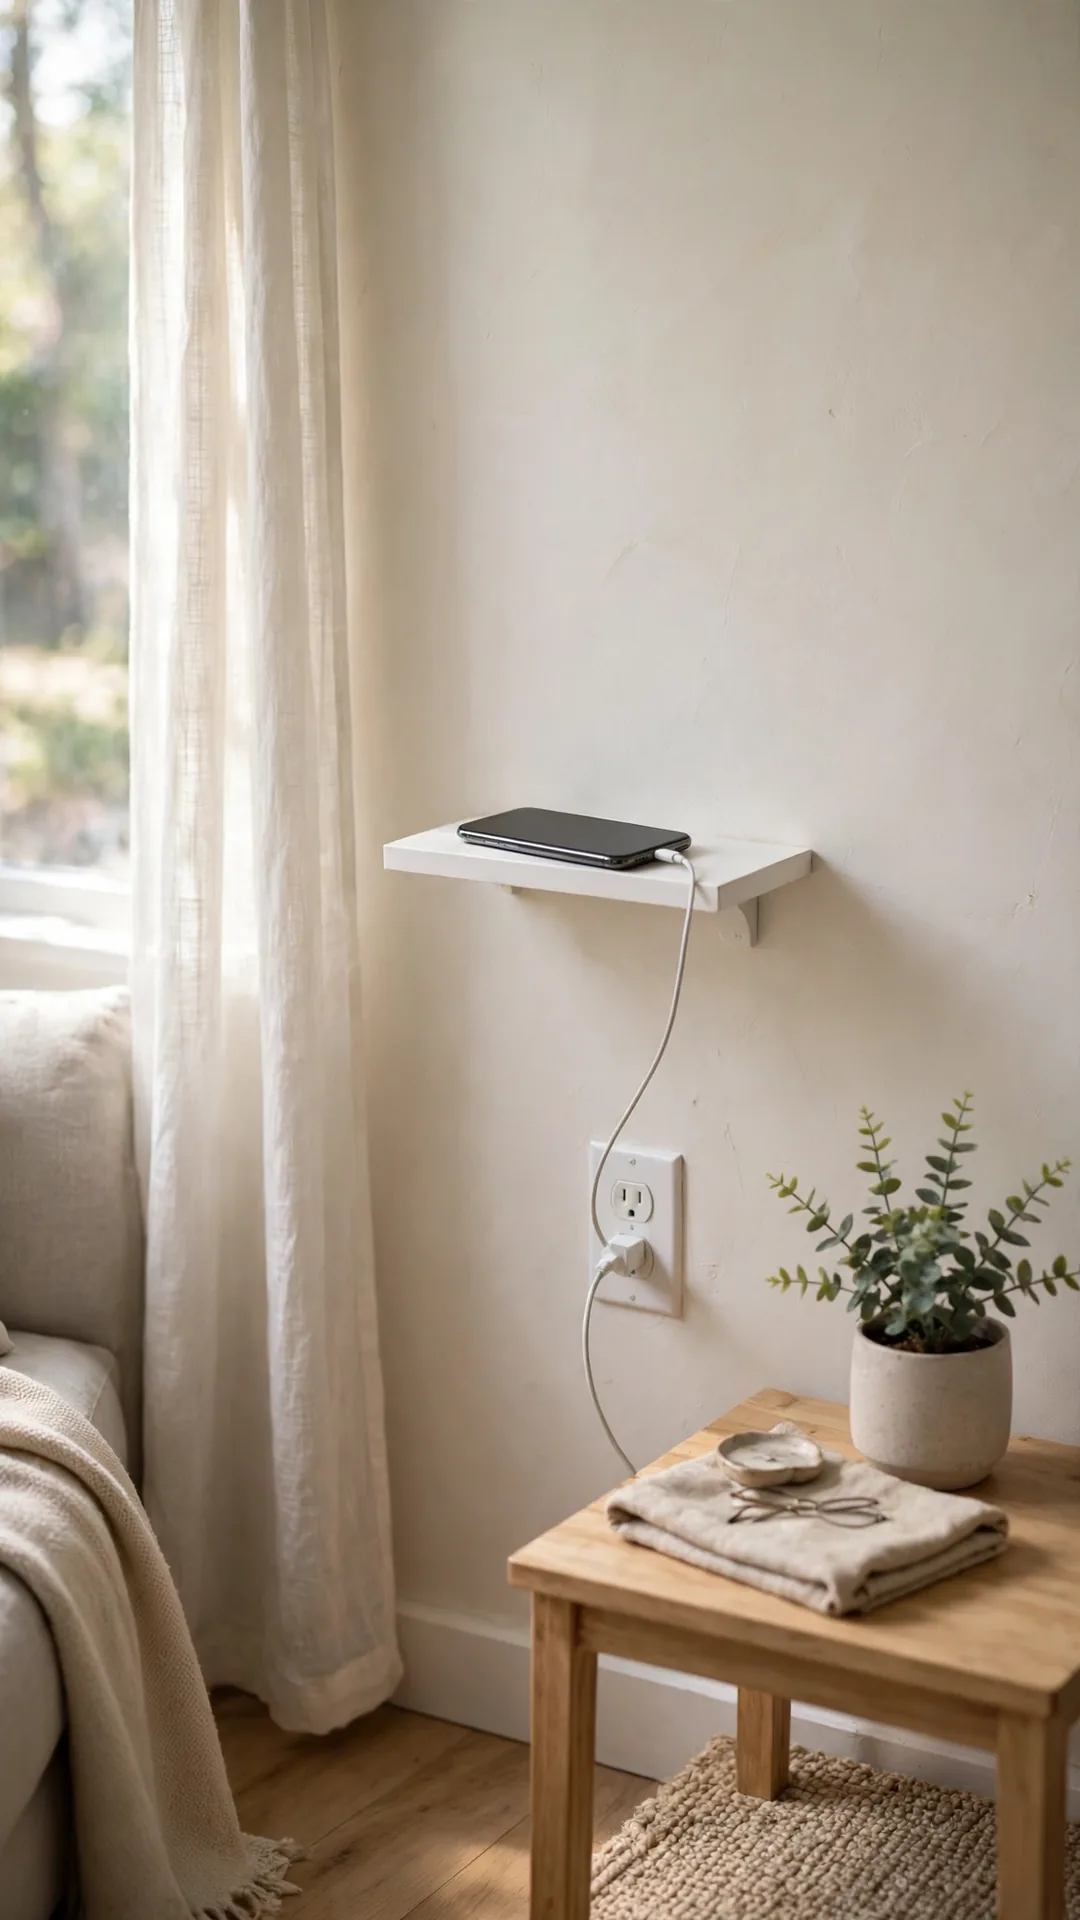
An outlet shelf gives wall chargers a perch they never had. The phone rests above the outlet instead of dangling by its cord. Counters and floors below stay clear and safe.
How to do it:
- Pick a shelf that fits over a standard duplex outlet.
- Swap it in using the existing outlet cover screws.
- Rest the phone flat with its cord kept short.
- Keep the shelf clear of water and steam spots.
- Check the fit monthly, since shelves can loosen slightly.
Best for: Bathrooms, kitchens and tight hall outlets.
Budget: $10 to $20
Quick tip: Shelves with a small rail stop phones sliding off.
56. Sort and Purge Cords Every Few Months
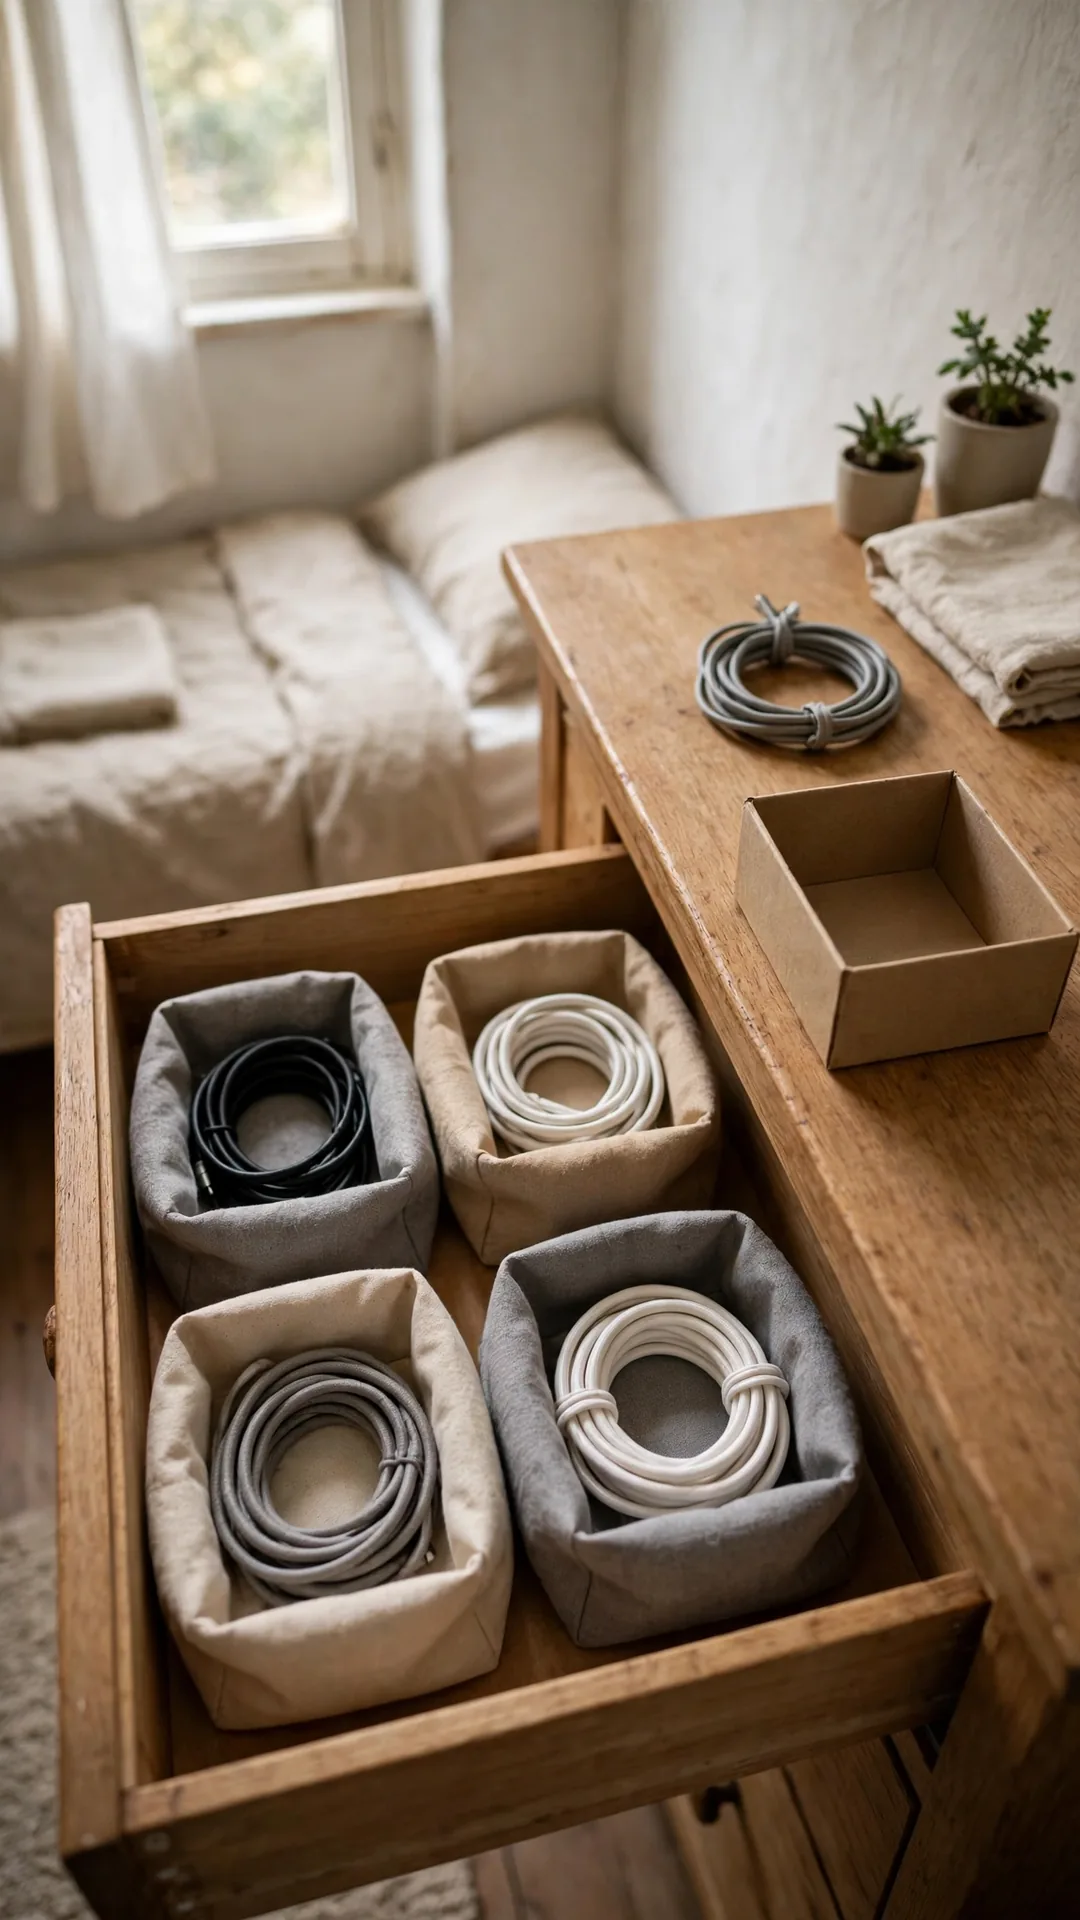
Even a tidy cord system drifts without a short reset. A quick sort every few months keeps every drawer honest. You will spot dead cords before they breed again.
How to do it:
- Empty one cord drawer or box onto a table.
- Test each cord and sort it into clear piles.
- Return keepers to their pouches, tubes or hooks.
- Drop dead cords into your recycling box right away.
- Note any missing lead on your shopping list.
Best for: Every home, on a seasonal rhythm.
Budget: Free
Quick tip: Tie the sort to daylight saving weekends so it sticks.
Pick One Hot Spot and Fix It Tonight
You do not need a free weekend to calm the cord mess. Choose the worst corner, try one fix, and enjoy the clear floor tonight. Save your favorite cord organization ideas for small spaces here, and pin one idea for your next room.

- 52 Clever Headboard Ideas for Small Bedrooms Done Right - November 16, 2026
- 55 Curtain Ideas to Make Small Rooms Look Bigger to Copy Now - November 15, 2026
- 54 Cube Storage Ideas for Small Spaces That Pros Swear By - November 15, 2026