
most crafters waste nearly 30% of their workspace on disorganization. If you’re squeezing your Cricut machine, vinyl rolls, and supplies into a cramped room, you’re probably losing projects and duplicating purchases without realizing it. I’ve discovered that small spaces don’t need to limit your creativity, they just need strategy. Let me show you how to transform yours.
Assess Your Small Space and Cricut Workflow
Before you start organizing your Cricut supplies, you’ll want to take a good look at what you’re actually working with, both your space and how you actually use your machine. Measure your room honestly. Consider your workflow optimization: where you cut, store materials, and finish projects. Explore creative storage solutions that maximize vertical space and corner areas to make the most of your limited square footage. This space assessment prevents buying organizers that won’t fit your needs or layout.
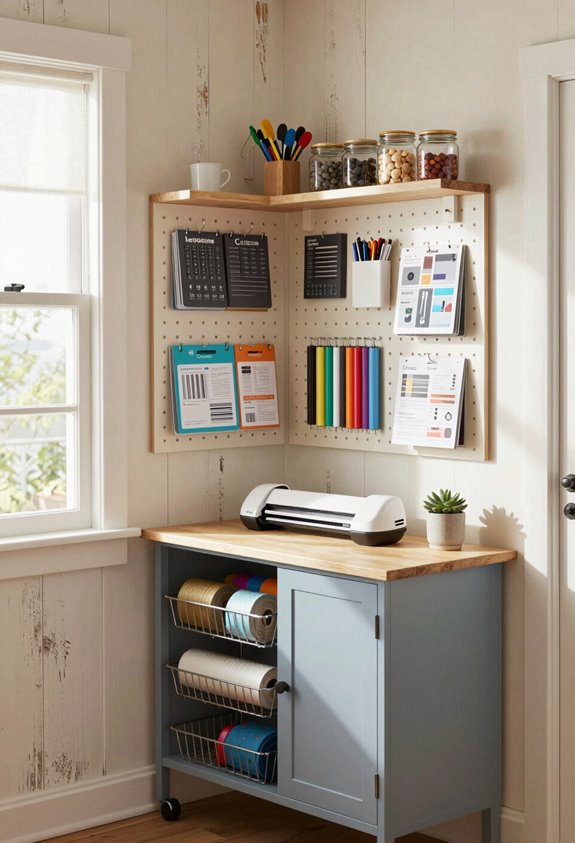
Go Vertical: Wall Storage Solutions for Limited Square Footage
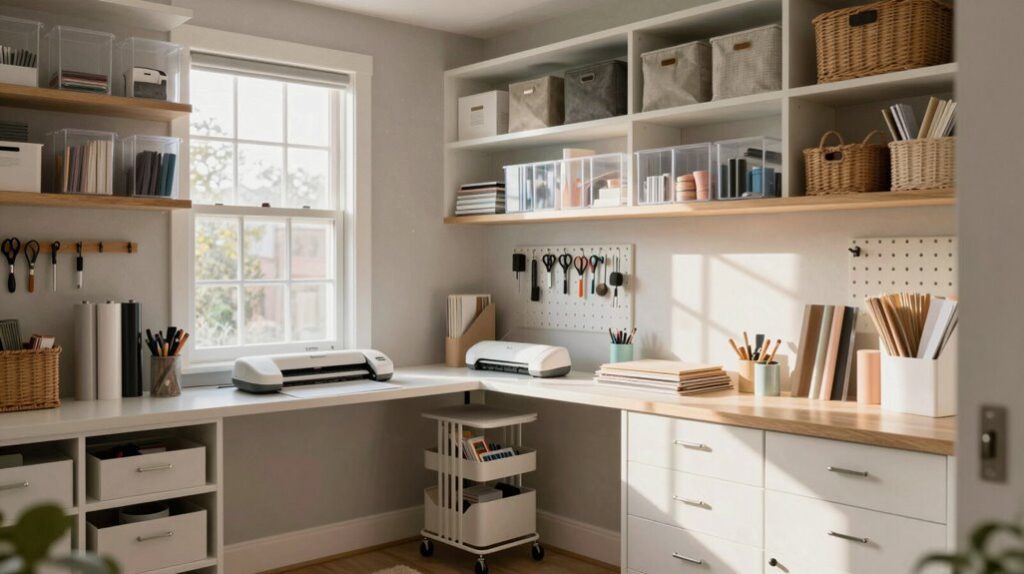
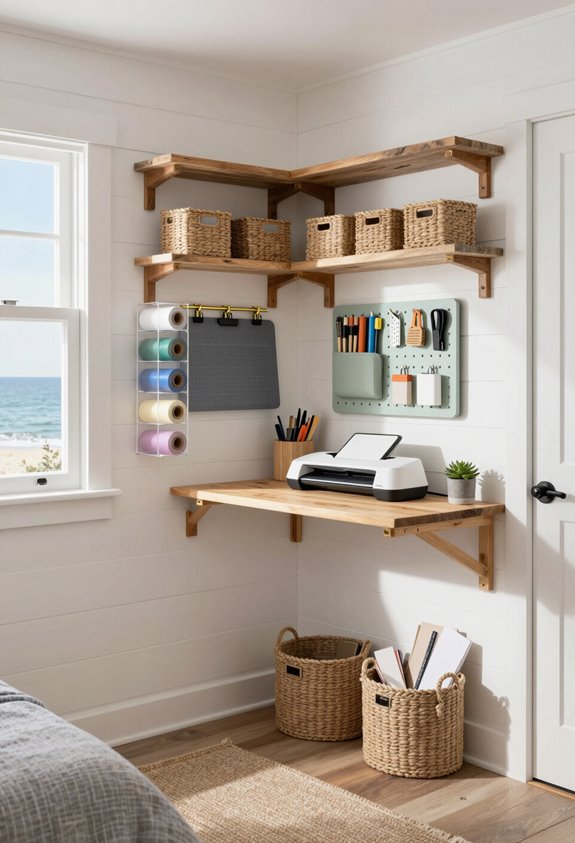
Once you’ve mapped out your space and how you actually work, it’s time to think upward, your walls are real estate you’re probably not using yet. Wall mounted solutions like pegboards, floating shelves, and magnetic strips transform cramped corners into functional storage. Vertical storage keeps your supplies visible and accessible without eating floor space. You’ll find your materials faster, and honestly, your workflow improves when everything’s within arm’s reach. These vertical storage solutions also maximize your available space much like the organizational strategies used in closet design, allowing you to store more in less square footage.
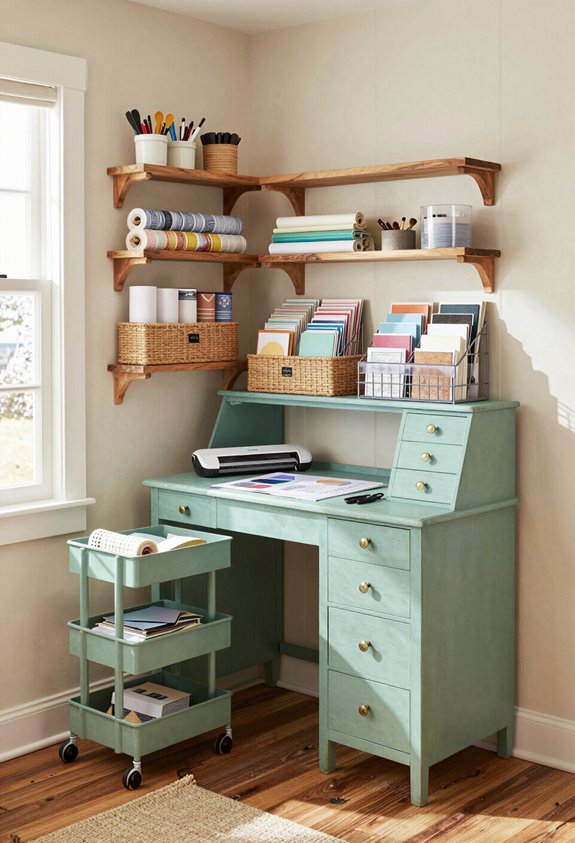
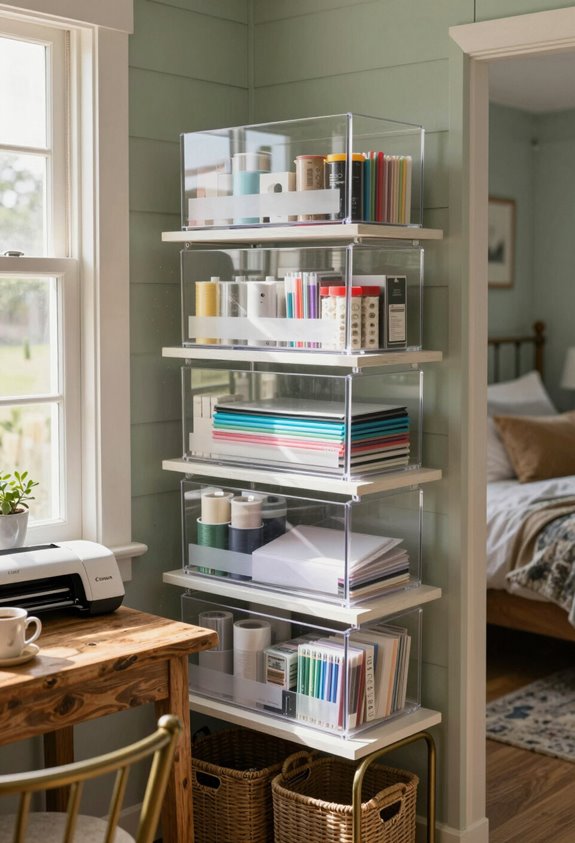
Install Floating Shelves to Display Machines and Supplies
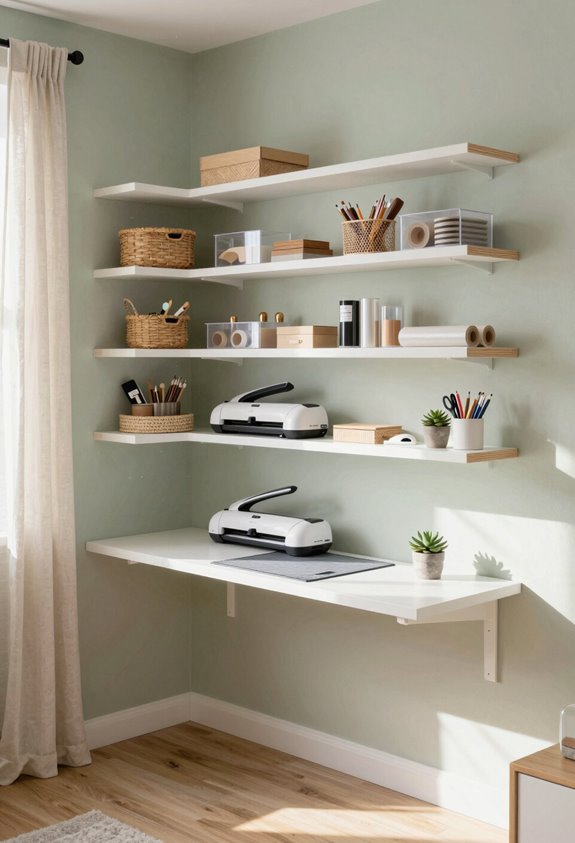
Floating shelves are your secret weapon for making Cricut machines and supplies look intentional rather than cluttered. You’ll find various shelf styles, from sleek metal to rustic wood, that match your craft room vibe. Pair them with decorative brackets, and suddenly your supplies become display-worthy. Mount shelves at different heights, spacing them about 12 inches apart, to showcase your machines while keeping everything accessible and organized.
Use a Rolling Cart to Move Your Cricut and Supplies Out of Sight
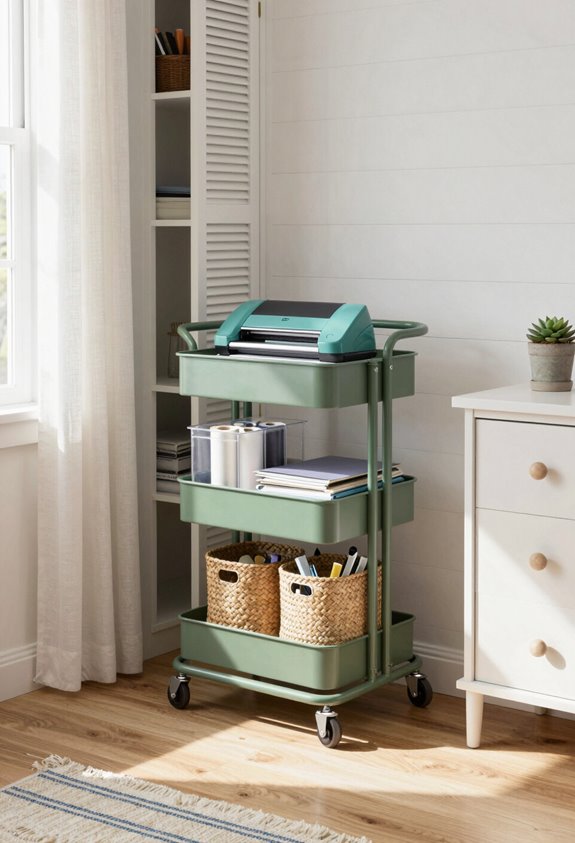
If you’ve got a small craft space, a rolling cart might be exactly what you need to reclaim your floor and desk real estate. This mobile storage solution lets you tuck your Cricut machine and supplies away when you’re not crafting. You’ll wheel it out whenever inspiration strikes, then slide it back into a closet or corner. It’s the smart way to maximize your workspace without sacrificing functionality. Combining a rolling cart with other space saving storage ideas ensures every inch of your craft room works efficiently for your creative projects.
Label Everything by Category for Instant Identification
Now that you’ve got your cart tucked away, the next challenge is actually finding what you need when you pull it back out. I’ve found that category labels transform my supply hunt instantly. Color-coded stickers on bins, vinyl here, markers there, save me precious minutes. You’ll appreciate how clear labeling eliminates that frustrating “where’d I put that?” moment, keeping your creative flow moving smoothly forward. Implementing organizational systems like these in small craft rooms ensures you can maintain efficiency without sacrificing accessibility to your supplies.
Store Vinyl Flat in File Drawers or Magazine Holders
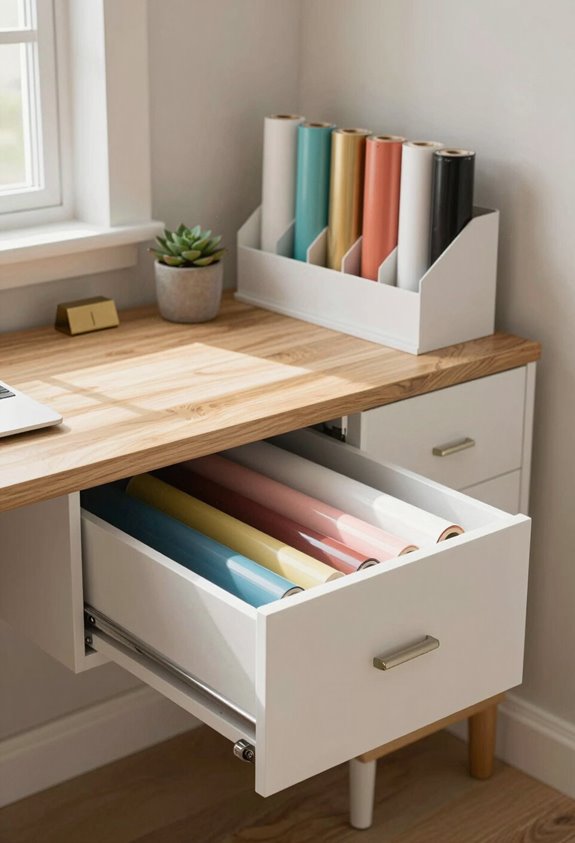
Vinyl sheets take up way more room than you’d think, especially when you’re stacking them in a pile and they start curling up at the edges. I’ve found that laying vinyl flat in file drawers or magazine holders transforms your vinyl storage completely. This file organization method keeps sheets protected, accessible, and space-efficient. You’ll spend less time hunting through messy stacks and more time creating projects. Consider using stackable bins to further maximize your vertical storage and keep your craft supplies organized by color or type.
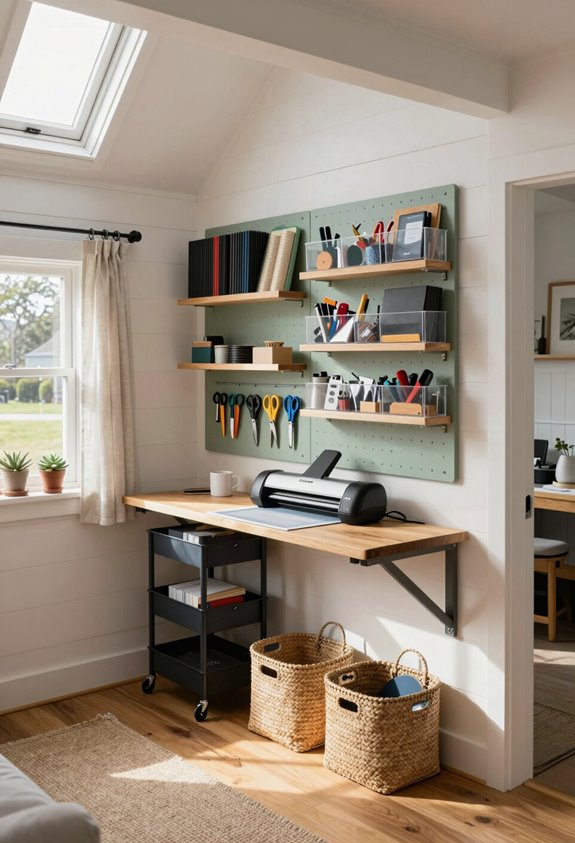
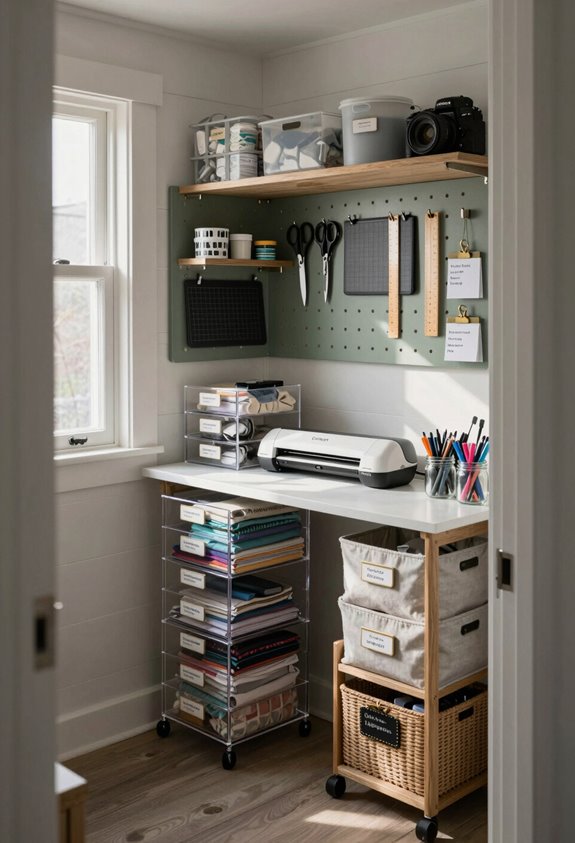
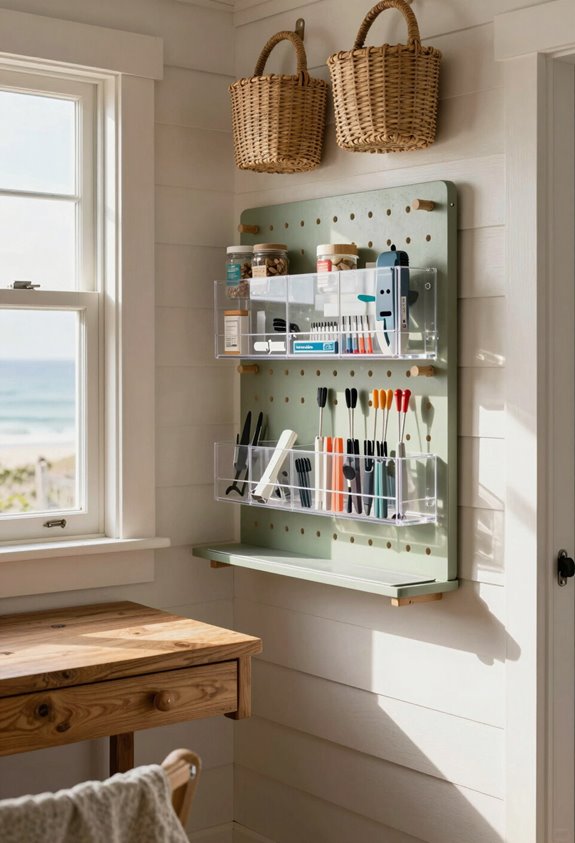
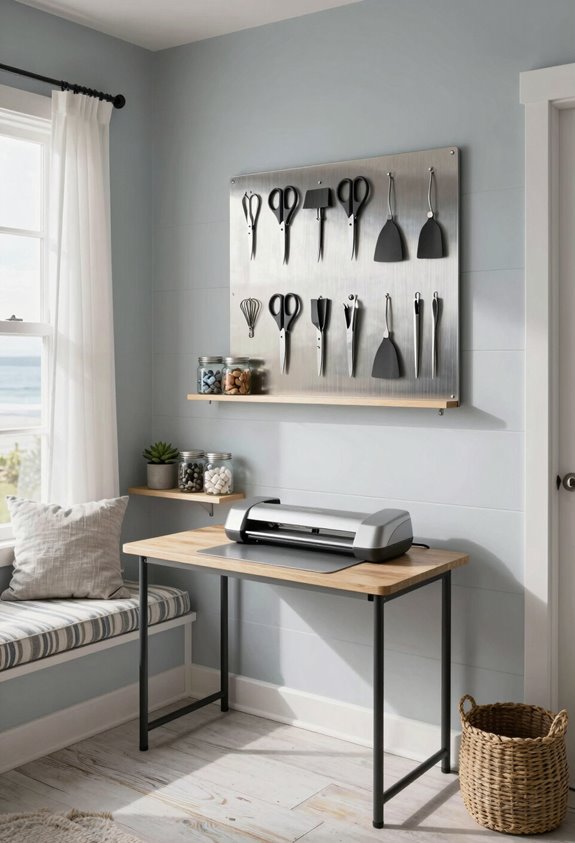
Organize Hand Tools on a Pegboard Wall System
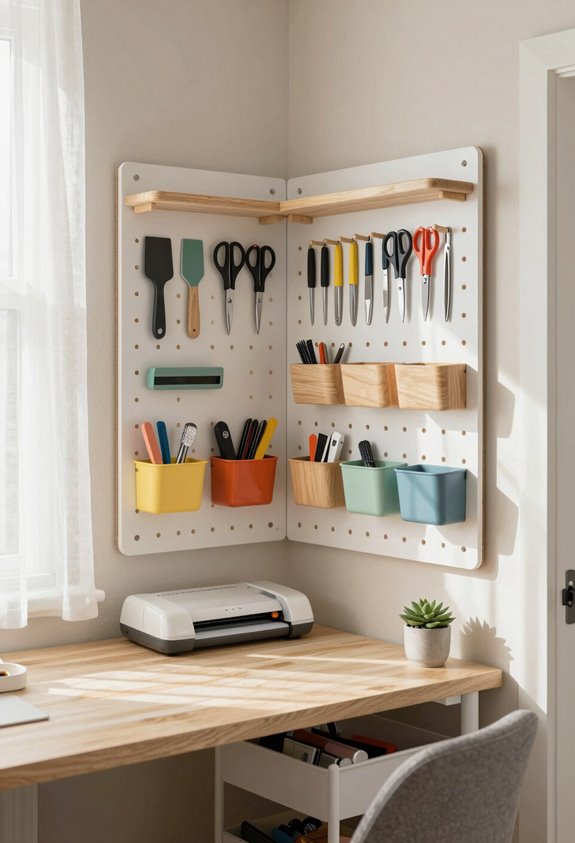
Your hand tools, scissors, rotary cutters, craft knives, and tweezers, deserve a home that’s easy to see and grab, and a pegboard wall system delivers exactly that. I arrange my pegboard hooks strategically by tool type, creating a visual map. This tool arrangement saves me precious minutes during projects. Your wall stays organized, your tools stay accessible, and you’ll wonder why you didn’t do this sooner.
Sort Small Supplies in Clear Drawer Organizers
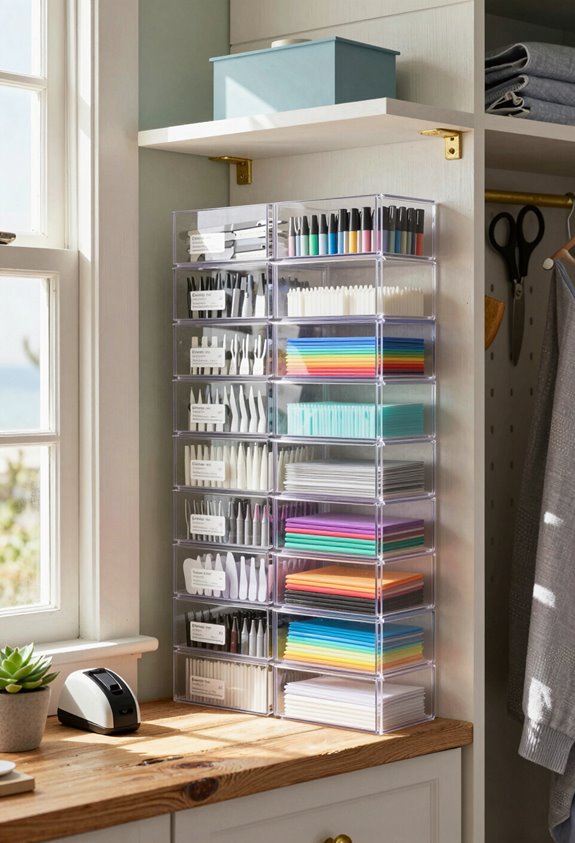
While your pegboard keeps the bigger tools in check, those tiny supplies, beads, sequins, rhinestones, buttons, and thread, need their own system, and clear drawer organizers are perfect for the job. I’ve found that sorting small supplies into labeled compartments saves you hunting time. Transparent containers let you see exactly what you’ve got, preventing duplicate purchases. Stack them in a compact drawer, and you’re done.
Create Dedicated Zones by Project Type
Organization really clicks into place when you group your supplies by the projects you actually make. I’ve found that creating themed areas, one for vinyl projects, another for paper crafting, saves me tons of time searching. You’ll notice your workflow speeds up when everything’s organized by project type. Try designating small shelves or bins for each category. This project grouping approach means less frustration, more creating.
Hang Fabric Rolls on a Wall-Mounted Organizer
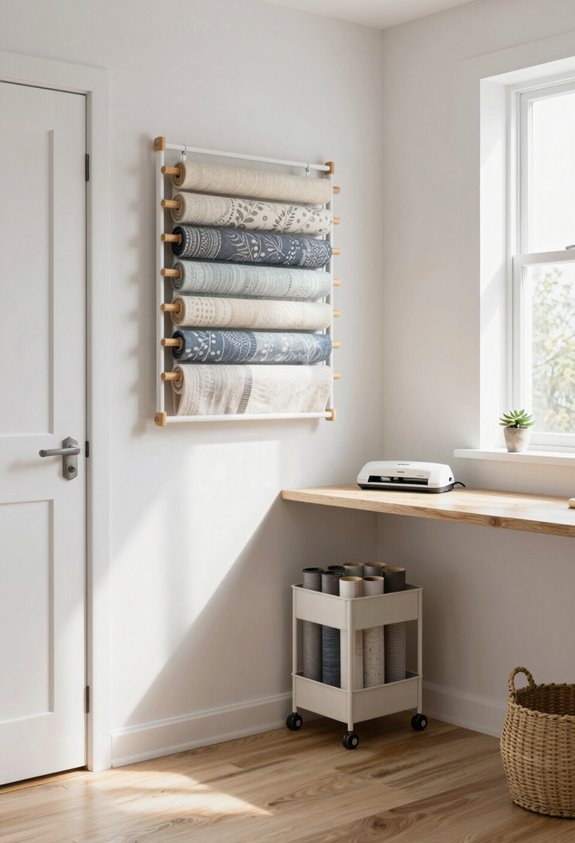
Once you’ve got your project zones sorted, it’s time to tackle fabric storage, which can easily eat up precious floor space if you’re not careful. Wall-mounted organizers with sturdy dowels or PVC pipes let you hang fabric rolls vertically, keeping your craft room aesthetics clean while maximizing vertical space. This innovative fabric storage solution frees up floor room for other essentials, making your small space feel bigger and more functional.
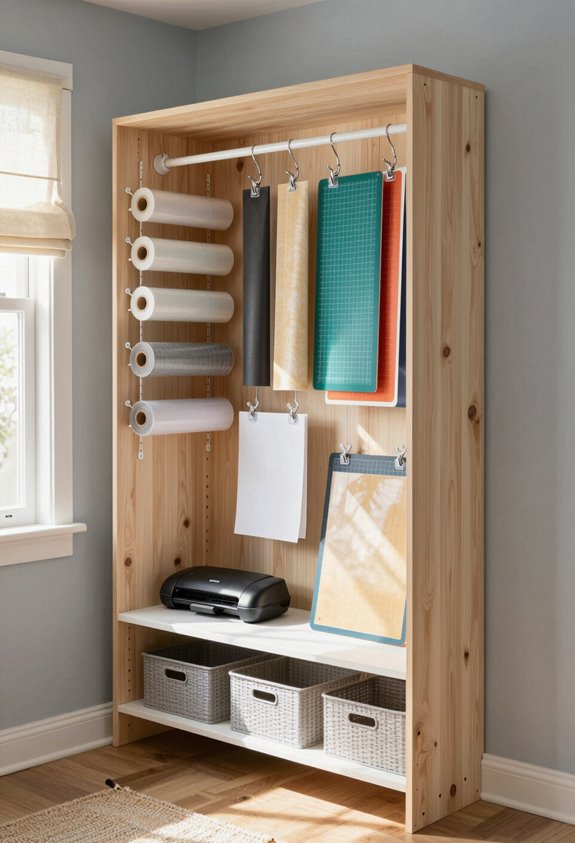
Store Cutting Mats Vertically to Protect Them
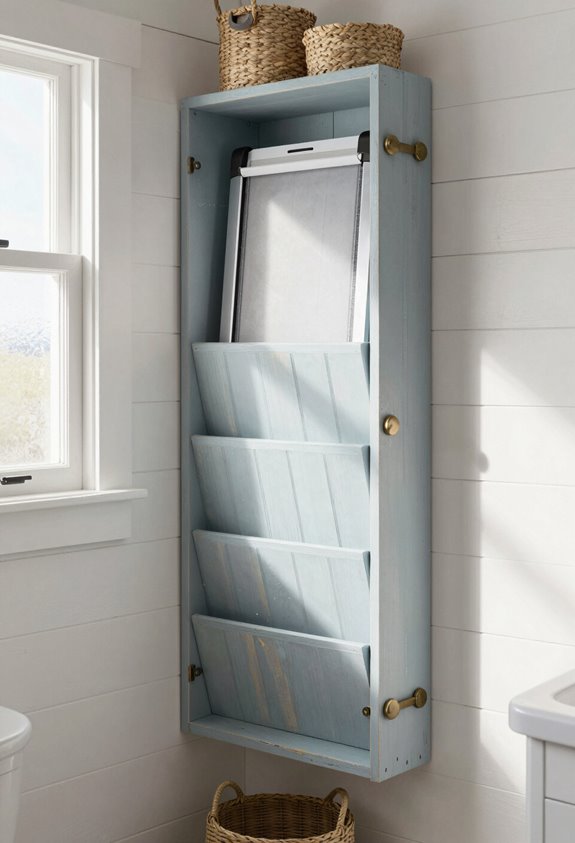
If you’ve noticed your cutting mats getting warped or damaged from stacking them flat on shelves, storing them vertically is a transformative approach that’ll save you money and frustration. I’ve found that leaning mats against a wall or using a vertical display rack keeps them flat and protected. This mat storage method maximizes your small space while preventing costly damage to your essential crafting tools.
Keep Overflow Supplies in Under-Desk Storage Baskets
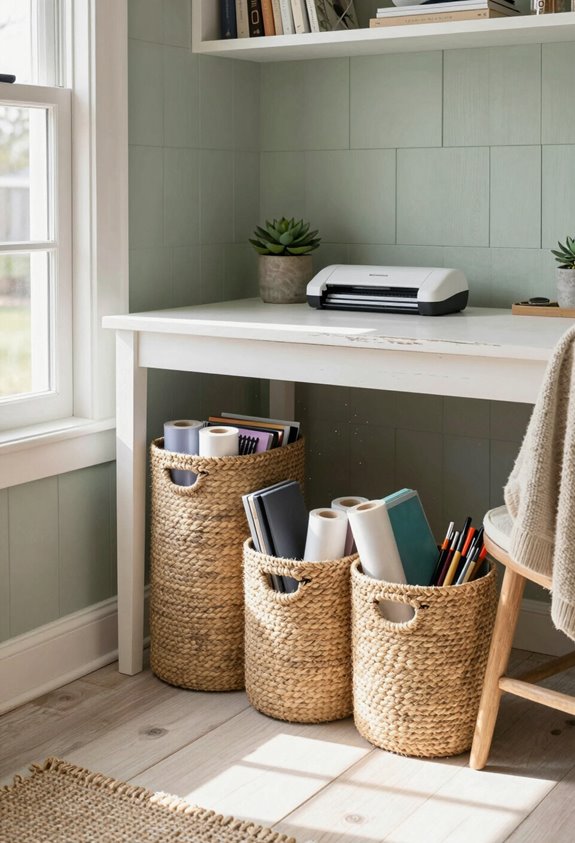
While your cutting mats are staying safe and flat, your craft supplies probably aren’t enjoying the same protection, especially if you’re running out of shelf space. I’ve found that sliding storage baskets under your desk boosts supply accessibility dramatically. You’ll keep overflow supplies organized and within arm’s reach, making desk organization simple. Choose baskets on wheels for easy access to those hard-to-reach supplies you need frequently.
Repurpose a Closet Rod for Hanging Materials
A closet rod you’re not using can become a transformative element for storing materials like vinyl, iron-on transfers, and fabric rolls. I’ve found that hanging craft materials this way maximizes closet organization while keeping everything visible and accessible. You’ll free up shelf space for other supplies, making your small craft room feel bigger. This simple solution transforms underutilized closet space into functional storage for your essential materials.
Sort Blades and Tips in a Compartment Box
Cricut blades and tips multiply fast, and they’ll scatter everywhere if you don’t wrangle them now. I’ve found that a compartment box, think fishing tackle organizer, works brilliantly for blade storage. You’ll want to separate each blade type and tip size into individual slots, keeping everything visible and accessible. This tip organization method saves you time hunting through drawers, plus it protects your blades from getting damaged or lost.
Stock a Door Organizer for Your Most-Used Items
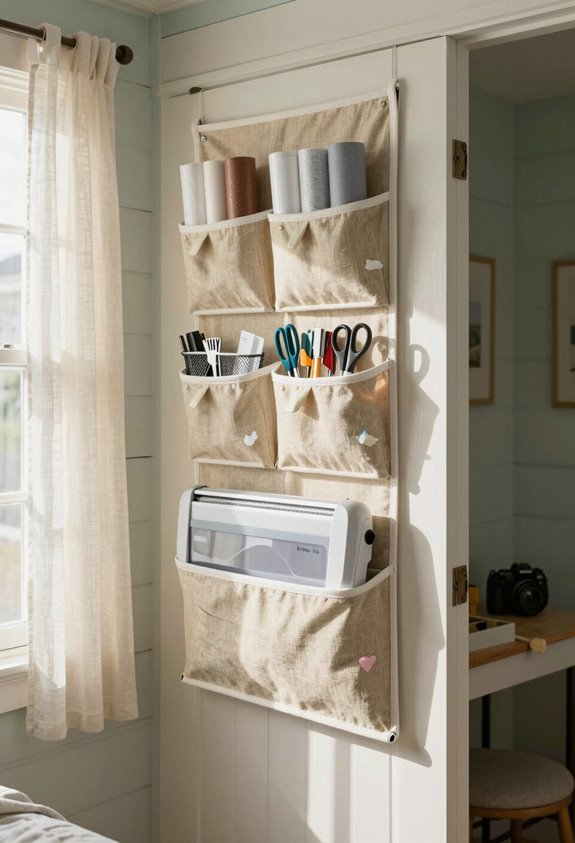
Once you’ve got your blades sorted, it’s time to grab the items you reach for constantly, your scissors, marking pens, and frequently swapped tool tips. Mount a door organizer with hooks and shallow pockets on your craft room door. This smart setup keeps your most-used craft supplies visible and within arm’s reach, freeing up valuable drawer and shelf space for everything else you’re storing.
Stack Supplies in Clear Bins With Labeled Dividers
Now that your frequently used items’ve got their own dedicated spot, you’ll want to corral the rest of your supplies in a way that keeps them organized and easy to find. Clear bins with labeled dividers transform chaotic drawers into functional storage. Stack them vertically to maximize your small space, grouping similar materials together, markers with markers, vinyl with vinyl. You’ll spend less time hunting and more time creating.
Build a Fold-Down Work Surface to Reclaim Daily Space
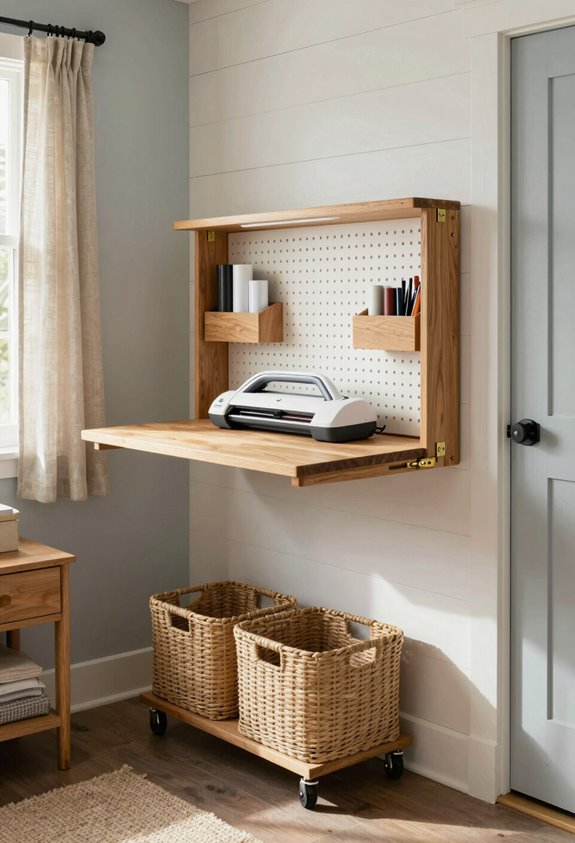
If you’re crafting on a dining table or squeezing projects into a bedroom corner, you know how frustrating it is when your workspace eats up your living space. A foldable table solves this perfectly. You’ll create a compact workstation that disappears when you’re done, reclaiming your room instantly. Wall-mounted or hinged designs work great for small spaces, giving you dedicated crafting real estate without permanent clutter.
File Design Files and Paper in a Rolling Caddy
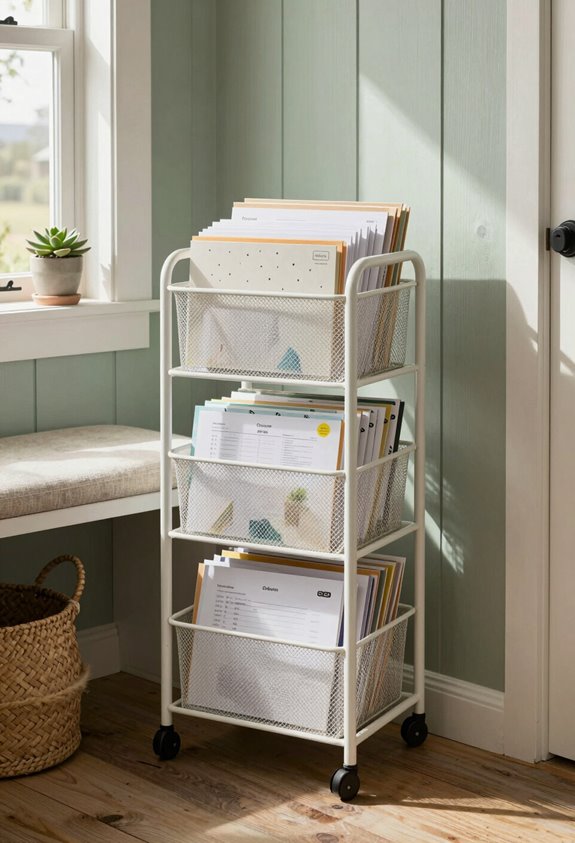
After you’ve got your fold-down workspace sorted, you’ll want a smart system for keeping your design files and paper supplies within arm’s reach. A rolling caddy offers excellent caddy storage, letting you organize cardstock, vinyl, and design files by color or project type. Wheels mean you can tuck it away when you’re done, maximizing your small space while keeping everything accessible.
Add Hanging Space Under Shelves With a Tension Rod
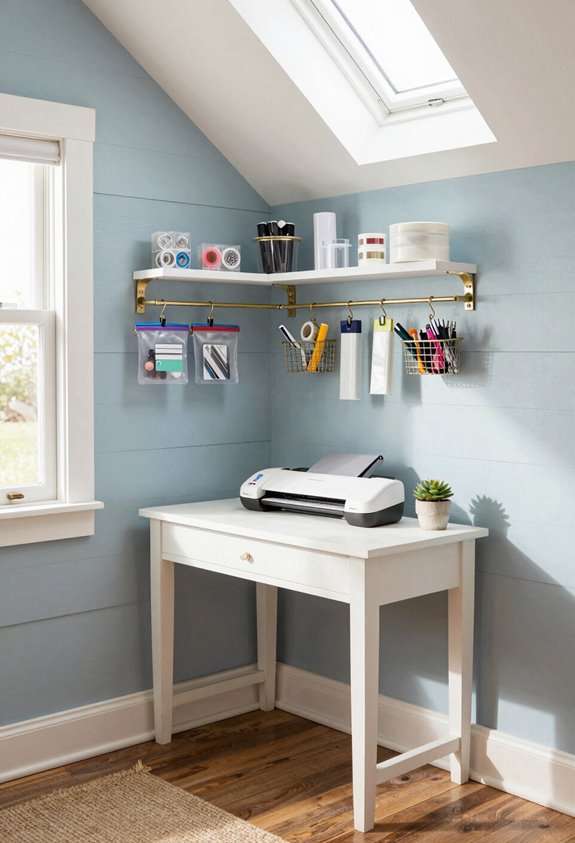
While your rolling caddy keeps supplies mobile and accessible, you’ll still want to grab even more vertical real estate for storing smaller items like scissors, markers, and finished projects. Install a tension rod horizontally underneath your shelves to hang supplies using small clips or S-hooks. This clever trick maximizes unused space while keeping your essentials within arm’s reach and beautifully organized.
Keep Metal Tools on a Magnetic Strip
Here’s another way to wrangle those small metal tools, grab a magnetic strip and mount it on your wall or inside a cabinet door. I’ve found this keeps my craft scissors, tweezers, and cutting tools instantly accessible without cluttering drawers. Magnetic strip organization saves serious space, and you’ll actually see what you’ve got. It’s smart metal tool storage that works.
Choose Multi-Functional Furniture for Double-Duty Storage
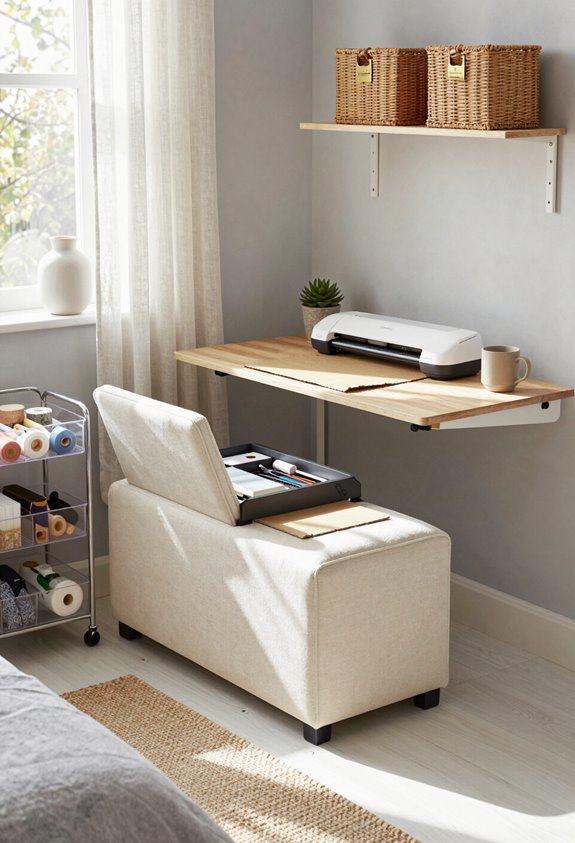
Because space is precious when you’re crafting, investing in furniture that pulls double duty makes tons of sense. Multi-purpose tables with storage underneath, for instance, give you workspace and organization simultaneously. Convertible chairs that double as storage bins? They’re revolutionary. You’ll maximize every square inch while keeping your Cricut supplies accessible and your room functional.
Rotate Active Supplies Forward to Prevent Hoarding
Once you’ve got your furniture sorted, it’s time to tackle the real challenge: not letting your supplies pile up into a craft avalanche. I practice active supply rotation by keeping my current projects front and center, storing finished materials toward the back. This hoarding prevention strategy keeps me honest about what I actually use versus what I’m just keeping “just in case.”
Showcase Finished Projects to Reclaim Storage Space
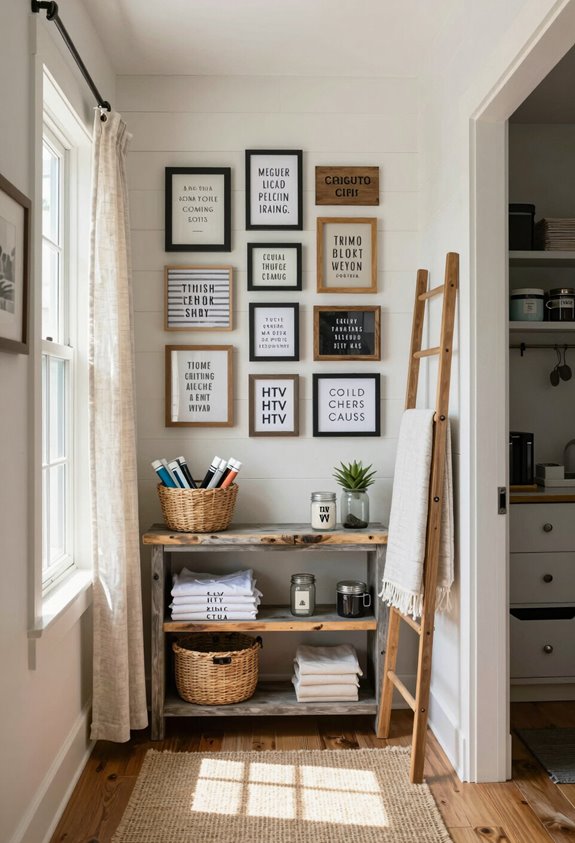
All those finished projects sitting in bins and boxes? They’re hoarding your reclaimed storage space. Create a project display featuring your best work, wall shelves, a photo gallery, or a rotating showcase. You’ll free up valuable room while celebrating what you’ve made. This innovative approach transforms clutter into inspiration, making your small craft space feel intentional and organized.
Frequently Asked Questions
How Often Should I Reorganize My Cricut Craft Room to Maintain Efficiency?
I’d recommend reassessing your reorganization frequency quarterly, aligning it with your evolving crafting habits. You’ll maintain peak efficiency by adapting your system as your projects become more innovative and your space demands shift.
What’s the Best Way to Prevent Vinyl and Materials From Warping in Storage?
I’ve seen crafters lose premium vinyl to humidity damage. You’ll preserve materials by storing them flat in airtight containers with silica packets. This innovative vinyl storage approach prevents warping and maximizes your material preservation investment.
How Can I Create a Functional Craft Room on a Very Tight Budget?
I’d maximize budget friendly storage with repurposed containers, wall-mounted shelving, and vertical organization. You’ll craft DIY organization solutions using affordable bins, pegboards, and label makers to optimize your tight space efficiently.
Should I Store My Cricut Machine Covered or Uncovered When Not in Use?
I’d cover mine, dust infiltrates like unwanted studio guests. You’ll want machine protection through storage options: a dedicated box, fabric cover, or cabinet shelf. It’s the innovation-smart move that keeps your investment pristine and ready.
What Supplies Are Worth Keeping Versus Donating to Reduce Clutter?
I’d keep supplies you’ve used in the last six months and donate unused items regularly. Focus on versatile materials, quality tools, and designs you’ll actually create. This approach maximizes your creative potential while minimizing clutter in tight spaces.
Final Takeaways
You’ve gathered all the pieces to transform your craft room from a creative jungle into an organized sanctuary. I’ve shown you how vertical storage, rolling carts, and smart labeling work together, creating breathing room where inspiration actually flows. Your space doesn’t have to feel cramped anymore. Start with just one idea, maybe those floating shelves, and watch how everything else falls into place naturally.

- 22 Small Space Vanity Ideas Bedroom Setup Hacks - March 10, 2026
- 23 Small Space Coffee Table Ideas With Soft Curves - March 9, 2026
- 21 Small Space Fireplace Ideas in Tactile Stone - March 8, 2026